Showing posts with label kiddo in the kitchen. Show all posts

Monday, September 24, 2012

Kiddo in the Kitchen: Pumpkin Chocolate Chip Bars

{This post is sponsored by NestlĂ©® Toll House® Morsels, the perfect special ingredient for all of your family’s favorite treats!} 

There is no easier way to get your kids to help in the kitchen than to pull out a bag of chocolate chips.  Am I right?  The highlights of childhood baking are as follows: eating chocolate chips straight from the bag and licking the beaters.

{Your kitty may even try to get in on the action.}

These pumpkin chocolate chip bars have been on the blog before, but they are so incredibly good and so incredibly perfect for fall that they needed a repeat.

The bars are cake-y, spicy, and studded with chocolate chips.  They'll rock your bake sale, lunchbox, picnic...I promise.

 
Pumpkin Chocolate Chip Bars 
{adapted from Everyday Food, Nov. 2004}

2 cups unbleached, all purpose flour (we substituted 1 cup for white whole wheat)
1 & 1/2 teaspoons cinnamon
3/4 teaspoon ginger
1/2 teaspoon freshly grated nutmeg
1/8 teaspoon allspice
1/8 teaspoon cloves
1 teaspoon baking soda
3/4 teaspoon kosher salt
1 cup (2 sticks) butter
1 & 1/4 cup sugar
1 egg
2 teaspoons vanilla bean paste (or vanilla extract)
1 cup canned pumpkin (not pumpkin pie filling)
12 oz. semisweet chocolate chips

Preheat oven to 350.  Line a 13x 9" pan with foil.


Whisk together the flour, spices, salt and baking soda.  Set aside.

Cream together the butter and sugar until smooth and fluffy.  Add in the egg and vanilla and beat until well combined, scraping down the bowl as needed.  Beat in the pumpkin.

On low speed, add in the flour mixture in two additions, mixing just until combined.


Stir in the chocolate chips.

Spread the batter into the prepared pan, an offset spatula is great for this.  Bake for 35 minutes, or until a toothpick inserted in the middle comes out with loose crumbs, but not wet,

Cool completely on a wire rack.  To cut, lift the foil from the pan.  Use a bench scraper to cut into bars.

Yep....they're good. And, with a cup of pumpkin in the mix, they're practically health food.

Make them with your kids, or grandkids (or by yourself), you'll be happy you did!

Thursday, January 12, 2012

Ladies (and Gents), start your ovens...

I am not kidding you when I say that these are some of the best cookies I have EVER EATEN.
{You guys....I eat a LOT of cookies.}

Sure...they look all innocent.

And then...
These are Nutella and Sea Salt Stuffed Sugar Cookies from my friend Dara over at Cookin' Canuck.  I had the pleasure of meeting Dara in December...which was really cool considering I've bookmarked pretty much every.single.one of her recipes.

She's sweet as can be, totally adorable, and well, obviously a genius.  I mean, Nutella & sea salt stuffed IN a buttery, sugar cookie?!?  Only a genius can come up with that.

I'm going to send you over to Dara's for the recipe...because it's perfect...but I'll walk you through it.

First, you'll need a helper.  Preferably one who has just rolled out of bed, hasn't brushed his hair, but hopefully has brushed his teeth. (But, you never know with a 12-year-old boy.)

You'll need some Nutella.  You'll measure out little bits of it and plop it in the freezer.

In the meantime, you'll make the cookie dough.
{I love seeing my boy using the scoop & sweep flour measuring method.}

We used this flaky sea salt for our cookies.
The flakes were REALLY big, so we cut down just a bit on the sea salt flakes called for in the recipe. Otherwise, we just followed Dara's perfect recipe.

So, you'll scoop them out, fill with Nutella and sea salt, roll back up and then, roll in SUGAR!  {sigh}

I found it easier to scoop a bunch at a time with my cookie scoop, then split them, while my helper added the Nutella and salt.

Even so, your hands may wind up looking like this...

You'll want to cool them on a wire rack, but do me a favor...
...eat one warm?  Please?  For me?
 

Now, like I said, these are some of the most delectable cookies I've ever eaten.  The true test in our house is kiddo's nostril flare.  If the nostrils flare, you have reached deliciousness.  Let's check...

Yep.

Title this shot, "Mom, can we stop with the pictures now?" ;)

Want the recipe? Let me answer that for you. You do.
Click here to get it! 
Thank you, Dara, for your evil genius cookie skills!!!

Saturday, June 26, 2010

Kiddo in the Kitchen : Zucchini Spice Cupcakes

Desserts for Dudes
I don't know about you, but when kiddo and I go to the farmer's market, our minds turn to big, farm-fresh salads cupcakes.  I'm pretty sure he chose this recipe so that zucchini I bought wouldn't show up on his dinner plate.

{Don't worry...I'll torture him with the tomatoes.}

The cupcake and frosting recipes come from Martha Stewart's Cupcakes. We halved the recipe (I really don't need 24 cupcakes sitting around the house). 

Zucchini Spice Cupcakes
{modified from Martha Stewart's Cupcakes}

1 and 1/2 c. all-purpose flour
1/2 tsp. baking soda
1/4 tsp. baking powder
1/2 tsp. coarse salt
2 tsp. cinnamon
1/4 tsp. freshly grated nutmeg
1/8 tsp. ground cloves
1/2 c. vegetable oil
1 egg, room temp.
1 and 1/2 tsp. vanilla
1/2 tsp. grated lemon zest
1 c. light brown sugar, packed
1 and 1/2 c. grated zucchini
1/2 c. walnuts, toasted and chopped

Preheat oven to 350.
Line a muffin tin with 12 paper liners.

Whisk together the flour through cloves.  In another bowl, whisk together the oil, egg, vanilla and zest.  Whisk in the brown sugar until smooth.

Stir in the zucchini.  Add the flour mixture just until combined; stir in the walnuts.

Divide the batter evenly between the cups.  Bake, rotating halfway through, about 20-24 minutes.  Cupcakes will spring back when lightly toughed in the center and a toothpick should come out clean.

Cool in the pan for 10 minutes.  Remove cupcake to a cooling rack and let cool completely.


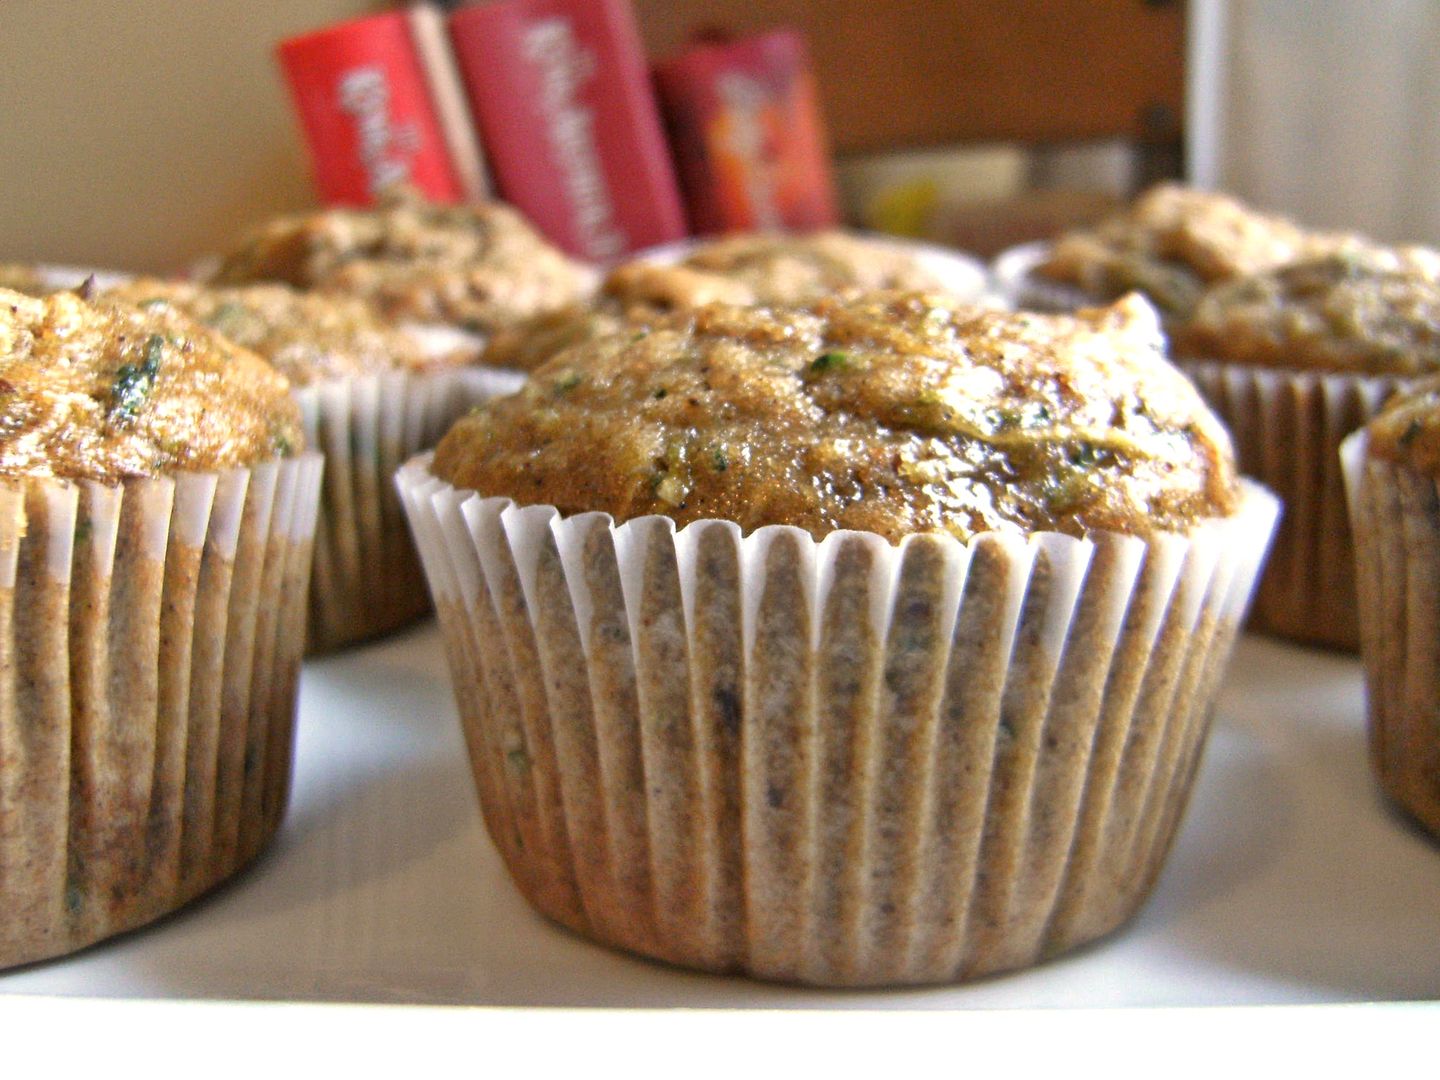
{Aren't they pretty? I'm thinking we could stop here and call them muffins. But, we won't.}


Cream Cheese Frosting
1 stick unsalted butter, room temp.
6 oz. cream cheese, room temp.
2 c. powdered sugar
1/2 tsp. vanilla

Beat the butter and cream cheese on medium-high until fluffy, about 3 minutes.  Reduce speed to low, and1/2 c. sugar and vanilla.  Mix until smooth and combined.  Add the remaining sugar 1/2 cup at a time, beating after each addition until smooth.

Now it's time to frost the cupcakes...
Kiddo said he wanted to try piping instead of spreading the icing.
 
He did a really great job...and I couldn't get enough of watching him. 


These cupcakes are wonderful...moist and full of flavor.  And, you can never go wrong with cream cheese frosting!  We think you'll like them!

 The verdict?


Here...we saved one for you....


{OH! I almost forgot....there are a couple new videos over at University of Cookie.  Be sure to check how the method TidyMom uses to roll her cookie dough.  Genius!}

Friday, May 28, 2010

Kiddo in the Kitchen: Chocolate Mint Icebox Cake


I wanted to put this in the post title, but it was too long: "5-ingredient, no-bake, Chocolate Mint Icebox Cake!"

Kiddo picked this recipe from my collection of Everyday Food magazines. Everyday Food is a wonderful little magazine from Martha Stewart. If you've never picked up a copy, you might want to. Unlike some of the more complicated ones in MS Living, Everyday Food is filled with EASY recipes. I had to stop subscribing after a few years because there were so many recipes I wanted to try...I couldn't take any more!


This recipe seems too simple...and like it can't be all that good. Wafers, cream? That's it? Well, once assembled, the wafers soak up that cream and become cakey and soft. Plus, it looks really cool once you cut into it.

Chocolate Mint Icebox Cake
{adapted from Everyday Food}


1 & 3/4 c. heavy cream
3/4 tsp mint extract
1/4 c. sugar
1 (9 oz.) pkg. chocolate wafers
1/3 c. mini chocolate chips


Beat the heavy cream, extract & sugar until stiff peaks form.


Spread about 1 teaspoon of cream on each wafer and form stacks on a plate.


{This would have gone a lot quicker had 5/6ths of the wafers not been cracked. Ahem, chocolate wafer packagers.}


Line a serving platter with two side-by-side sheets of wax paper. (You'll pull these out later.) Lay the stacks horizontally along the seam, pressing gently to form a log.


With an offset spatula, cover the log with the remaining cream. Refrigerate at least 4 hours and up to 2 days.


Before serving, gently pull wax paper from under the cake. Sprinkle with chocolate chips. Slice cake diagonally with a serrated knife.


Kiddo gives this an 8.5....a perfect cold, minty treat for after tossing the football in the backyard.
{You can still see ours in the background.} :)

I'm linking this up to Tidymom's I'm Lovin' It Party. Have you been? Lots of great ideas and goodies are linked up every Friday!

Sunday, April 25, 2010

Kiddo in the Kitchen: Milk Chocolate Pretzel Tart


Kiddo would live on pretzels if I would let him. I've leaned down to kiss him good-night only to hear a crinkling sound and find the bag under his pillow.

But, I'm a mean mom and make him vary up his menu a little with fruit and protein, veggies, and well, cookies.


For this edition of Kiddo in the Kitchen, kiddo chose from my stack of recipes torn from magazines. I'm not sure where this one came from, but I'm going to guess it was Food & Wine.

(This recipe has a lot of waiting time...chilling the dough, rolling and re-chilling, cooling the crust, cooling the ganache and finally time for the tart to set-up. That said, I don't think it's the best recipe to make with a 4-year-old. Not much instant gratification. :))

Milk Chocolate Pretzel Tart

1 stick unsalted butter, softened
1 & 1/2 c. thin pretzels, coarsely crushed
3/4 c. powdered sugar
1/2 c. flour
1 egg
2 oz. bittersweet chocolate, melted
1 & 1/2 c. heavy cream
3/4 lb. milk chocolate, chopped
Sea Salt (Maldon or Fleur de Sel)
crushed pretzels


Beat the butter with 3/4 c. crushed pretzels and powdered sugar at low speed until creamy. Beat in the flour and egg. Stir in the remaining 1/2 c. pretzels.

Flatten the dough between 2 sheets of waxed paper and refrigerate at least 30 minutes.

Preheat oven to 350. Roll out the dough between the waxed paper to 12" round. Peel off the top sheet and invert over a 10" tart pan. Press dough into the corners and patch any tears. Trim dough and refrigerate 30 minutes.

{Kiddo wants you to know he did not CHOOSE the heart-shaped pan...it's the only one I have. Whew...crisis averted.}


Line the shell with parchment and fill with pie weights.


{Or dried black-eyed peas in our case.}

Bake for 30 minutes. Remove the parchment and weights and bake for another 10 minutes. Cover the edges with foil if needed. Let cool completely.


Brush the crust with melted bittersweet chocolate. Refrigerate 10 minutes.

In a medium saucepan, bring the cream to a simmer. Place the chopped chocolate in a bowl. Pour the cream over the chocolate; let stand 5 minutes. Whisk until smooth. Let sit at room temperature for 45 minutes, until it is a room temperature.

Pour the filling into the shell and refrigerate until set, at least 4 hours.


Before serving, sprinkle lightly with sea salt and crushed pretzels.


Kiddo gives it a...drum roll, please...


THE END