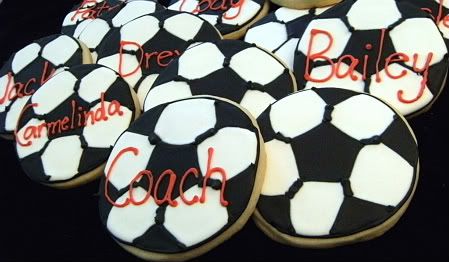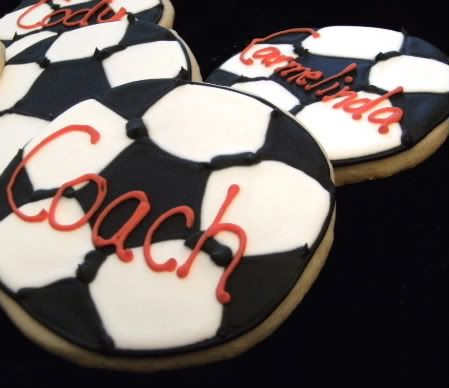
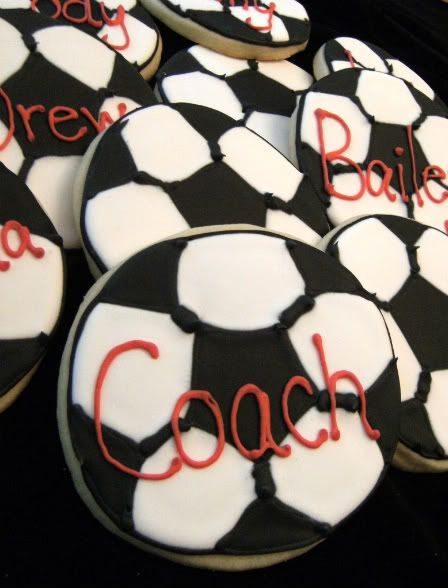
It was our week to bring snacks to soccer. You'll never guess what we brought...
Let me just say...I HATE DRAWING PENTAGONS!!! Ugh!
These cookies were probably the most difficult ones I've made in a while....I am apparently polygon-challenged. They're not my favorite, either, but the kids liked them. I think everyone enjoys seeing their name on something, don't you?
Looking for more sports-related cookies? Try these:
Sunday, May 31, 2009
Thursday, May 28, 2009
Edible Image Cookies
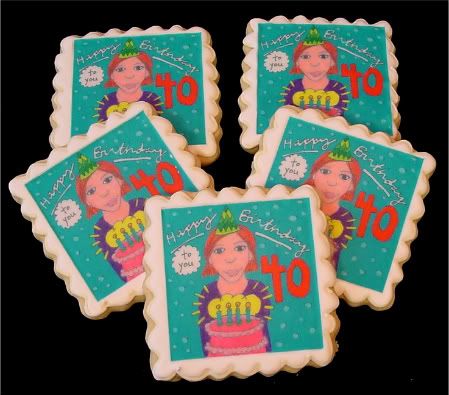
I realized when posting Terri's birthday cookies that I've never posted about her 40th birthday cookies.
Now, I hope Terri won't mind me stating her age, since she looks younger every time I see her.
{In a few years, I'll be making "29" cookies for her. I know, you'll want to hate her, but she's really nice, so you can't.}
So, I had this idea to use a drawing of Terri and have it printed on icing sheets for her cookies.
First, you need a really talented relative that you can guilt into making the drawing. (Thank you, Maura.)
Then, format the picture to the size you want it to be on the cookies. If you're lucky enough to own an icing printer (oh, how I would LOVE an icing printer!), print them off. If not, do what I did and take the file to your local bakery supply store for printing.
When you are ready to make the cookies, trim the pictures to the right size. Outline and fill the cookies as normal.
While the icing is still wet, peel off the backing of the picture and place onto the icing.
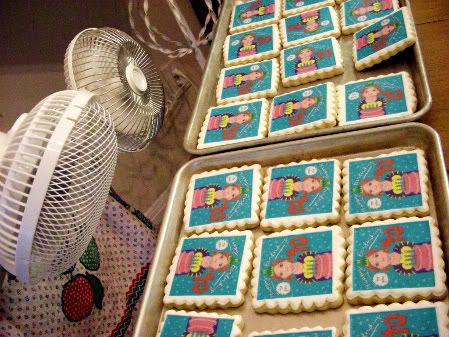
Now, here's what I learned the HARD WAY...add a day to the drying time. The icing sheet traps the moisture in the royal icing. It really needs 2 days to dry totally.
I made them the night before, started to bag them up and hop in the car to drive to the party, and OH, NO! The cookies were still wet. I cranked down the AC, turned the fans on high and prayed for the best.
Well, by the end of the evening, some of the cookie icing was stuck to the interior of the cookie bags. It's the thought that counts, right? :)
If you like these cookies, check out more cookies I made using my cousin Maura's fabulous artwork!!!
Cookies from Art
Cookies from Art
Wednesday, May 27, 2009
I had to try it...
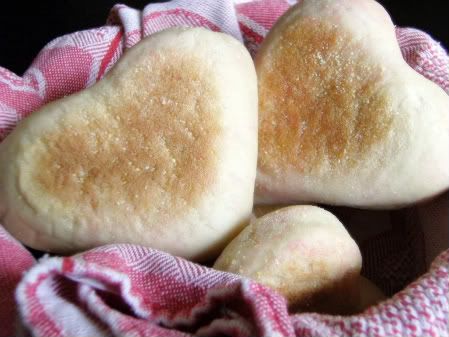
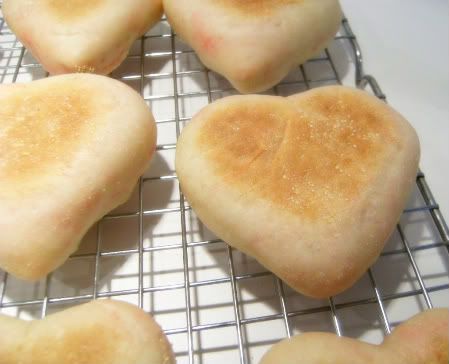
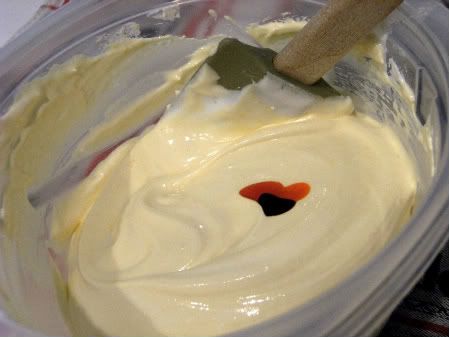
Ever since making homemade English muffins, I've had visions of pink ♥-shaped muffins dancing in my head.
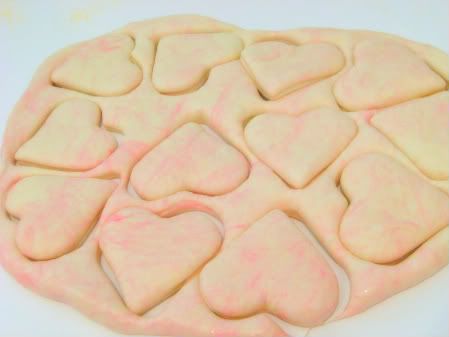
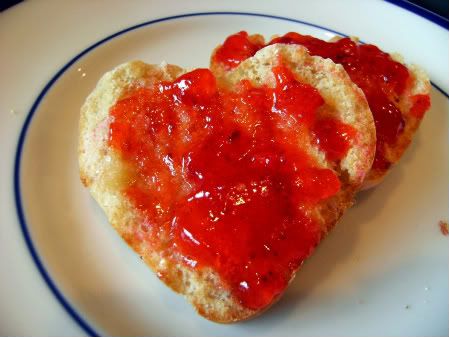
Well...they didn't exactly turn out like the muffins of my dreams, but they are still good.
Here's what I learned:
- Gel/Paste food coloring does not "knead in." I ended up with marbleized dough...good if you are going for the 60's psychedelic look.
- Heart-shaped dough doesn't necessarily stay heart-shaped. Anyone for English muffin amoebas?
- Most important, my neighbor makes a killer strawberry jam!!! (And it is the prettiest shade of red!)
I think I'm sticking to the original from now on. :)
{If only I can get my hands on some more jam. Hmmmm...}
Monday, May 25, 2009
Disposable Pastry Bags...Works For Me Wednesday
You know from a previous WFMW that I love squeeze bottles for flooding cookies (filling in the outlines). But here's what I use for piping outlines and adding details...
Why are these great? No washing! You may have seen these...
...but they require washing and drying after each use. Messy and aggravating!
Some recommend using baggies for a piping bag. I don't. I think they are hard to control, not all that sturdy, and the tip has to be cut off just right.
Disposable decorating bags work for me.
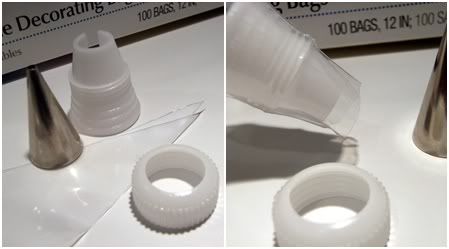
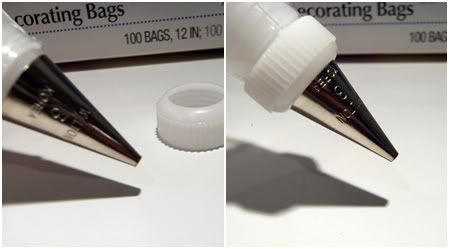
Insert a coupler, cut off the end (most say to cut it further up the coupler, I like to cut off less of the bag, that way there's less of a chance of leakage),
...add a tip and secure with the coupler ring. Now, if you want to change tip sizes, just unscrew the ring, change the tip and re-secure.
{Here's a great link with more details on how to use a pastry/decorating bag.}
Disposable bags are sold at bakery supply stores, craft stores and even WalMart. I buy mine in the box of 100 at Michaels. I cringed the fist time I saw the price, $19.99. I always wait for my 40% off Michaels coupon from the Sunday paper. With the coupon, the bags come to about 12¢ each. (OK...even at full price, they are only 20¢ each, but I feel better using a coupon.:)
Be sure to hop on over to We Are THAT Family for more WFMW tips! I learn something new every week. Here are a few of my previous entries:
Friday, May 22, 2009
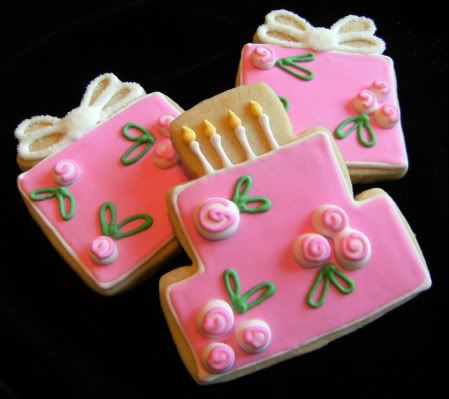
A cookie full of posies...
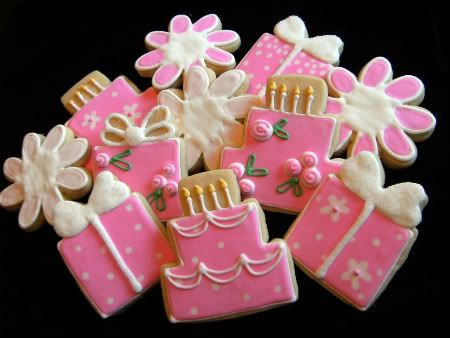
My girlfriend Terri is having a birthday today...and her sweet mom ordered cookies for her! :)
She ordered these:
But then emailed and told me to do whatever I wanted.
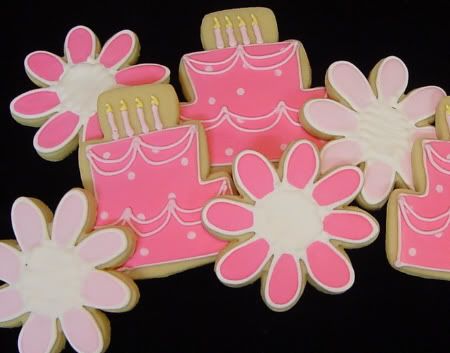
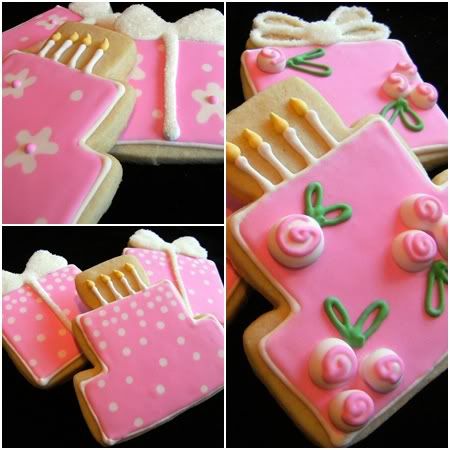
I still wanted to make the pink birthday cakes...they are some of my favorites, but I thought I'd play around with the design a little.
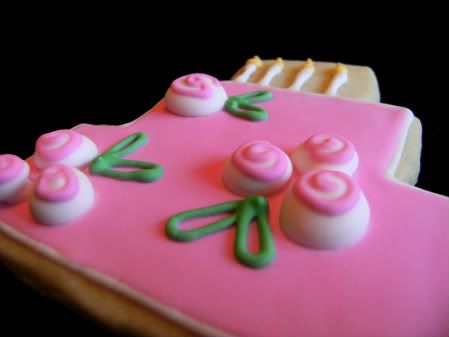
These on the right, with the big flowers, turned out to be my favorites. The flowers are pretty "high profile," so I'm a little worried about how they will ship.
Maybe Terri will let us know. (Don't worry, I sent extras in case of breakage!)
Here are a few of Terri's pink birthday cookie mix all together...
Terri.....I hope you have a wonderful birthday!!! I miss you! I'll be sure to drink a Bass Ale in your honor tonight! :)
Wednesday, May 20, 2009
The Write Stuff
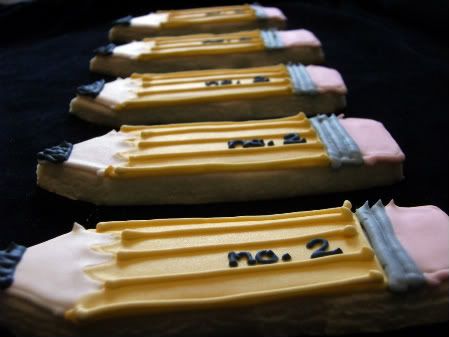
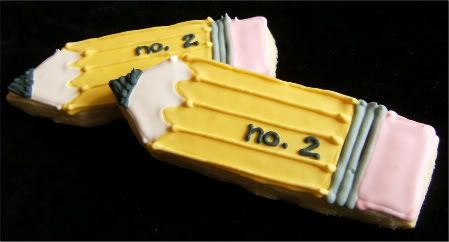
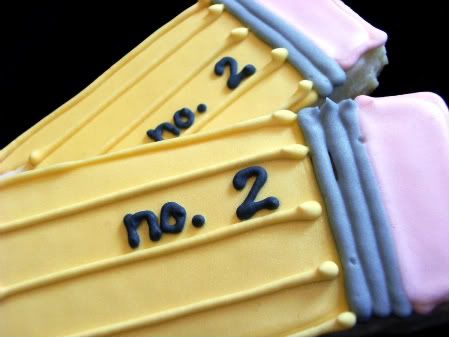
My son is taking some standardized tests this week....he LOVES taking these tests (I always did, too). The test facility asked the parents to bring snacks for the kids to share and to bring #2 pencils, so we did!
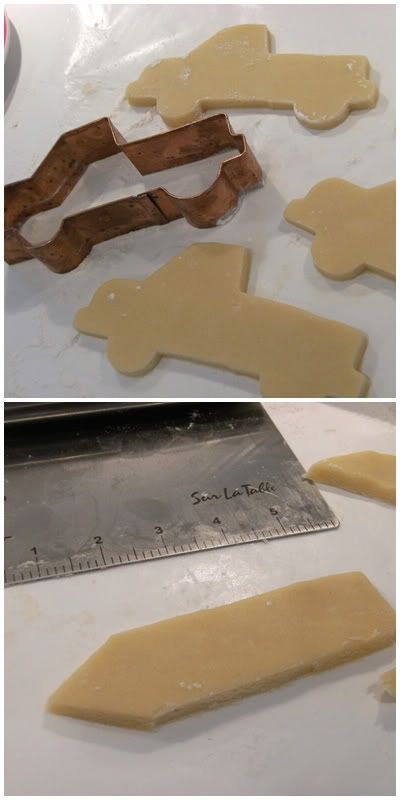
I didn't have a pencil cutter. I did have a "bachelorette party" cookie cutter...if you know what I mean...that would have worked with some slight modification. ;)
But since this was a daytime project and I didn't want to risk my son stumbling into the kitchen while I was performing surgery, I used my pick-up truck cutter instead.
Just a few chops with my handy-dandy bench scraper...voila! Pencils!
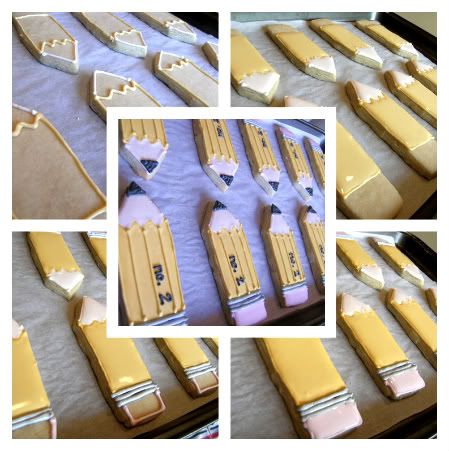
Here's the progression into cookie pencils....
To make the cookies:
- Using yellow royal icing, outline the main pencil shape with a #2 or #3 tip. (AmeriColor Egg Yellow mixed with AmeriColor Gold)
- With a #2 tip, outline the pencil tip in beige. (AmeriColor Copper)
- Thin the yellow and beige icings (reserving some yellow) with water to make the flood icing the consistency of syrup.
- Cover with a damp dishtowel and let sit several minutes.
- Run a silicone spatula through the icing to pop any large air bubbles and transfer to squeeze bottles.
- Fill in outlines.
- With grey icing, use a #3 tip to add the pencil detail in 2 or 3 lines. (AmeriColor Super Black)
- With pink icing, outline the eraser with a #2 tip. (AmeriColor Deep Pink mixed with AmeriColor Chocolate Brown)
- Thin the pink icing with water to make the consistency of syrup.
- Cover with a damp dishtowel and let sit several minutes.
- Run a silicone spatula through the icing to pop any large air bubbles and transfer to squeeze bottle.
- Fill in outline.
- With a #2 tip, add the pencil detail stripes in yellow.
- Using a #1 tip, add the "no. 2" and lead in black. (AmeriColor Super Black)
These would make a great teacher gift! For one more sweet teacher gift idea, click here!
Tuesday, May 19, 2009
My Ice Cream Maker...Works For Me Wednesday
Why I let this wedding gift sit unused for 6 years, I'll never know. This baby works for me!!! If you have an ice cream maker sitting in a box in the back of your cabinet, now is the time to break it out! If you don't have one, well, you might need one! :)
Homemade ice cream was like a revelation to me. It's a little like homemade bread; once you taste homemade, you never want to to back.
And, it's EASY!!! The kids can help, the mix-ins are limitless...and even the mistakes taste good!
Two of my favorite ice cream books are Ben & Jerry's Homemade Ice Cream & Dessert Book and The Ultimate Ice Cream Book. Both are great resources and have more recipes than you could ever make. (The Ultimate Ice Cream Book has a recipe for chocolate sorbet that is fat-free...not that we care about those things...and utterly decadent!)
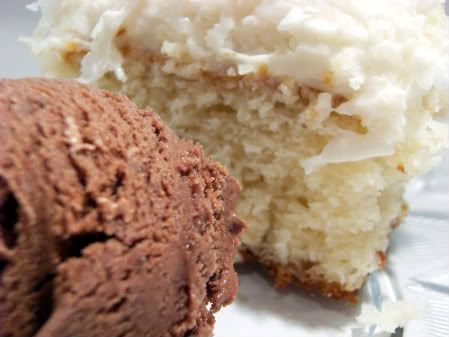
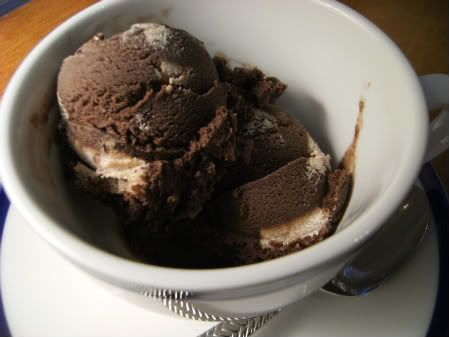
My favorite ice cream EVER is Jerry's Chocolate from the Ben & Jerry's book. (This is the ice cream I served with the coconut cake a few posts back.)
Here we made it and added cookie dough chunks.
Before:
After:
It's not all about chocolate, though...don't forget Key Lime Pie ice cream!
Keep the ice cream freezer canister in the freezer and you'll always be ready to whip up a batch. (I line mine with a piece of plastic wrap to prevent it picking up other smells from the freezer.)
Be sure to check out all of the Works For Me Wednesday tips and idea at We Are THAT Family. Here are some oldies, but goodies from me:
Homemade ice cream was like a revelation to me. It's a little like homemade bread; once you taste homemade, you never want to to back.
And, it's EASY!!! The kids can help, the mix-ins are limitless...and even the mistakes taste good!
Two of my favorite ice cream books are Ben & Jerry's Homemade Ice Cream & Dessert Book and The Ultimate Ice Cream Book. Both are great resources and have more recipes than you could ever make. (The Ultimate Ice Cream Book has a recipe for chocolate sorbet that is fat-free...not that we care about those things...and utterly decadent!)
My favorite ice cream EVER is Jerry's Chocolate from the Ben & Jerry's book. (This is the ice cream I served with the coconut cake a few posts back.)
Here we made it and added cookie dough chunks.
Before:
After:
It's not all about chocolate, though...don't forget Key Lime Pie ice cream!
Keep the ice cream freezer canister in the freezer and you'll always be ready to whip up a batch. (I line mine with a piece of plastic wrap to prevent it picking up other smells from the freezer.)
What your favorite ice cream flavor?
Be sure to check out all of the Works For Me Wednesday tips and idea at We Are THAT Family. Here are some oldies, but goodies from me:
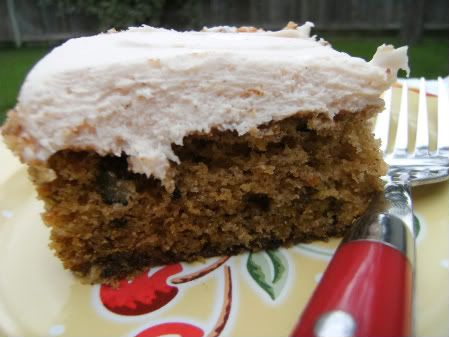
When life hands you vegetables, make cake!
When our family joined a CSA this year, I never pictured myself baking a cake from our shares.
But, in our box this week…BEETS!
{For the rest of the story, please visit my post over at Blissfully Delish! See you there!}
But, in our box this week…BEETS!
{For the rest of the story, please visit my post over at Blissfully Delish! See you there!}
Monday, May 18, 2009
Blissful...
Have you heard of Blissfully Domestic? It's an online magazine devoted to "real life." Here's a snippet from the website of what Blissfully Domestic is all about:
"We are 100% written and managed by real women; women who write as we bounce babies on our knees, women who spend lots of time in the carpool line, women who need coffee and women who are tired of traditional magazines written by 23 year olds fresh out of college."
Don't you love it? I am so happy to announce that I'm going to be contributing to the food channel of Blissfully Domestic, called "Blissfully Delish." Yay!!!
My first post will be on the site tomorrow...I'll let you know when. I hope you'll come on over and join me! There's something there for everyone!
Thursday, May 14, 2009
Teacher gifts: homemade, kid-decorated and delicious!
Let me give you an idea for teachers' gifts this year. I worked in a school for a few years and I can tell you....teachers have closets and cabinets full of candles and coffee mugs. I know, I gave a lot of them.
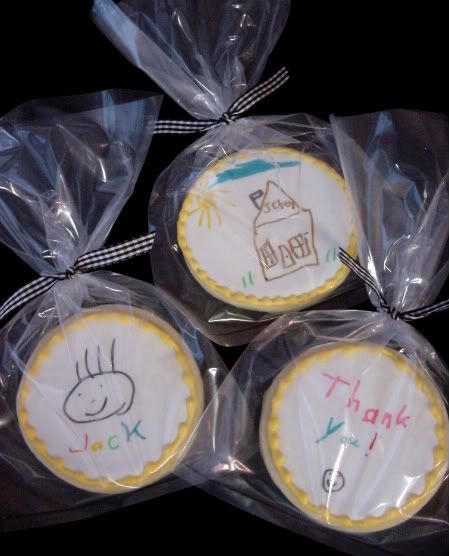
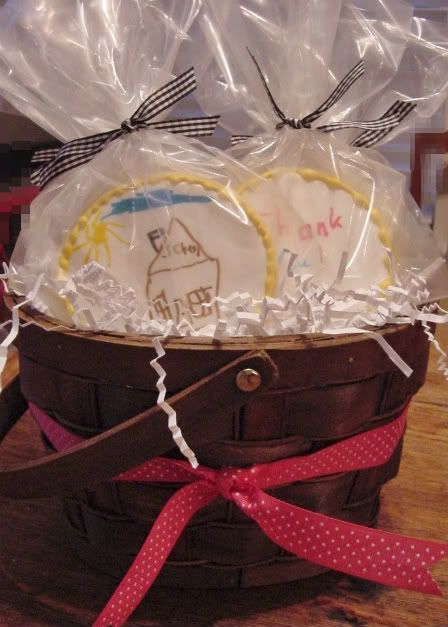
When my son was in the first grade,we he made these cookies for his teacher. I helped. :)
I made just a simple round cookie. Outlined it and then flooded it with white (royal) icing. (I added a decorative edge piping.) The cookies dried overnight, then I let me son loose with the food coloring pens.
TIPS FOR MAKING THESE:
These were a HUGE hit with his teacher. She was showing them to all of the other teachers in the area. My son was pretty proud of his handiwork, too.
Here are a few more "thank-you" cookie ideas:
When my son was in the first grade,
I made just a simple round cookie. Outlined it and then flooded it with white (royal) icing. (I added a decorative edge piping.) The cookies dried overnight, then I let me son loose with the food coloring pens.
TIPS FOR MAKING THESE:
- Let the cookies dry overnight. This is a MUST! The cookies will look dry in a few hours. Trust me, they're not.
- Make extras. Food coloring pens take a light touch...this is a difficult concept for kids (or maybe just mine?). The markers will poke into the icing making a hole if pushed. Not a big deal, but if you like things "perfect," have extras. :)
- I use AmeriColor Gourmet Writers. They come in a pack with about 10 colors and the tips are a little thinner than others. But, other brands of food coloring pens are widely available at craft and grocery stores.
These were a HUGE hit with his teacher. She was showing them to all of the other teachers in the area. My son was pretty proud of his handiwork, too.
Here are a few more "thank-you" cookie ideas:
Tuesday, May 12, 2009
A baker's best friend...Works For Me Wednesday
I ♥ bread.
I've never been on a low-carb diet, and I never will be. OK, "never" is a strong word...I never EVER will be!
Bread-lovers and bakers, let me introduce you to your new best friend/s....the folks at King Arthur Flour.
They're not just a flour company. They are a one-stop baking resource.
Do you know their website has recipes?
Have you visited their Baker's Banter blog?
King Arthur even has a baking "hotline"(!) and an email address for baking questions. {A real, live baker actually answers your questions!!!}
Here are a few goodies that I've made with the help of King Arthur...
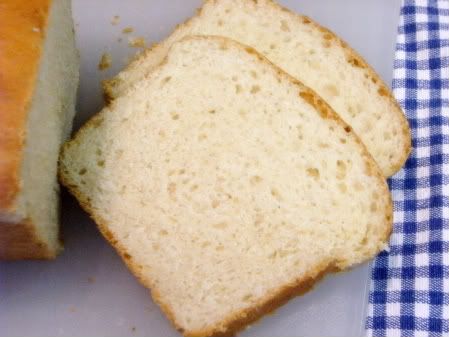
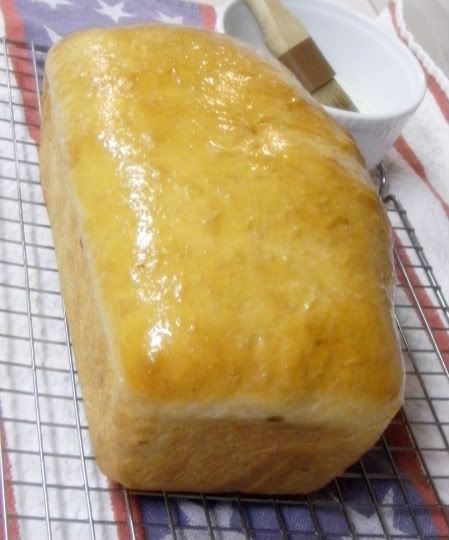
White Bread 101. {That's what it's called in the King Arthur Flour Baker's Companion.} Want to make you're own bread for sandwiches and toast? Start here. One bite and you'll cringe at the thought of buying store-bought! Make it healthier by using white whole-wheat flour or a combination.
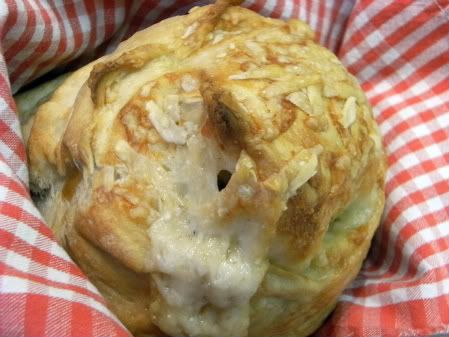
Oh yeah, babe! Warm bread filled with yummy cheese...need I say more?
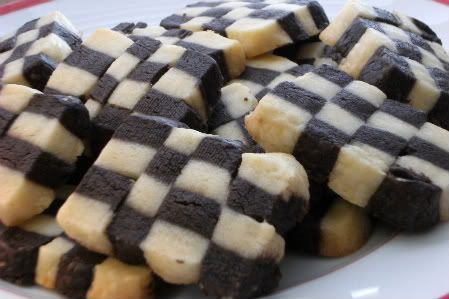
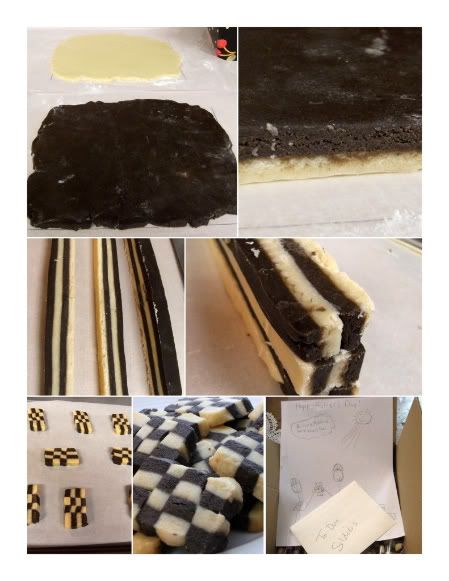
Checkerboard cookies...I never would have attempted them without help of the King Arthur Flour Cookie Companion.
Well, there you have it. King Arthur books, website and blog work for me. They are my go-to places when I have a baking question or need a recipe. I think you'll like them, too.
Come back later this week for an exciting announcement!!!
Subscribe to:
Posts (Atom)