
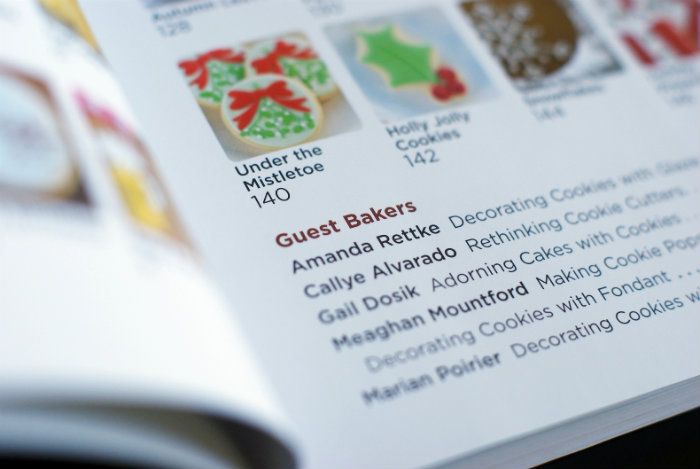
That same year, Martha Stewart asked readers to send in their best kid's costume pictures and it made it onto her website!!! Yes, kiddo is on Martha's website. You never know...it could be framed in her office, too. Or in her wallet. (Stranger things have happened.)
That picture was from 4th grade. Kiddo is now in 8th grade...and looks like this.
{{Hug your babies, you guys. Time flies.}}
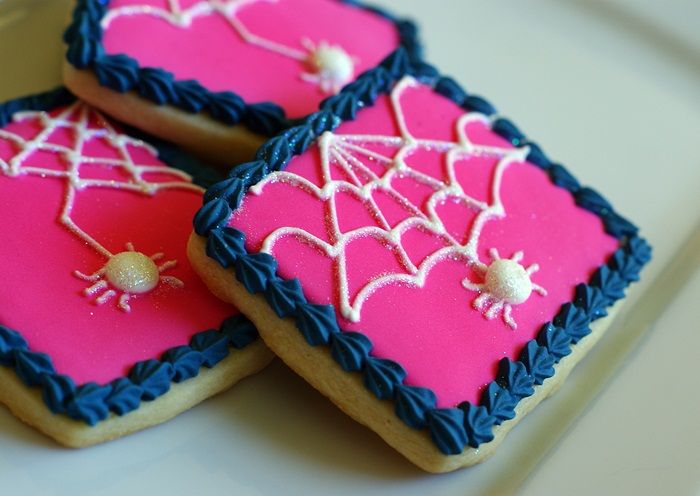
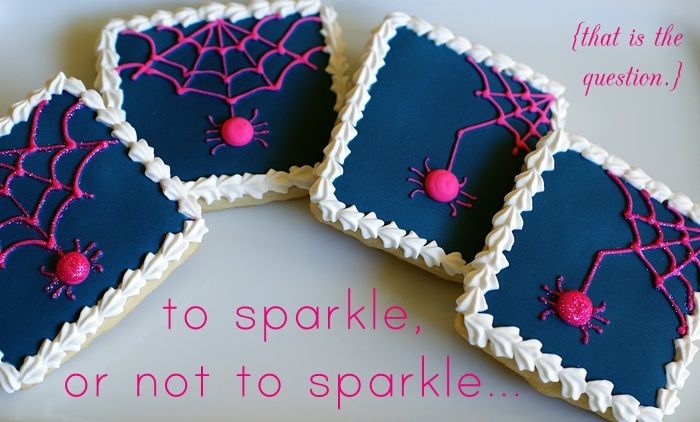
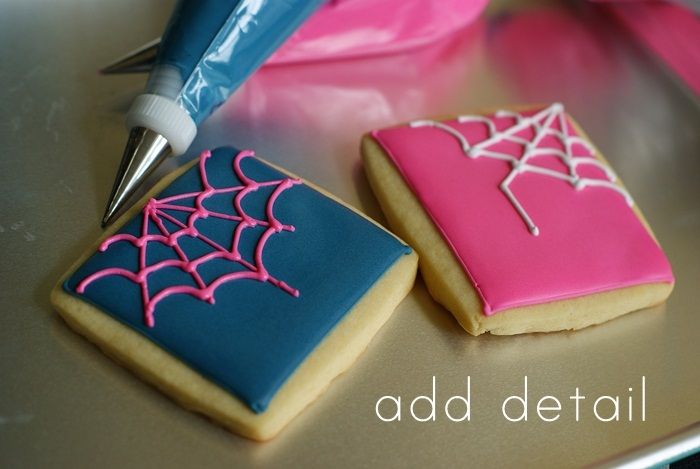
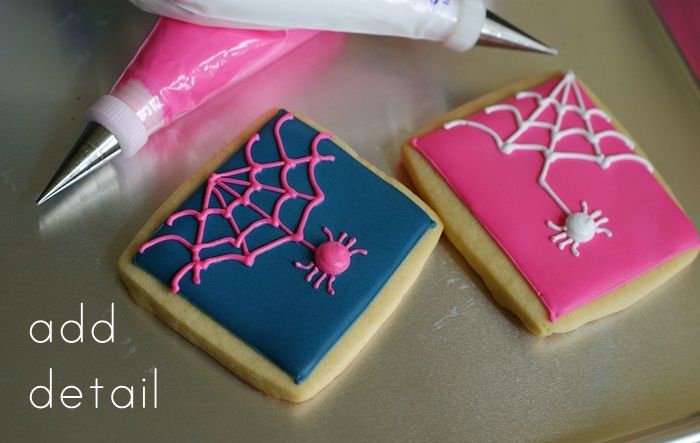
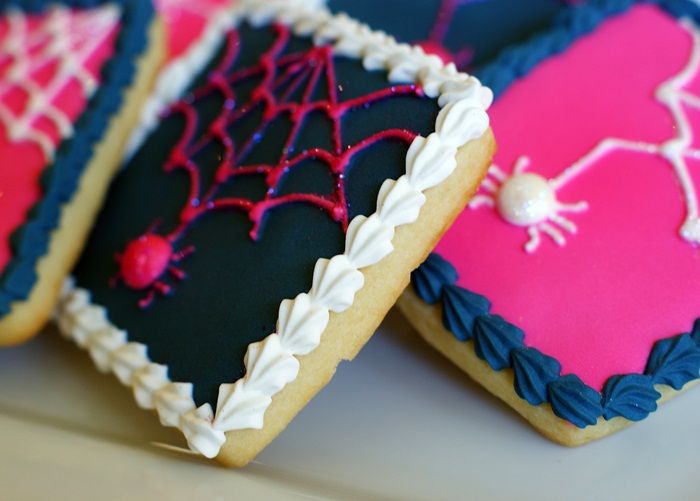
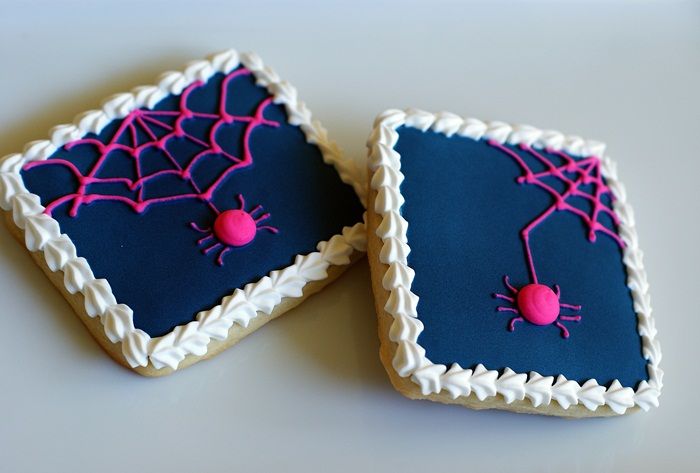
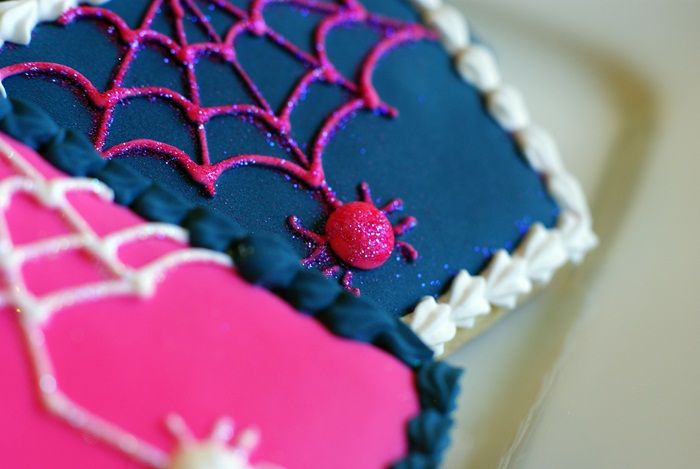
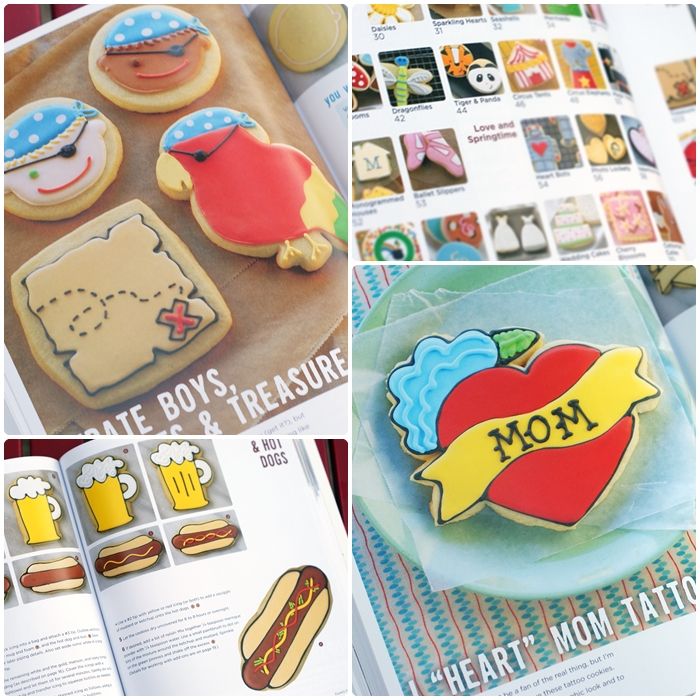
So, the cookies. I knew I wanted to make some spiderwebs. I wanted to use some different colors, but all I could visualize were black, orange, purple, green...black, orange, purple, green...black, orange, purple, green. Don't get me wrong, I like those colors. Then, it came to me in a flash of 80's nostalgia...preppy.
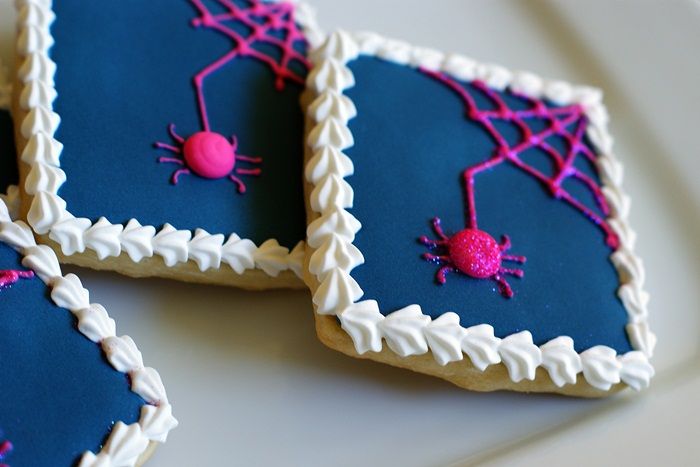
One note about the navy color. I mixed AmeriColor Navy with AmeriColor Super Black. You'll want to bring the color to a deep blue, but it won't look navy until it dries. (You'll see from the how-to pictures how much the color deepens.)
To make the sparkly spiderwebs, you'll need:
- rectangle or square sugar cookies
- royal icing, divided and tinted navy (using AmeriColor Navy & Super Black), Bright White, and Electric Pink
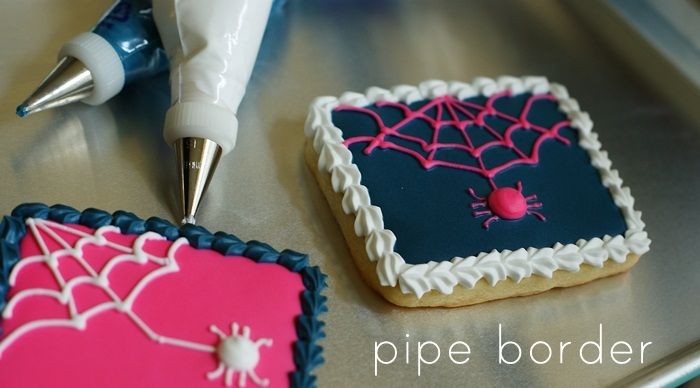
- couplers and tips: #2, 5, 1, star 15
- disposable icing bags
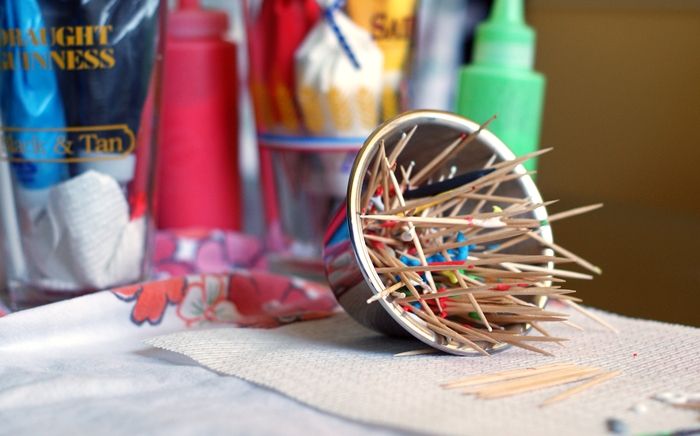
- toothpicks
- squeeze bottles
- optional: disco dust, rainbow & raspberry
- meringue powder
- paintbrushes
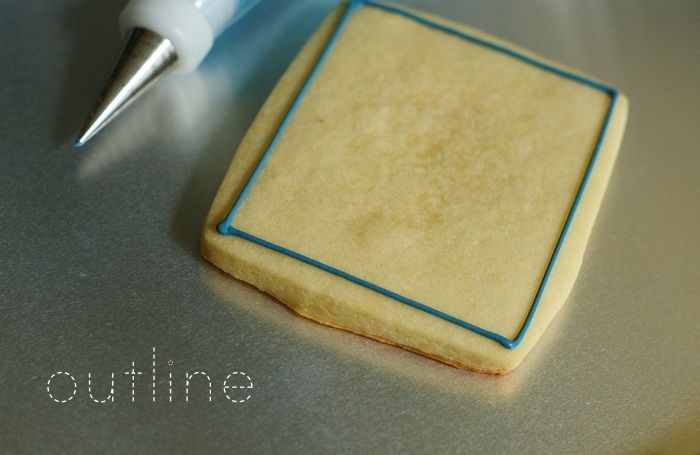
Thin the base color icing with water, a bit at a time, stirring with a silicone spatula, until it is the consistency of a thick syrup. You'll want to drop a "ribbon" of icing back into the bowl and have it disappear in a count of "one thousand one, one thousand two." Four is too thick, one is too thin. Count of 2-3 is good. Cover with a damp dishcloth and let sit for several minutes.
Stir gently with a silicone spatula to pop and large air bubbles that have formed. Pour into squeeze bottle.
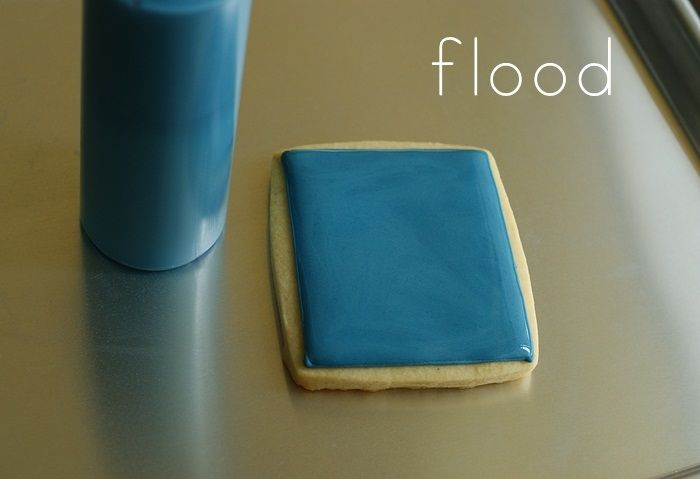
Let the cookies dry for at least one hour.
If desired, add the disco dust. Details on applying it are here. I used a very thin paintbrush to go over the web and legs of the spider.
After the dusted cookies have dried about 30 minutes or more, use a dry paintbrush to brush away the excess.
Let me live vicariously through you. What are your kids, grandkids, nieces, nephews going to be this Halloween?!?


