
One: Mini cookies are a lot harder to resist eating. Don't say I didn't warn you.
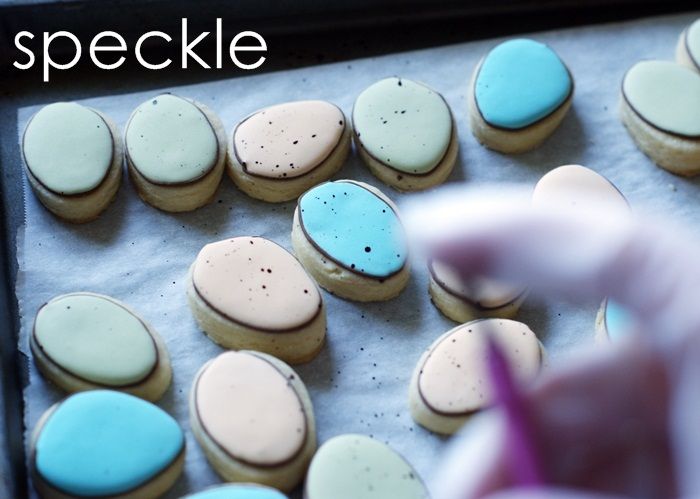
Two: Flicking the food coloring, it's fun. It's so much fun that you should do it when your kids are at school...or where they can't see you. Otherwise, I see food coloring being flicked all over your house.
{This is a warning from the uptight mom-lifeguard-teacher-prison warden side of me. If you are one of those cool, laid-back moms I dream of being, by all means, let your kids loose with the flicking.}
To make the mini speckled egg cookies, you will need:
- mini egg sugar cookies
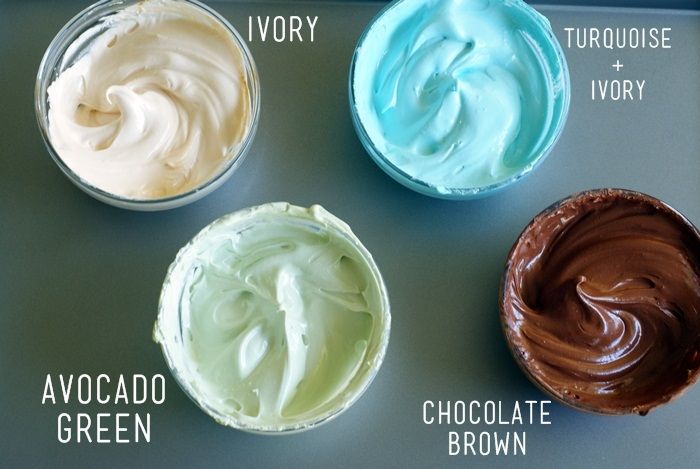
- royal icing, tinted with AmeriColor Chocolate Brown, Ivory, Avocado Green, and Turquoise mixed with Ivory
- coupler and tips (#1.5 or #2, #1, #15 star)
- disposable icing bags
- squeeze bottles
- toothpicks
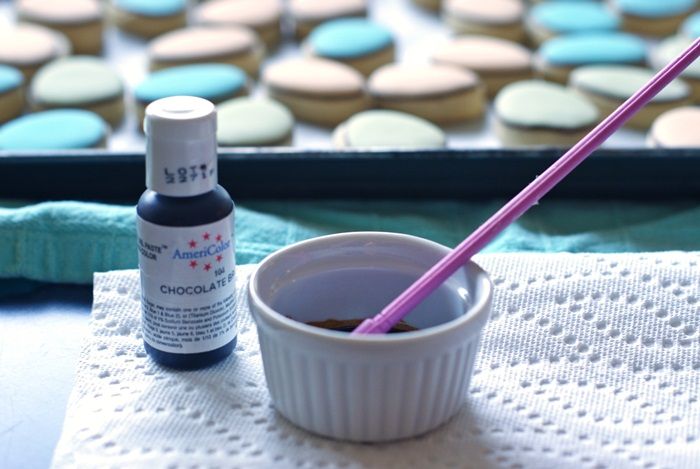
- chocolate brown food coloring
- small ramekin
- small paintbrush
- glove
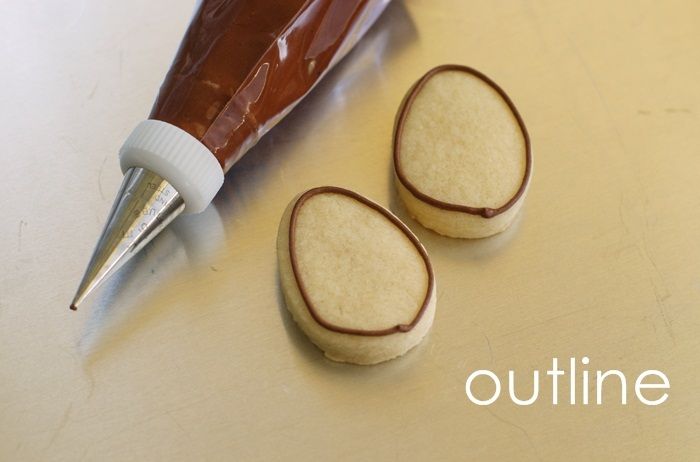
{Have I mentioned that piping egg shapes make me nervous? My eggs are never exactly perfectly shaped.}
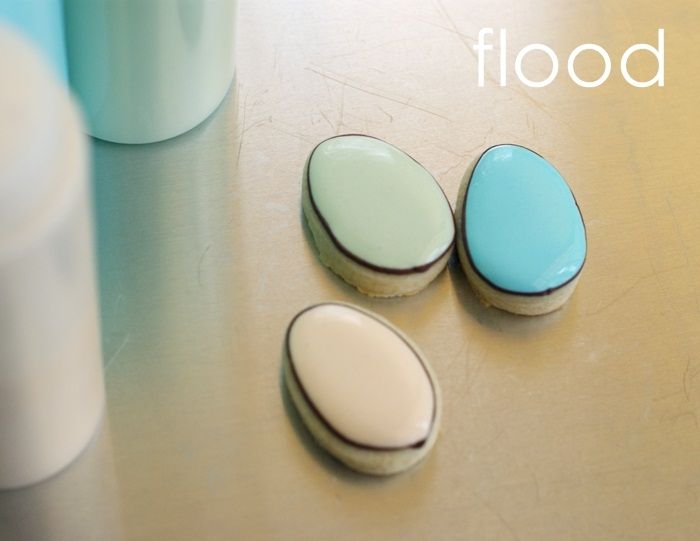
Thin the ivory, green, and turquoise icings with water, a bit at a time, stirring with a silicone spatula, until it is the consistency of a thick syrup. You'll want to drop a "ribbon" of icing back into the bowl and have it disappear in a count of "one thousand one, one thousand two." Four is too thick, one is too thin. Count of 2-3 is good. Cover with a damp dishcloth and let sit for several minutes.
Stir gently with a silicone spatula to pop and large air bubbles that have formed. Pour into squeeze bottles as needed.
Let the cookies dry uncovered, 6-8 hours or overnight.
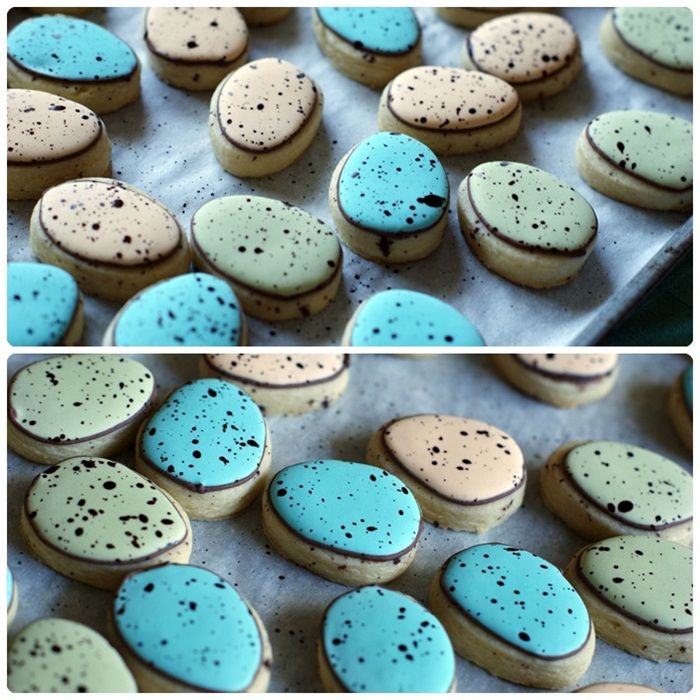

Speckled Egg Cookies...don't you want to try?!?