Sunday, October 31, 2010

All Saints Day Cookies

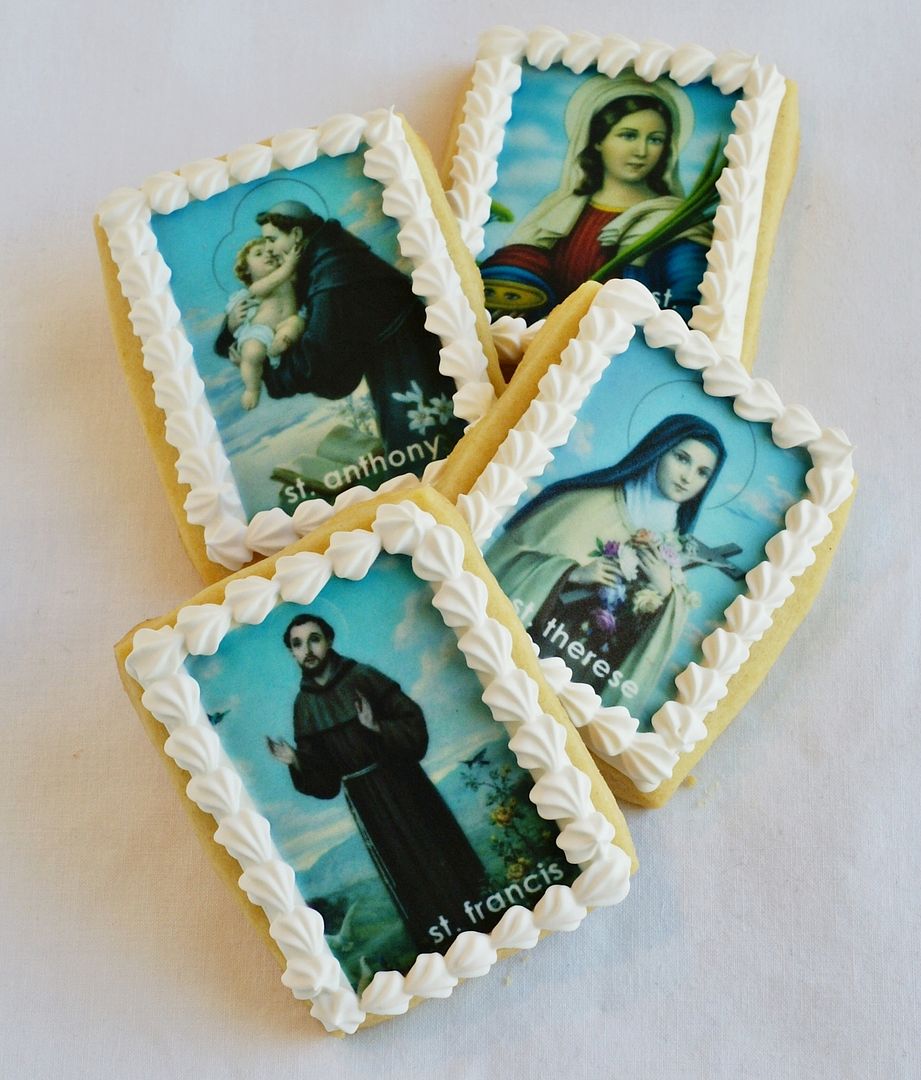
To be honest, this was one of the main reasons I bought an icing printer.  Saint cookies have been on my mind for years now.

If you don't have an icing printer, don't worry.  Scan the images you want, format them to fit your cookies and take your file to the grocery store bakery or local bakery supply shop to have your images printed.

These are going to kiddo's teacher.


Here's what you need to make them:
  • cookies
  • an awesome aunt who is sweet enough to scan and email you a zillion saint cards
  • frosting sheets
  • white royal icing
  • #2 or 3 tip and #16 star tip

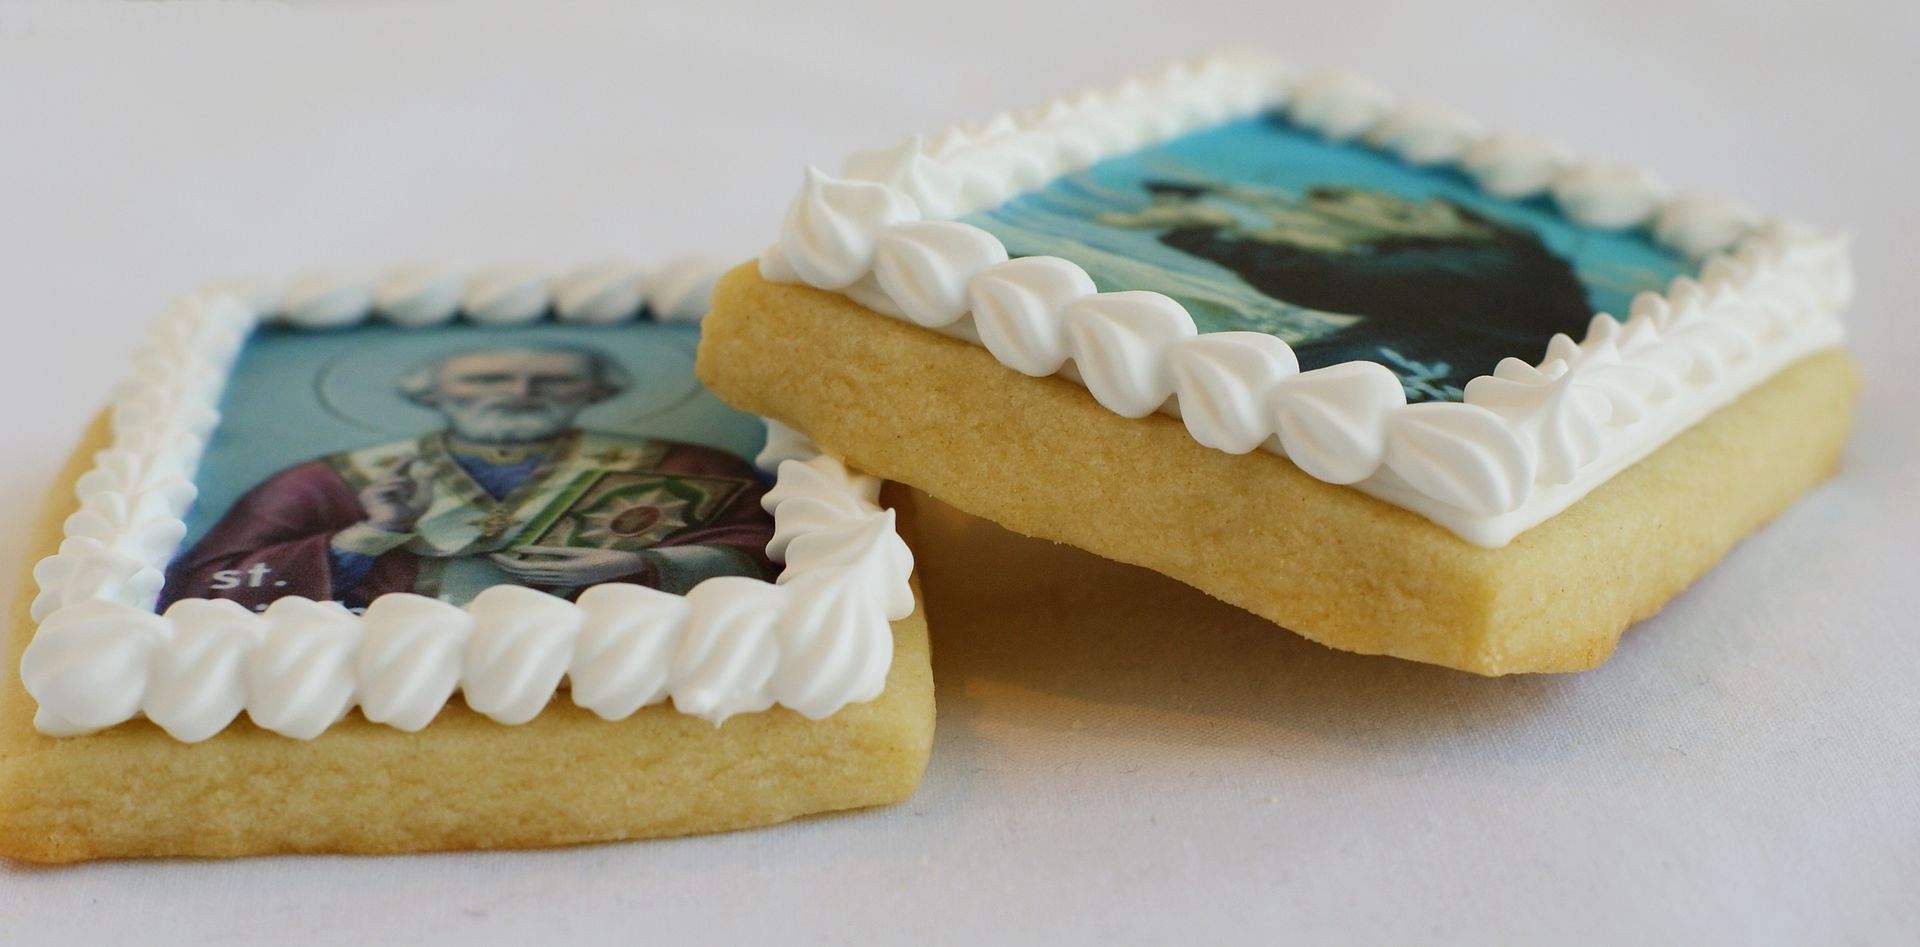
The cookies look cute plain, but I really like the something extra a little piping adds to them.  I added the border with a #16 star tip.

Did they all turn out perfectly? Well, no.

You might recognize the guy on the left.

St. Marguerite.  When my Nana traced our family tree she found we were related to her.  Which is obvious given my saintly nature.

My favorite saint?  St. Bridget (or Brigid), for obvious reasons.  BUT, when the priest who married us gave me a copy of this prayer attributed to her, well, it sealed the deal.  It's a must read.


Here's St. Lucy...
Yes, those are her eyes on a platter. You guys, the saints are interesting!!!

Do you have a favorite saint?

Thursday, October 28, 2010

Halloween cookies so easy, it's scary


{Are you scared, yet?!?}

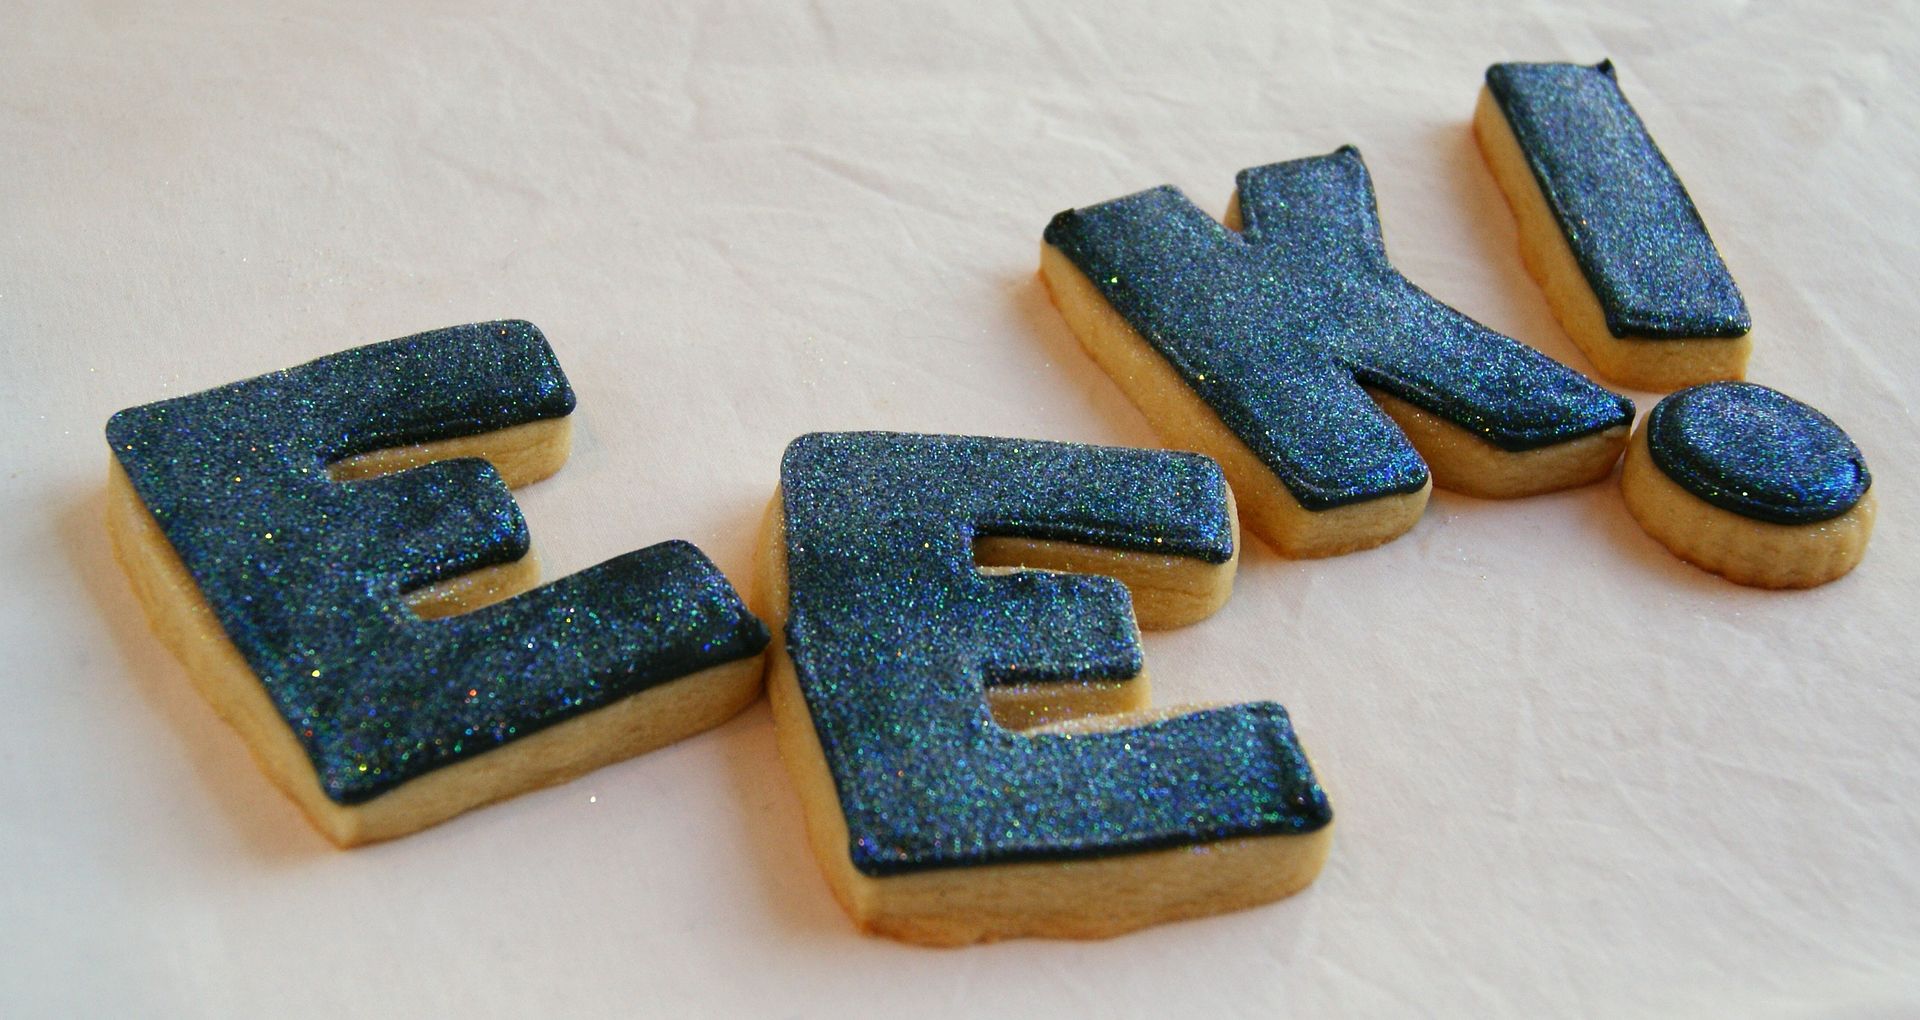
OK....these have to be the simplest cookies EVER!  You need 3 things:

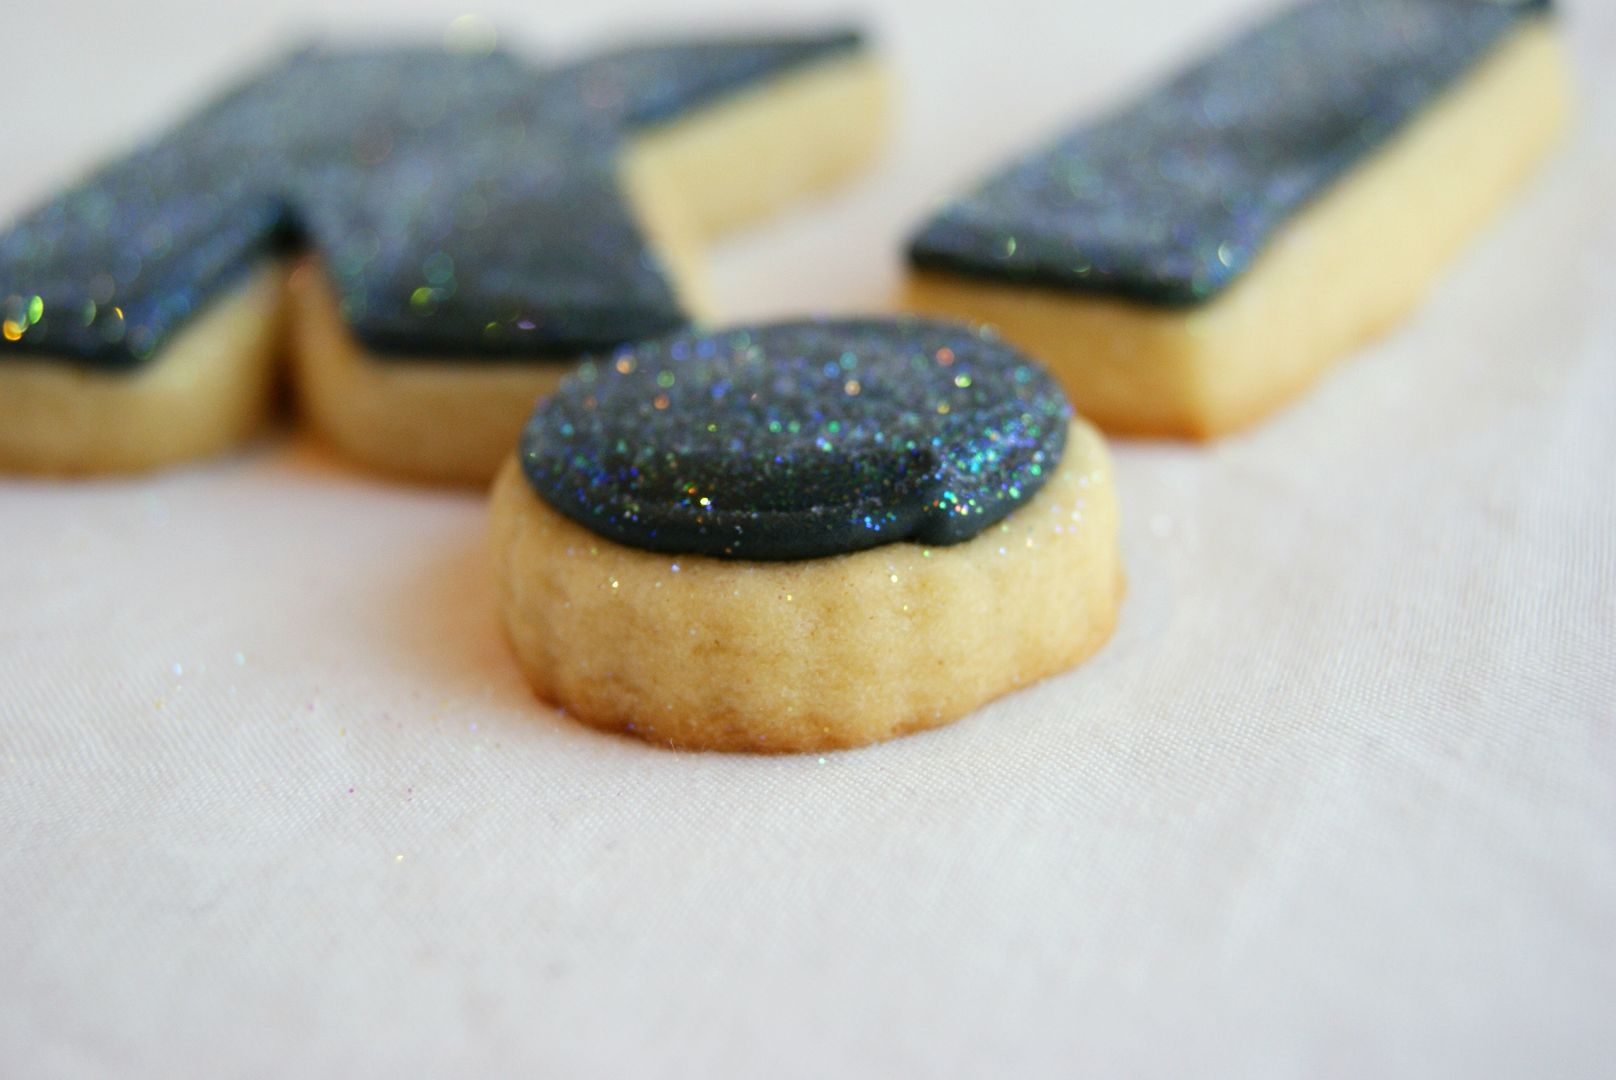
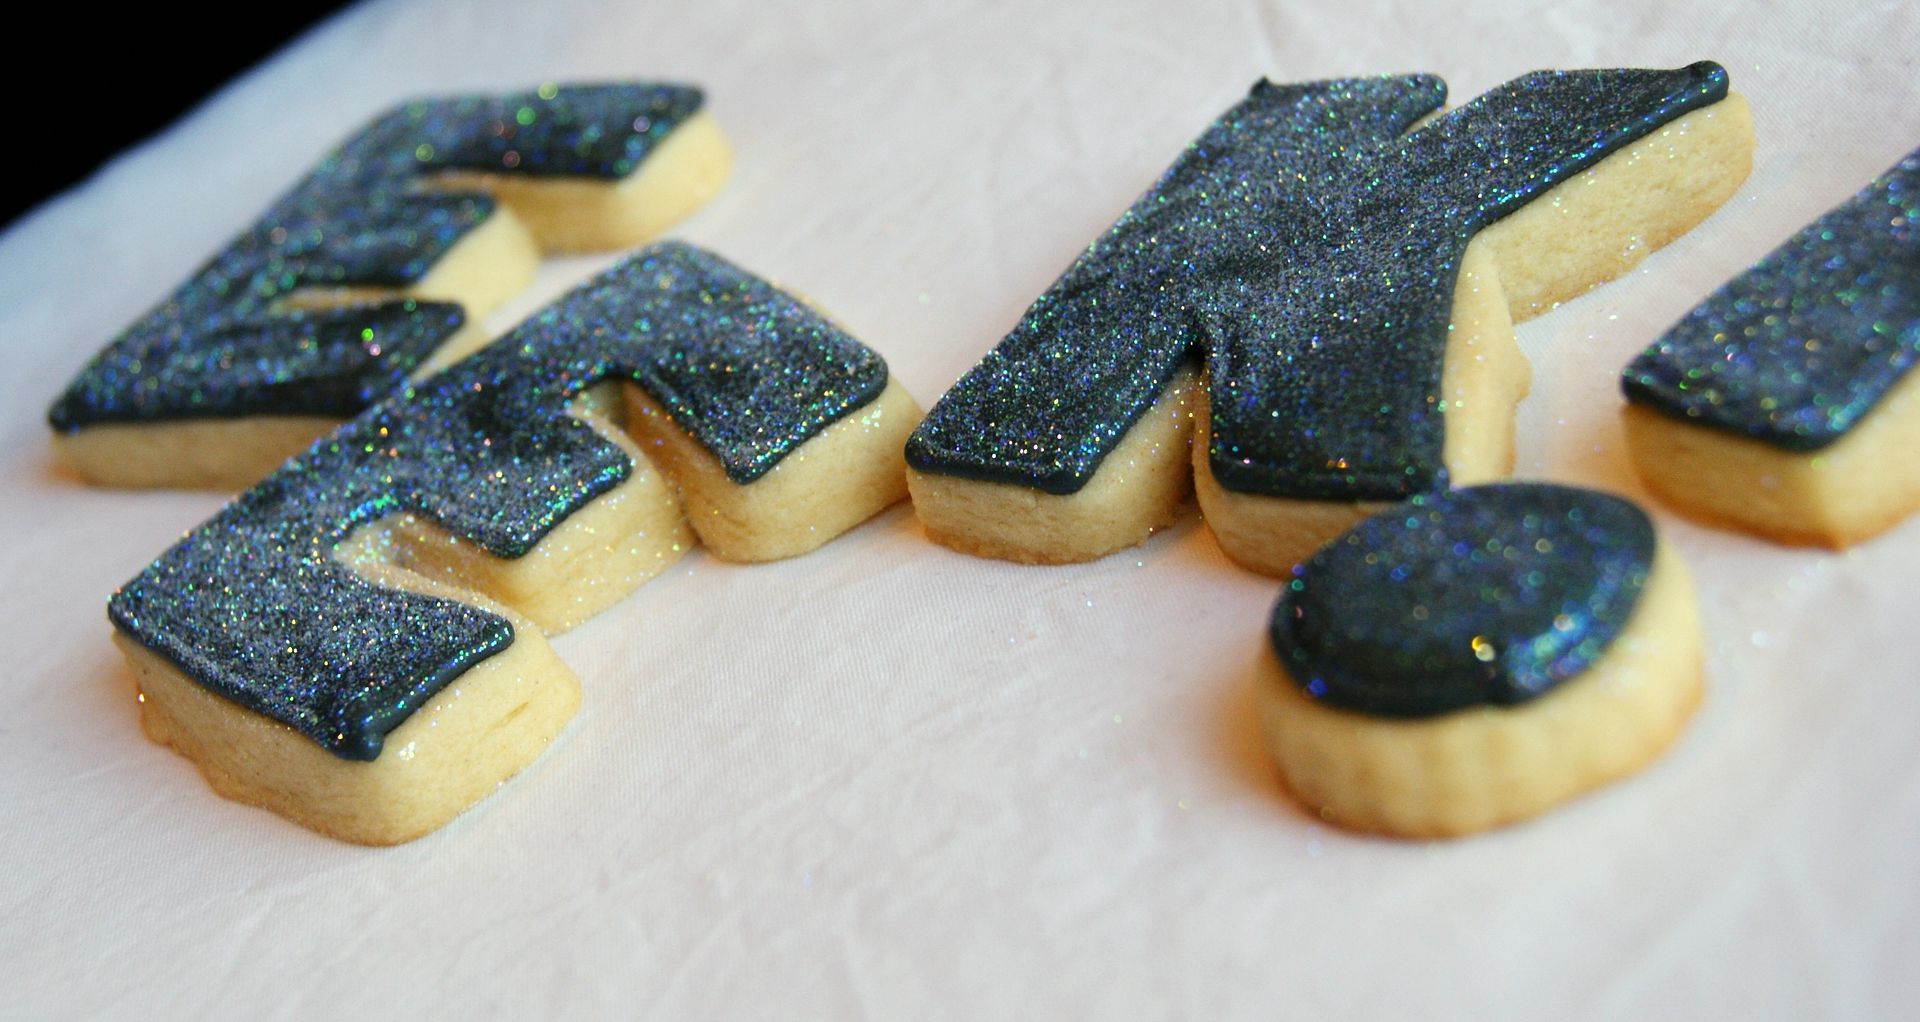
Outline and fill the cookies with black royal icing.   While the icing is wet, sprinkle on the Disco Dust.

THAT'S IT!!!

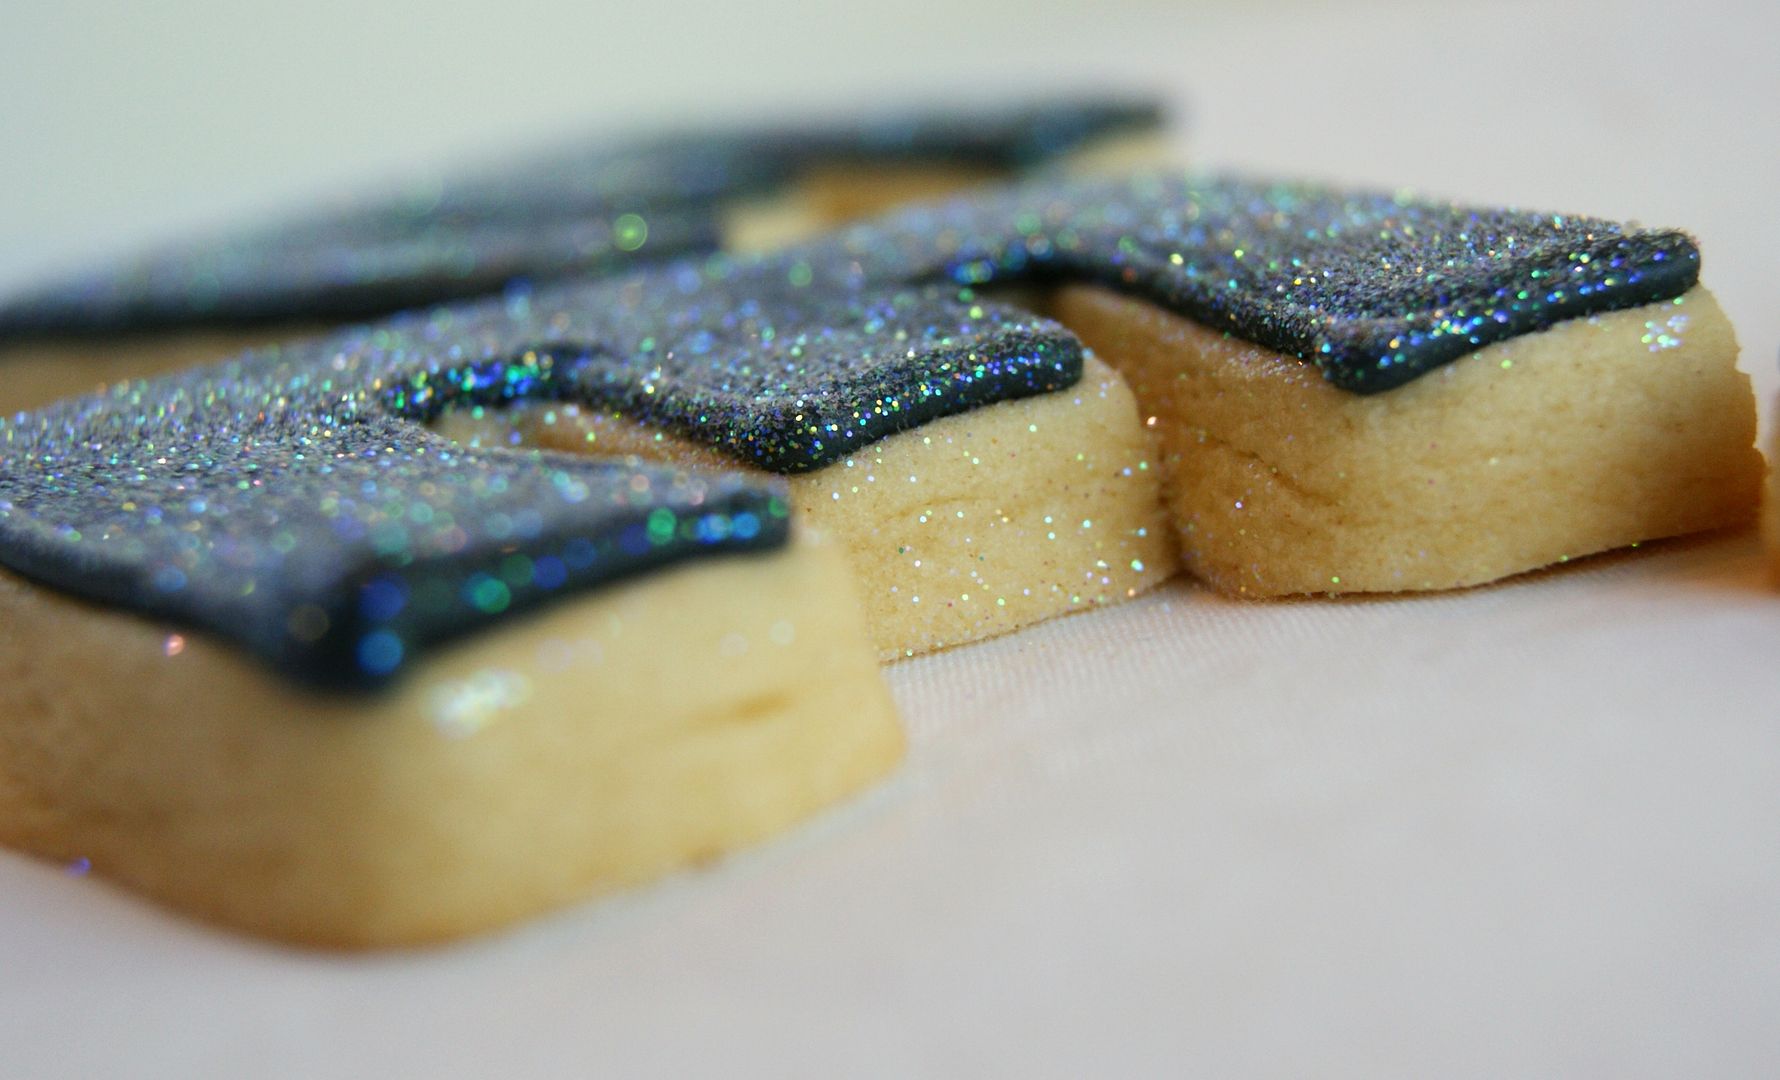
Disco Dust is like bling for cookies.  I can't even describe how sparkly and pretty it is.  It captures the light like nothing I've ever seen.  I hope these pictures do it justice:

I bought my Disco Dust from Amazon and if you are using Swagbucks, it's a great way to try it for free.  Sweet Baking Supply also sells it and has it in a huge variety of colors!  (I used the one called "Rainbow.")

And since it's almost Halloween, let me share with you the SCARY thing about Disco Dust....it gets EVERYWHERE!!!  If you have a toddler, I'd definitely keep it out of reach.  I made these cookies a few days ago and and still seeing sparkles on my table, my floor, my FACE.  You've been warned! ;)

Saturday, October 23, 2010

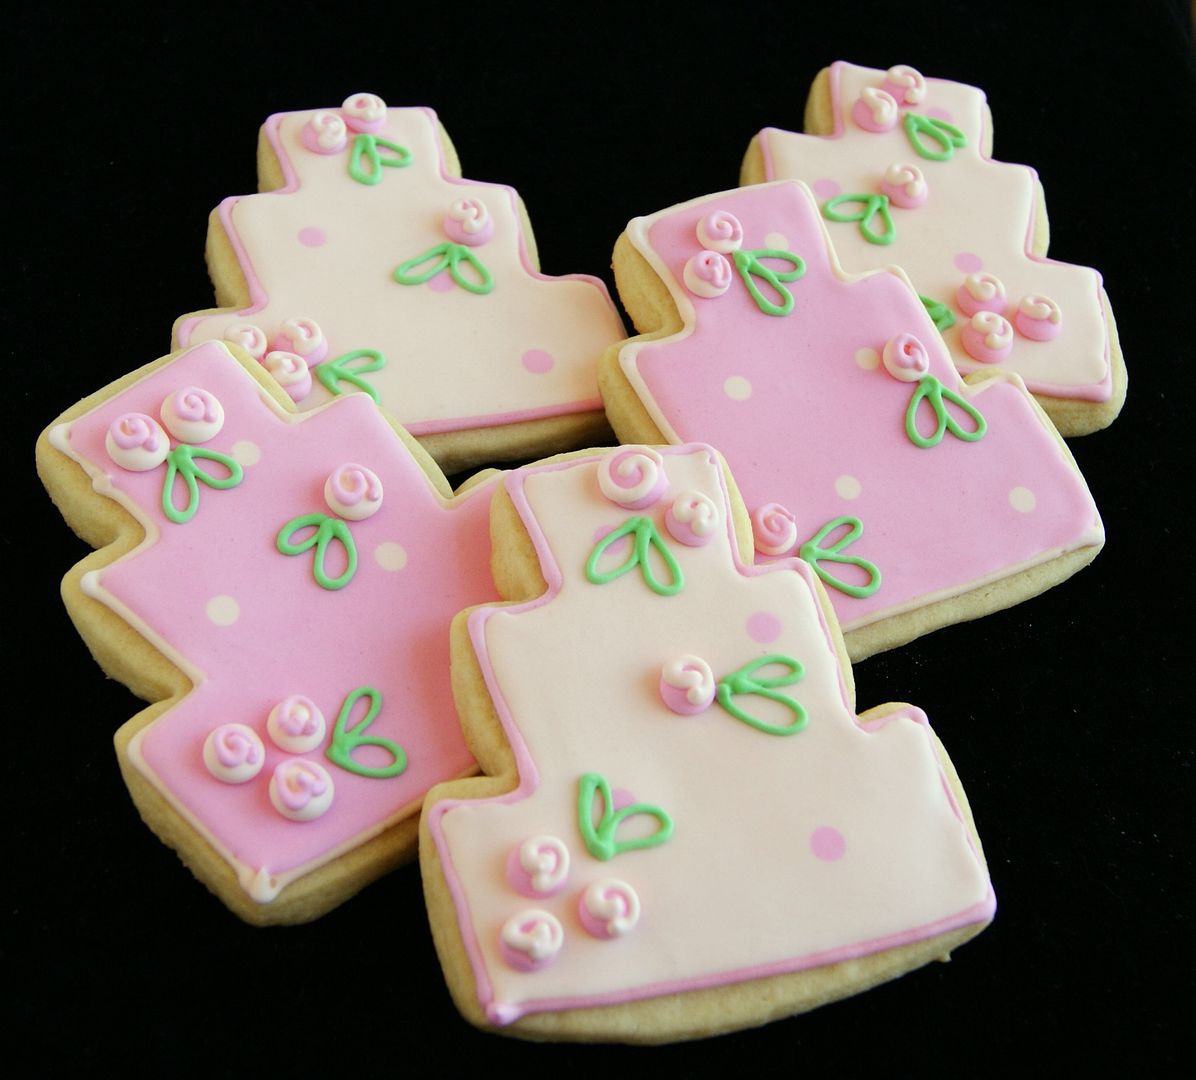
Posie Cakes . . . cookies for a sip and see

I had a request for my "signature cookie" this month.  The funny thing is, I didn't know I HAD a signature cookie, but I knew exactly which cookies she was referring to.  The pink cookies in my header, on my blog button, my twitter avatar....I must really like that cookie! ;)

And because those original cookies were for my girlfriend Terri, it makes me happy to call them my "signature."

This version of the cookie was for a sip and see for a baby girl.
 
I love sip and sees!  Sip and Sees are like baby showers given AFTER the baby is born. There's ooo-ing and ahhh-ing over the baby, presents in pink or blue, lots of food....and oh, yeah...maybe the new mommy can have a mimosa! ;)

To make the cookies, you'll need:
First, outline the cookies with royal icing using a #3 tip.  Let the outline dry 20 minutes or more.

Reserve some of the pink royal icing used for outlining and thin the rest with water for flooding.  Adding just a bit of water at a time, stir the water into the icing until it is the consistency of thick syrup or glue. Cover with a damp towel and let sit several minutes.

Stir the icing gently with a rubber spatula to pop and air bubbles that have risen to the surface.  Transfer to squeeze bottles.

Working 6-8 cookies at a time, fill in the outline in the contrasting pink thinned icing.  Use a toothpick to spread into edges and corners.

Come back over the 6-8 cookies just flooded and drop on dots of the contrasting color.

Let the cookies sit for more than an hour since the detail flowers are large.  You don't wanted dented icing! :)

If you have made your royal icing the day you are decorating, add just a few drops of water to the outline consistency icing.  This will help prevent stiff peaks on your flowers.  If the icing was made the day before, it loses some of it's stiffness in the fridge. 

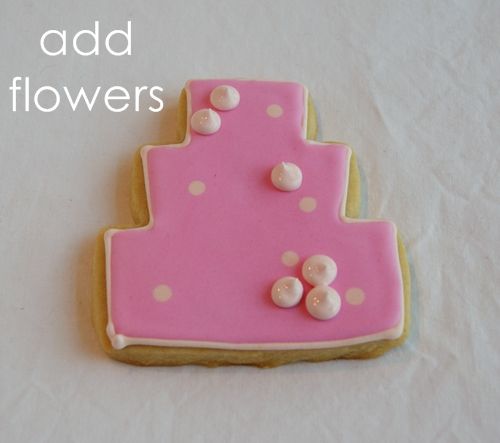
With a #7 tip, add large dots for the flowers.

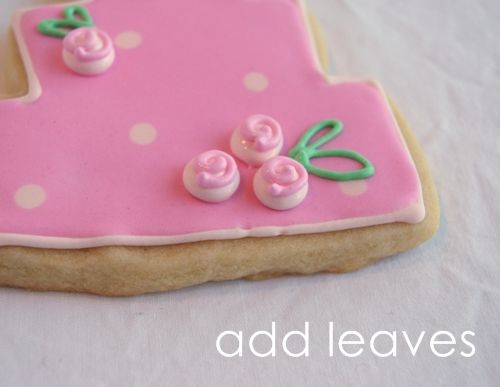
With #1 tips, add swirly detail to the center of the flowers.

With the green icing and a #1 tip, add leaves.

Let dry overnight.

Voila! 

So, if these pink posie cookies are my "signature" cookies....what's YOUR signature dish? 

Wednesday, October 20, 2010

Bowls, bowls, more bowls (and a giveaway) . . . Works for Me Wednesday

Nesting bowls make me a little giddy.  I'm not sure why....could it be just the possibility of what can be stirred up in them?

{Wasn't there a commentator who said he got a "thrill up his leg" when he heard President Obama speak? Well, that's how I feel about nesting bowls.}

I love glass bowls, ceramic bowls, painted bowls...you name it.  And don't you just love having the perfect SIZE bowl?!?  Please tell me I'm not the only one!
Well, I hope you get giddy over bowls like I do because the wonderfully sweet people at Luminarc Glassware want to send you a set!  A FIFTEEN-piece set....10 glass nesting bowls and 5 lids.  Oh, bowls with LIDS....even better!  (And the lids are "Martha" green!)

The set they sent me has been getting a workout.  Aren't they pretty?!?
 
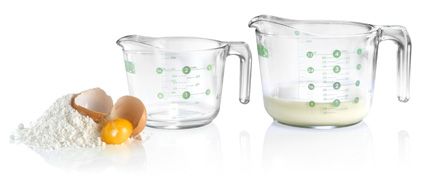
BUT WAIT....enter now and you will also receive a 2-piece glass measuring cup set!  ;)

Whether you are an experienced baker or just starting out, you are going to LOVE this giveaway!

To enter to win the bowls & measuring cups:
*giveaway closed...winner announced*
  • visit Luminarc's Facebook page (their website is coming soon), come back and leave a comment here about what kitchen essentials make you giddy: bowls, baking pans, measuring cups...
  • for an EXTRA entry....tweet the giveaway and leave a separate comment letting me know you did: "Enter to win essential goodies for your kitchen from Luminarc & @bakeat350tweets http://ow.ly/2Wv3l " 

works for me wednesday at we are that family
    Random drawing will be held Sunday, October 24th, at 8pm CST.  Good luck!

    Sunday, October 17, 2010

    Sweet & Salty Brownies

    Have you heard of Baked?  The bakery in New York and South Carolina?  Maybe you've heard of the Baked: New Frontiers in Baking cookbook.  Maybe just maybe, if you saw pumpkin whoopie pies on Martha Stewart or on a blog, like here, chances are the recipe was a version from the guys of Baked.

    Baked's owners, Matt Lewis and Renato Poliafito, have a brand new, beautiful cookbook out now, called Baked Explorations: Classic American Desserts Reinvented.  I was lucky enough to be given a copy to drool over review. {Maybe you heard the squealing when I opened the box.}

    The book itself is gorgeous, with lots of photos and original takes on classic recipes.  A sampling: Chocolate Mint Thumbprints, Peaches and Dream Pie, Pecan Tassies, Maple Cupcakes and Mississippi Mud Pie.

    So far, we've tried Pumpkin Cheddar Muffins *faints* and these Sweet & Salty Brownies.

    If you like the sweet and salty combo, prepare yourselves.  This is a fudgy, rich, chocolatey, perfectly crackly-topped brownie with a layer of salted caramel sauce sprinkled with coarse sugar and salt.  Ready for the recipe?

    Sweet & Salty Brownie
    {from Baked Explorations: Classic American Desserts Reinvented}

    Caramel:
    1 c. sugar
    2 TBSP light corn syrup
    1/2 c. heavy cream
    1 tsp fleur de sel *(see note)
    1/4 c. sour cream

    Brownie:
    1 and 1/4 c. flour
    1 tsp. salt
    2 TBSP dark cocoa powder
    11 oz. quality dark chocolate (60-72%), coarsely chopped
    2 sticks unsalted butter, cut into 1-inch cubes
    1 & 1/2 c. sugar
    1/2 c. firmly packed light brown sugar
    5 large eggs, room temperature
    2 tsp vanilla

    Topping:
    1 and 1/2 tsp fleur de sel *(see note)
    1 tsp coarse sugar


    Make the Caramel:
    In a medium sauce pan, combine the sugar and corn syrup with 1/4 c. water, stirring together carefully so you don't splash the sides of the pan.  Cook over high heat, until a thermometer reads 350 degrees and is dark amber in color.
    {Working with a thermometer always makes me a little nervous. And, please pardon the Dickey's BBQ cup in the background.}

    Remove from the heat and slowly add the cream (it will bubble up).  Then add the fleur de sel.  Whisk in the sour cream.  Set aside to cool.

    Make the Brownie:
    Preheat oven to 350.  Butter the sides and bottom of a 9 x 13" pan.  Line the bottom with parchment paper.  Butter the parchment.

    In a medium bowl, whisk the flour, salt and cocoa powder.

    Place the chopped chocolate and butter in a bowl over simmering water.
    {Doesn't this sight just make you happy?}

    Stir occasionally until the chocolate and butter are completely melted and combined. Turn off the heat, but keep the bowl over the water.  Whisk in both sugars until completely combined.  Removed bowl from pan.

    Add 3 eggs to the chocolate mixture and whisk until just combined.  Add the remaining eggs and whisk until just combined.  Add the vanilla and stir until incorporated.  Do not overbeat the batter at this stage or your brownies will be cakey.

    Add the flour mixture.  Using a rubber spatula, fold in the dry ingredients until there is just a trace of the flour mixture remaining.

    Assemble:
    Pour half of the mixture into the prepared pan and smooth the top with an offset spatula.  Drizzle and 3/4 cup of the caramel sauce (not all of it) over the batter, trying to stay away from the edges. Gently spread the caramel sauce evenly.  In heaping spoonfuls, scoop the remaining batter over the caramel layer. Smooth the brownie batter gently over the caramel.

    Bake the brownies for 30 minutes, rotating the pan halfway through.  Brownies are done when a toothpick inserted in the middle comes out with a few moist crumbs.

    Remove the brownies from the oven and sprinkle with the fleur de sel and the coarse sugar.

    Cool completely before serving.  (We thought these were even better the NEXT day.)

    *Note: I had a tiny bit of fleur de sel in my pantry from the bulk section of a gourmet store. MY grocery store wanted *gulp* $14.95 for a small jar. Sooo, I mixed my remaining 1/2 tsp with enough freshly ground sea salt to make up the difference. Seemed to work just fine. :)

    Now...what to make from Baked next?!?