Sugar cookies piled high with icing and sprinkles have always been a LOVE in my life.
Several years ago...before I began blogging...I happened upon Bake at 350.
I honestly couldn't believe there was a blog that was whole~heartedly devoted to the love of
iced sugar cookies!
I can remember the very first time I emailed Bridget about a problem I was having while icing sugar cookies for a BAMA football game. She emailed me back...
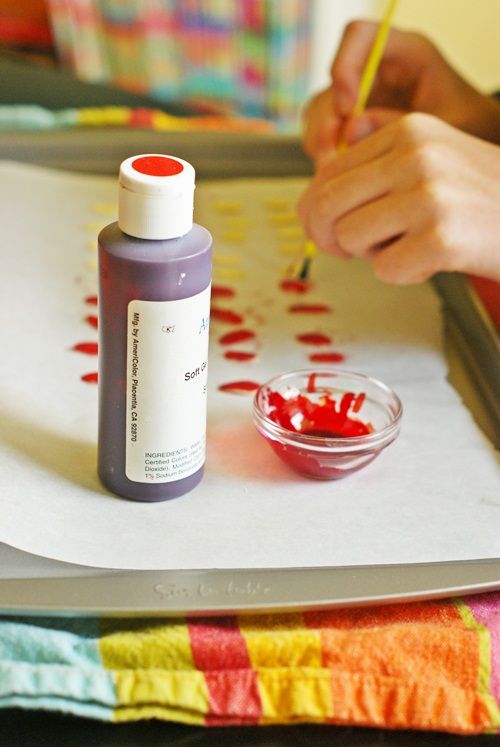
coaching me through the process of achieving the perfect shade of RED icing!
I've totally been hooked on Bridget and Bake at 350 since that day!
Well I've been more than just "hooked" on Bake at 350.
I've grown to love and adore Bridget as if she were a bestie that lived next door.
Bridget is without a doubt one of the loveliest~sweetest~funniest~inspiring girls I know.
I am honored to call her friend.
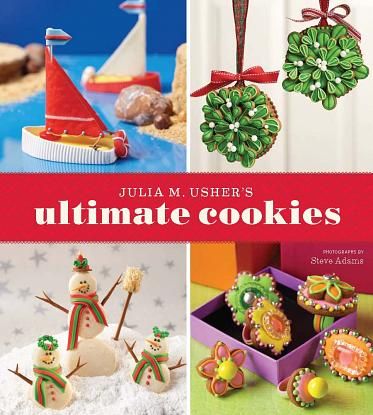
I am BEAMING so BRIGHT that she is creating a cookbook.
And I am thrilled to be sharing one of my favorite CHOCOLATE cookie recipes with YOU!
Rolled COCOA Cookies!These are without a doubt one of the yummiest~easiest cookies you will ever ever make.
Trust me!I wouldn't bake anything but THE BEST for Bridget...would you? ;)
Here's what you need to bake these cookies.
3 cups all~purpose flour {I use unbleached}1 cup unsweetened cocoa powder1 tablespoon baking powder1/2 teaspoon salt2 cups sugar1 cup shortening2 eggs1/4 cup milk1 recipe Cocoa~Butter Frosting{I suggest doubling the frosting recipe. Trust me...you'll want lots of frosting!}
~recipe adapted from
The Ultimate Cookie Book~
If you're baking for Bridget....you may wanna shine up the kitchen aid!
Make sure it knows who it's baking for. ;)
You'll also wanna tie on your favorite apron.
If you're baking for Bridget...you've gotta look CUTE!
Let's begin with the cookies.
Stir together the dry ingredients.
Set them aside.
In a large mixing bowl beat the sugar~shortening~eggs~and milk.
Beat on medium to high speed until combined.
Gradually add the flour~cocoa mix.
Beat in as much of the flour~cocoa as you can with the mixer.
Stir the rest in by hand.
When the cookie dough is ready...divide it in half. Cover and chill the dough for 2 hours.
One thing you need to remember if you're baking for Bridget!
Bridget
LOVES good music!
So ROCK~OUT as you bake! Crank up some oldies ROCK!
If by chance the Eagles begin playing Hotel California....
don't resist the urge to LIGHT~UP a candle!Pretend you and Bridget are at an Eagles concert ROCKIN' out!
It's all in the name of BAKING! ;)After the concert the dough should be chilled.
Now comes the fun part.
Roll out the dough one half at a time. You will love the way this cookie dough rolls.
Use a 2 - 3 inch cookie cutter to cut shapes from dough.
Place the cookies on a cookie sheet lined with parchment paper.
Preheat oven to 375 degrees.
Bake the cookies about 7 minutes. The cookies will be soft to the touch when you take them
out of the oven. Let them cool on a wire cooling rack.
Mean while...whip up the Cocoa~Butter Frosting.
2 3/4 cup powdered sugar
2 tablespoons cocoa
1/4 cup softened butter
3 tablespoons heavy whipping cream
1 teaspoon vanilla
Don't forget to DOUBLE this recipe if you want plenty of frosting.
Begin with the butter. Beat the butter til fluffy.
If you're baking for Bridget...make sure you SIFT the powdered sugar!
Sift the cocoa in with the powdered sugar.
Don't ever let Bridget know if you don't SIFT the powdered sugar. ;)
Gradually add 1 1/2 cups of the powdered sugar and the cocoa to the butter.
Beat in heavy whipping cream and vanilla.
Gradually beat in 1 1/4 cups remainder powdered sugar.
This is what you get.
The best~most yummiest COCOA frosting ever!
Make sure the cookies are completely cool.
Get busy frosting.
You can spread the frosting on if you like. It goes a bit quicker for me if I pipe it on.
I used a #12 tip to frost these cookies.
Then I sprinkled them with a little LOVE...just for Bridget.
Rolled COCOA Cookies!
You're going to LOVE these for the holidays!
Blowing Bridget and the readers of Bake at 350 oooooodles and ooooooodles of SWEET~KISSES
from Bainbridge Island.
I wish you all the loveliest of days!
Happy Baking!
xo
P.S.
If you look like a crazy girl after pouring your heart out in the kitchen for BRIDGET...
no worries!
It's all in the name of BAKING...with lots of LOVE!
~xxooxx~


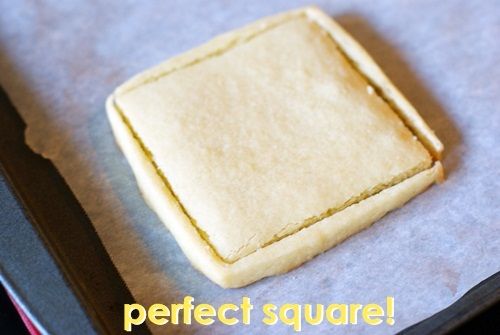
 (you can see a bit of the rough edges from the trimming)