Sunday, January 30, 2011

Chocolate Chip Cookie Dough Cupcakes. . . . . yeah, you heard me.

Kiddo's birthday was last week and he LOOOOOOOOOOVES cookie dough.
{So does his mother...it's hereditary.}

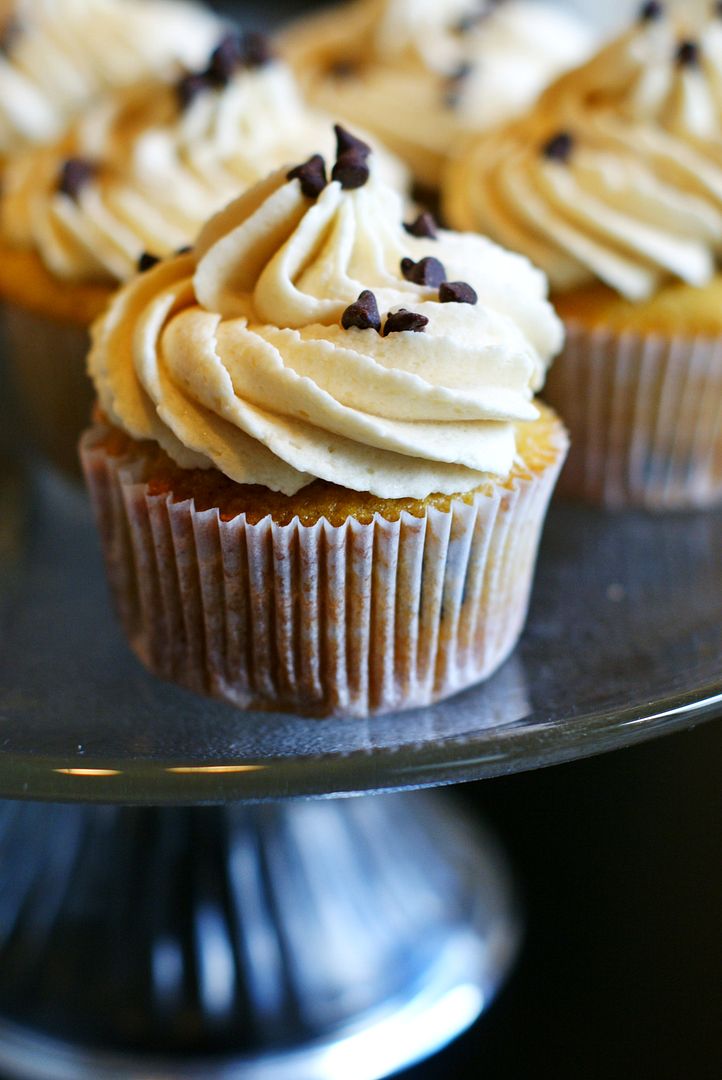
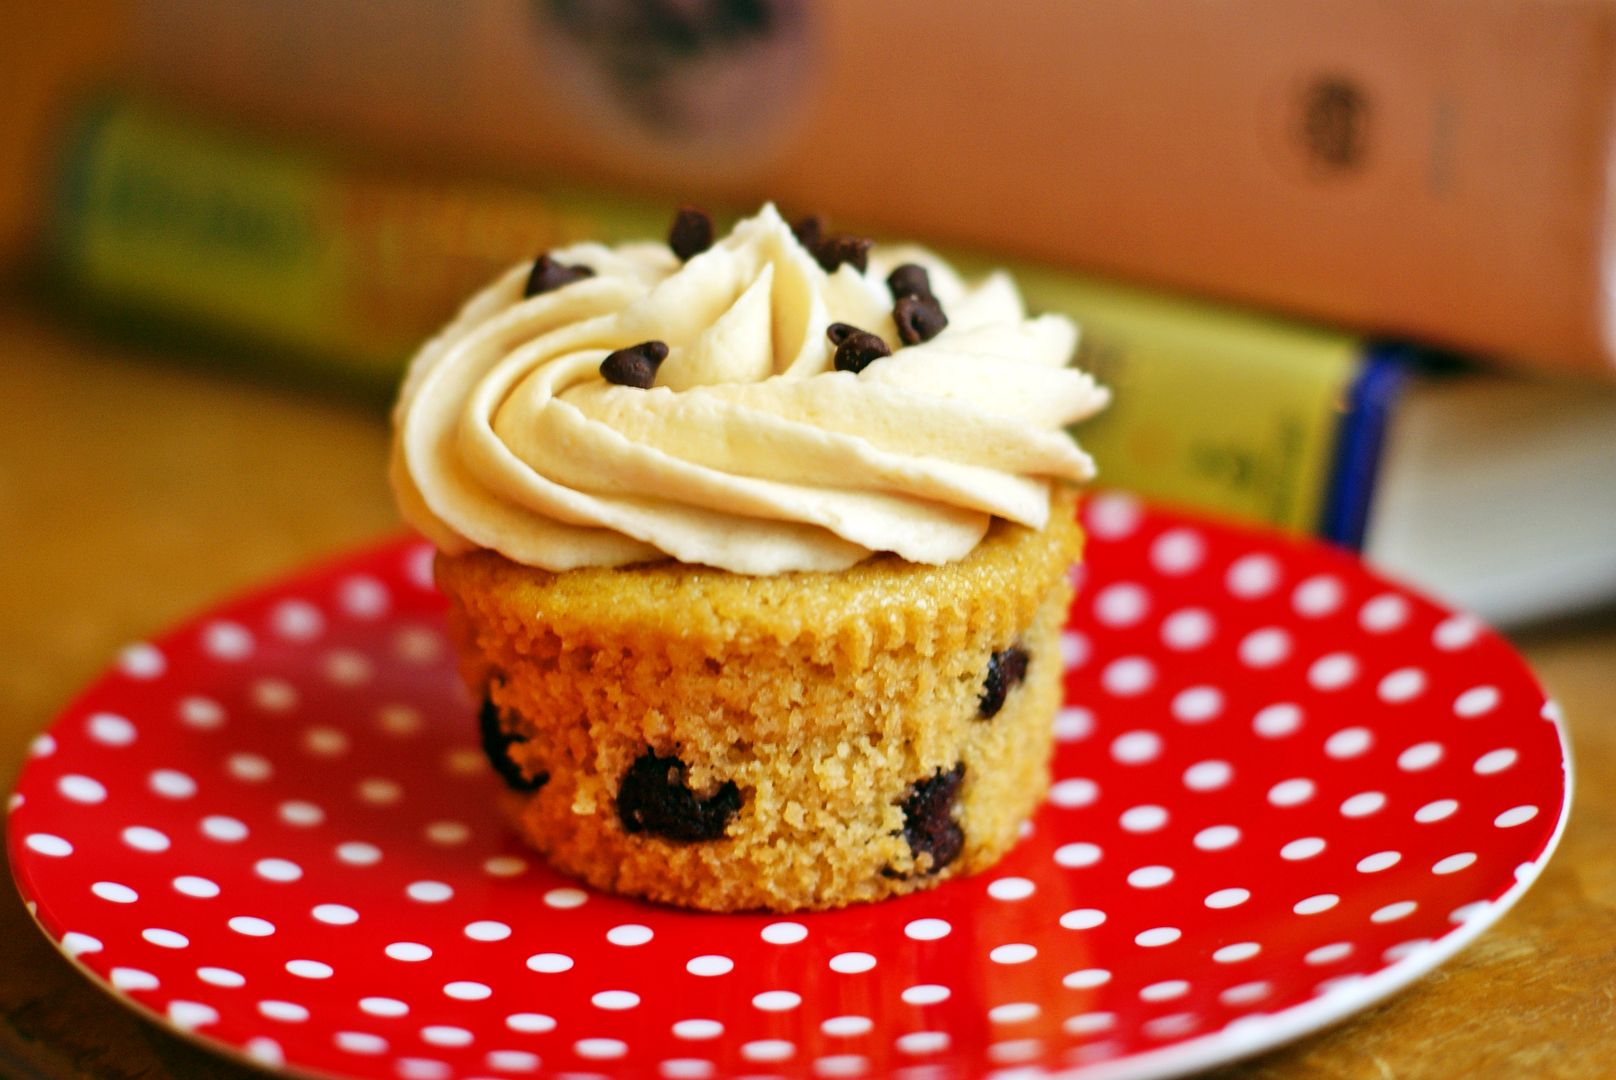
I knew exactly what to make him for his birthday cake, Cheryl's Chocolate Chip Cookie Dough Cupcakes.


Let me break these bad boys down for you....

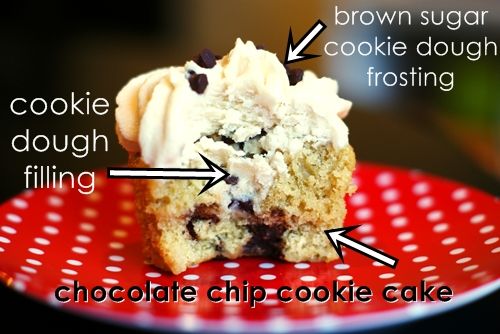
First, there is a chocolate chip cookie cupcake. Then, they are filled with chocolate chip cookie dough filling.  And finally, they are topped with a brown sugar cookie dough frosting.

{Yeah, you don't WANT to know the WW points on these puppies.}

For the cupcakes and the filling, I'm going to link you to Cheryl's printable recipe.  The only change I made on those was to add just a *pinch* of salt to the filling.  You could totally skip that if you wanted.

I changed up the frosting just a bit, so here is that recipe...

Brown Sugar Cookie Dough Frosting

3 sticks unsalted butter, room temp.
3/4 c. light brown sugar, packed
1 lb. box powdered sugar
1/2 tsp. coarse salt
3 TBSP milk
2 and &1/2 tsp vanilla
mini chocolate chips

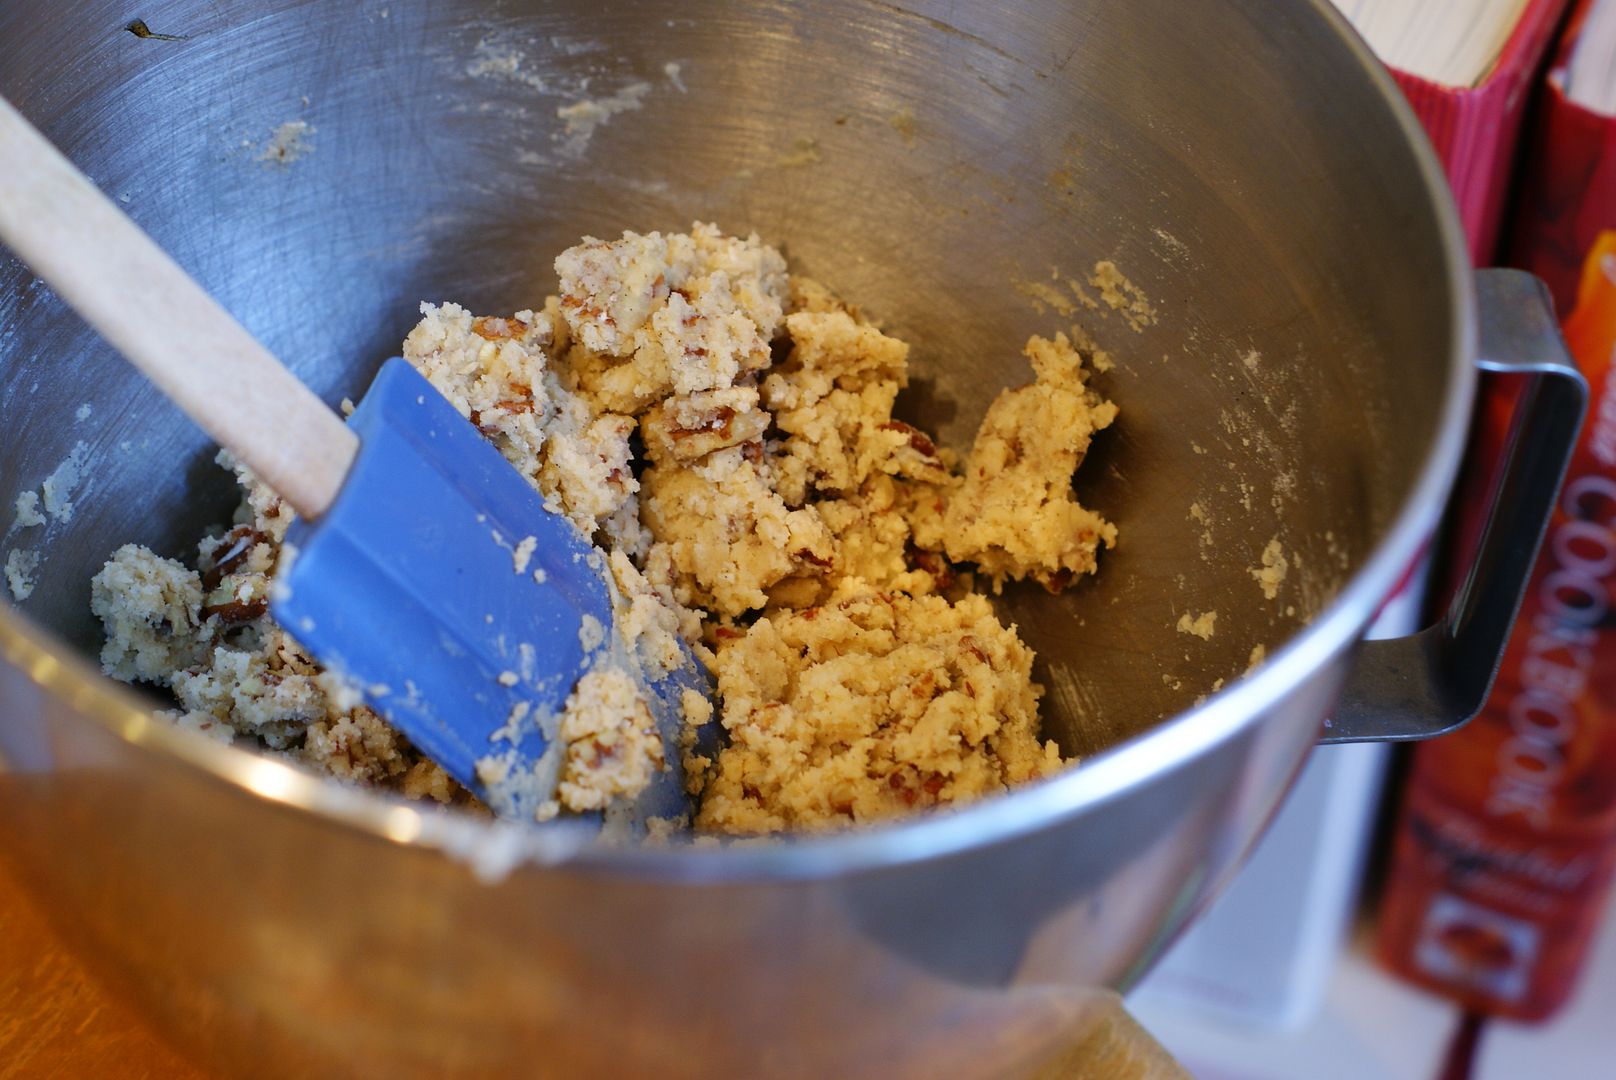
Cream the butter and brown sugar with the paddle attachment until fluffy.  Add in the powdered sugar and beat on low until incorporated, then increase the speed and beat until smooth and combined.  Add the salt, milk and vanilla; blend until smooth.

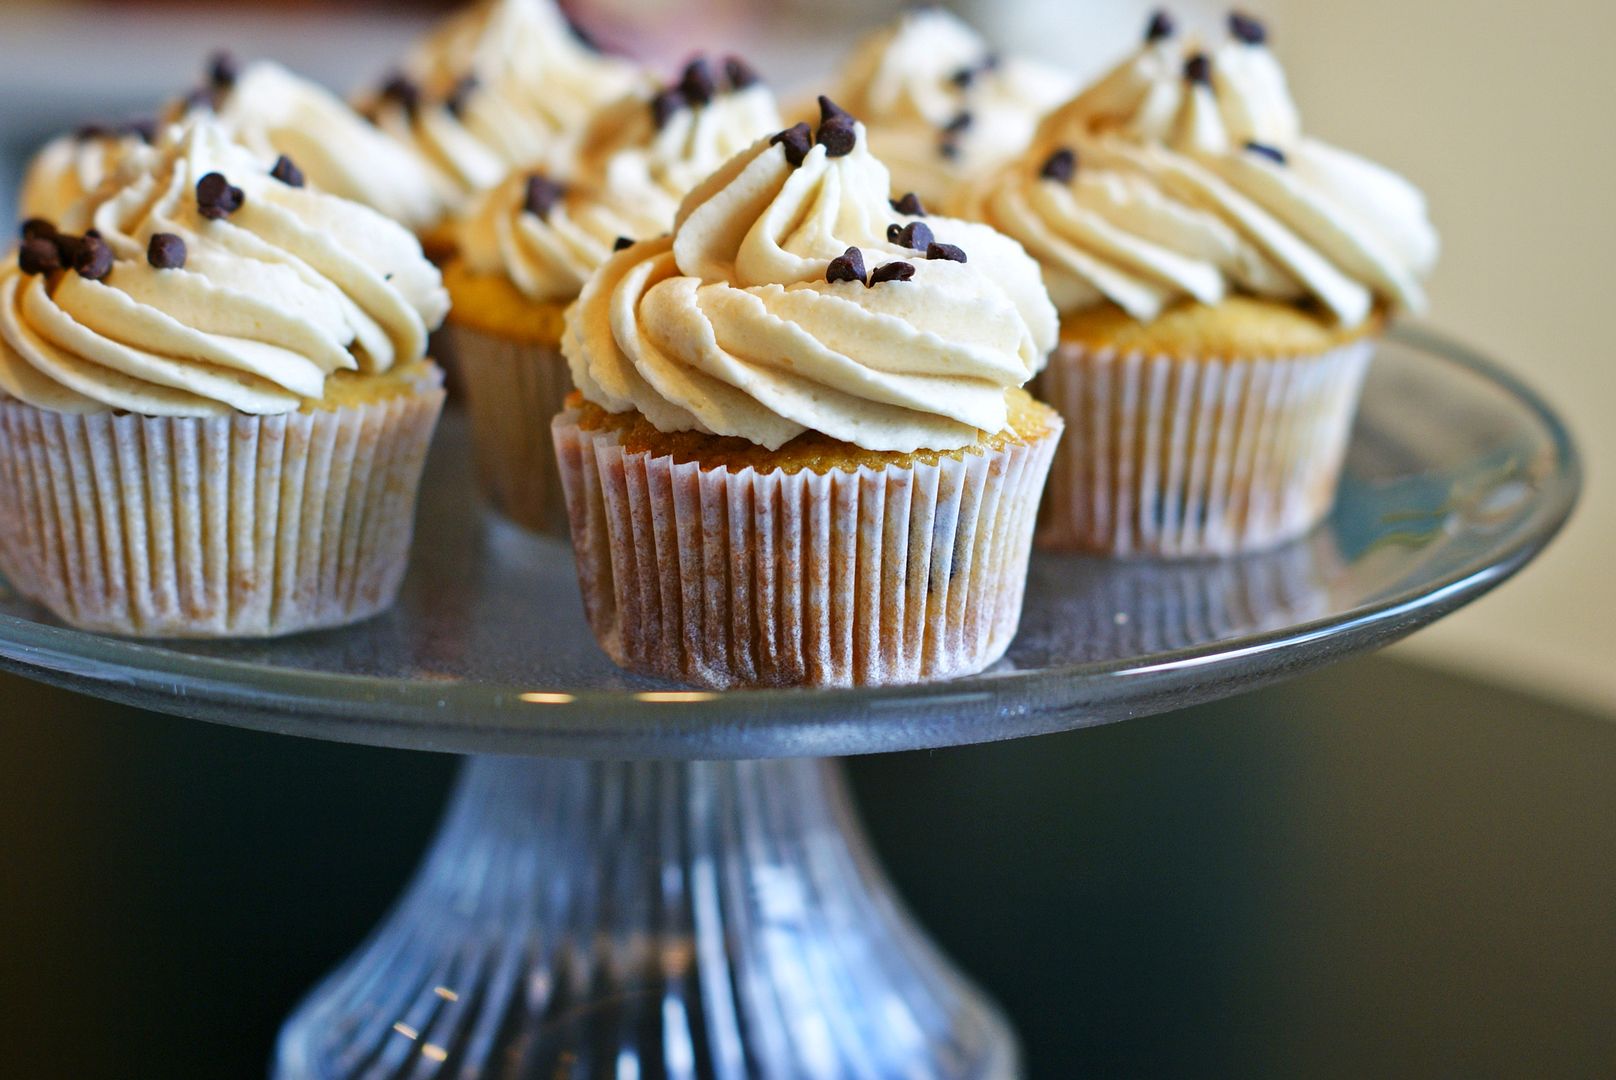
Frost the cupcakes. (I used a Bakery Crafts 9CS tip.)  Sprinkle with mini chocolate chips.


Now, it's time for the candles.

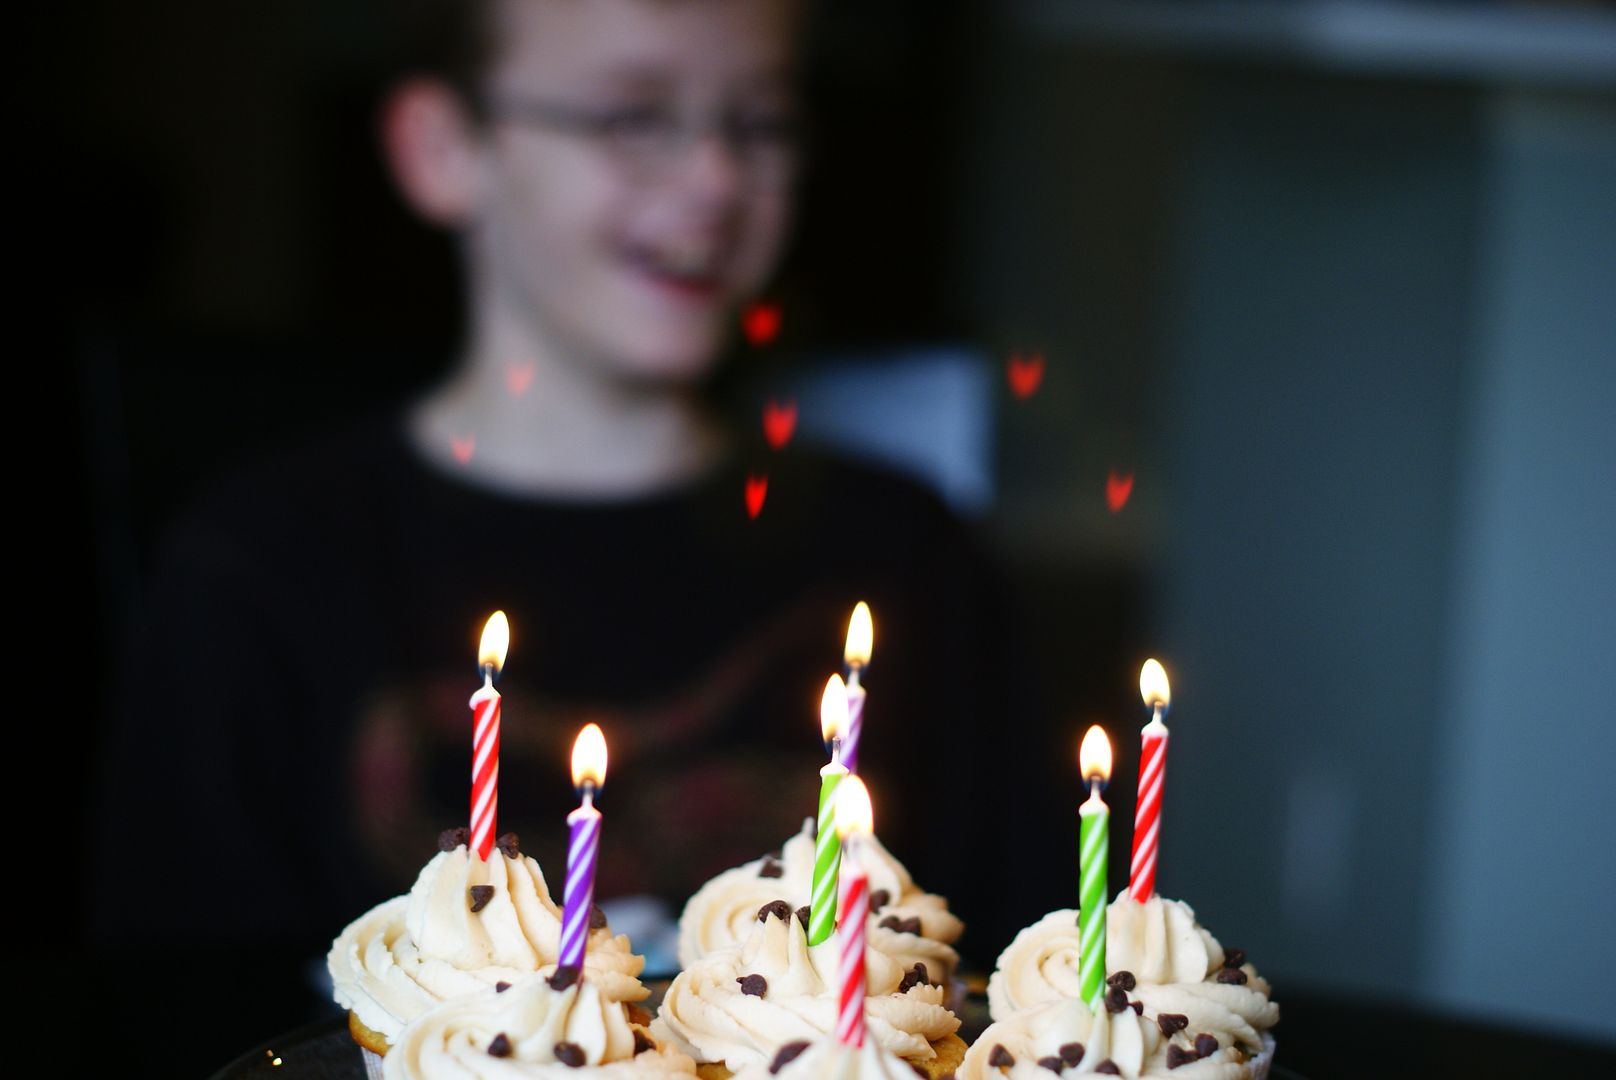
And I have NO IDEA how this happened, but the reflection of the flames made ♥'s in the picture.  Is that cool, or what?!?!?


{Here's what 12 looks like around here.....sweaty hair, flared nostrils, fruit punch mustache and all. ♥}

Tuesday, January 25, 2011

Print YOUR Blog in Book Form! (Works for Me Wednesday)

Several months ago, I mentioned a great company called Blog2Print.  They actually print your blog in book form.

Whether you are a food blogger, or a craft blogger, or a mommy blogger, or a home blogger....or even if you aren't, but you know a blogger.....this is such a cool idea!

When my book came in the mail, I opened it and saw cookies and baking projects that I had already forgotten about.  And I LOVE that kiddo will be able to look back on it someday...and maybe even try some of the recipes!

Blissdom Conference ~ Nashville ~ January 26-28, 2010
 
Blog2Print and I are teaming up for the Blissdom blog conference.  I leave for the conference in Nashville tomorrow (and guess who is my roomie!), but while I'm there.....


Blog2Print is offering one of you a $40 credit to print your own book!

To enter:
  • go take a look at Blog2Print's site...and then leave a comment here telling why you would love to print your blog....or maybe you would print someone else's blog as a gift for them.
Extra entries (leave a separate comment for each):

    Blog2Print works for me!!!
      {If you will be at Blissdom, please come say "hi!"  I'd love to meet you and I'll have my B2P book with me if you'd like to see one up close! And if you're not going, be sure to follow the fun on twitter using the #blissdom hashtag.}


      {Drawing will be held Sunday, January 30th at noon, CST. Good luck!} giveaway now closed.

      Sunday, January 23, 2011

      And the Golden Globe (cookie) Goes to . . .


      .....Jim Parsons (Sheldon) from The Big Bang Theory.

      Here's the story....a sweet girl, Lindsay, who I used to work with actually knows Jim.  Yep, I know people who know people. ;)

      Turns out that Jim went to the same high school I did although, I'm sure, MANY moons after I graduated.

      I've always said that nothing makes me more nervous than making a logo cookie, since I don't have one of those handy-dandy projectors.  Well, I've amended that....nothing makes me more nervous than making logo cookies for a Golden Globe WINNER.
       
      {You know what?  Everything looks better with a little ribbon....even a shaky logo.}


      Did you know that the Golden Globe award has a little "filmstrip" wrapped around it?  I didn't, either.  That's what those dots and squares are supposed to be. (I used a luster dust called Golden Charm here....I love the color!)


      Bazinga!  That's Sheldon's catchphrase.


      Congratulations on your Golden Globe, Jim!  You're doing Spring, Texas proud! :) 

      Thursday, January 20, 2011

      Pecan Snowballs

       
      You know those people in your life that you just *trust* when it comes to food? I don't care if they are serving you a piece of toast, or a bowl of soup, or a slice of pie....you know it's going to be good.

      Well, this recipe comes from one of *those* people....my Aunt Janice. When she mentioned these Pecan Snowballs around Christmastime, I knew I MUST make them!

      Two things....
      1. Aunt Janice says that she usually doubles this recipe. I forgot to buy double the pecans.  I will not make that mistake again. DOUBLE IT....they go FAST!
      2. The.dough.is.so.good.....do not pinch off a piece to taste before baking.  You may end up eating half the dough before it gets to the oven. {Not that I did that or anything.}

      Pecan Snowballs
      {from Aunt Janice}

      1/2 cup (1 stick) butter
      3 Tablespoons sugar
      1 1/2 teaspoon vanilla
      1/4 teaspoon salt
      1 cup chopped pecans
      1 cup flour
      Powdered sugar to coat the snowballs after baking

      Cream sugar, salt, butter.

      Add vanilla, then flour and nuts.

      Chill 2 hours.

      Form small balls...about 1 inch diameter


      Place balls on cookie sheet and bake in 250 degree oven (yes, two hundred fifty:)  until light brown on bottoms......40-50 minutes.


      Roll them in powdered sugar as soon as they are cool enough to handle.  Then, roll them again after they've cooled more.  Then, roll them again when completely cool.

      These cookies were a huge hit at our house!  Make them....just remember to double that batch!

      Tuesday, January 18, 2011

      Meringue Powder . . . Works for Me Wednesday

      Using meringue powder is not the only way to make royal icing, but it's what I use to make mine.

      When I first started decorating cookies, I used raw egg whites in my royal icing, but I started getting nervous.  Not nervous for me, but for other people who might eat the cookies.  About 9 years ago, I discovered meringue powder and I haven't looked back.

      Does the brand of meringue powder matter?  Yes.  These are 2 of my favorites:

      • Williams-Sonoma brand (made by CK)
      • Ateco, available at bakery supply shops or Amazon
      I also like:
      • AmeriColor
      • CK
      There is another brand that is more widely accessible.  I won't mention the brand here because I think they do a lot of things really well, but I don't love their meringue powder.  Actually, I used it for years before even realizing there WERE other brands.  Once I bought one of the brands above from a bakery supply shop, I immediately tasted a difference and saw a better consistency with my icing.

      {That said, if you are experiencing a cookie decorating emergency, you have my blessing to use the other stuff.} ;)

      Gail of One Tough Cookie uses powdered egg whites with fantastic results.  She even has a vlog post about it if you want to learn more.

      What do YOU use to make royal icing?

      {Psst....here is the royal icing recipe I use if you're ready to make some of your own.}

      Sunday, January 16, 2011

      My Happy Place . . . Panera

      Close your eyes, take a deep breath, and go to your "happy place." 
      Wanna see mine?


      Panera is my happy place.  


      I've told Mr. E many times that I could eat breakfast, lunch and dinner at Panera EVERY day and be a happy camper.  {I guess he was listening because for my birthday, he gave me a Panera gift card.  In my Christmas stocking, there was another Panera gift card. :) Yay, Mr. E!}

      Our family goes to Panera quite a bit, and it is always my suggestion for a girl's lunch place.  But, what I *really* love?  Going all my my lonesome, ordering a Cinnamon Crunch Bagel, a decaf cappuccino, and  breaking out my laptop to catch up on blog reading. And tweeting.

      {I hate to break it to "the coffee shop on every corner", but Panera makes *the best* cappuccino.}

      I was contacted to be part of a group of "Panera bloggers," sharing recipes (!), waxing poetic about bread, etc.  (First, I had to check with Mr. E to make sure he was not pulling my leg. I mean, when you get an email from your favorite restaurant, it seems a little suspicious.)  I'm hoping maybe Panera will let me LIVE in the kitchen for a while....we'll see.
      In the meantime, what do YOU love about Panera?

      *This is a sponsored post, but my opinions and my love of the cinnamon crunch bagel are ALL my own!*

      Friday, January 14, 2011

      Let It Snow!


      Did you know I've been living vicariously through you?  Yes, you there....the one with the snow. 

      For those of us living in South Texas, snow seems very magical.  I'm picturing your kids coming in from making snow angels with little pink cheeks and noses. I dream of being bundled up in sweaters, scarves and coats with fur-trimmed (fake, or course) hoods. I can just see your family bursting in the front door to find a bubbling pot of chili on the stove and a fire in the fireplace.

      {Yes, I've given this a little thought.}

      So, these cookies are for you.  We don't wear many hats and mittens around here; we have to EAT them. ;)

      These winter cap and mitten cookies are really simple to make.  What I love about using this "wet-on-wet" technique, is that you can make many different designs all at the same time.


      To make them, you'll need....
      {Right up front, I missed taking pictures of some of the steps....please forgive me.}

      Using a #3 tip, outline cookies.  I used a #3 tip here rather than a #2 because I wanted the outline to really show.

      Thin all colors with a bit of water until the icing is the consistency of a thick syrup.  Cover with a damp dishcloth and let sit several minutes.

      Uncover and stir gently with a rubber spatula to pop air bubbles that have risen to the surface.  Transfer icings to squeeze bottles.

      Working 6-8 cookies at a time, fill in the main color and the white trim.  Use a toothpick to guide into edges.

      Going back over the same cookies, add lines or dots with the other colors.

      You can make dots.....


      ...or try marbling.

       
      I thought dragging the toothpick ACROSS the lines made it look a little like cable knit.

      Let dry overnight.

      The next day, mix equal amounts meringue powder with water. (I used 1/2 tsp. each for 1 dozen cookies.)

      Using a small paintbrush, paint on the mixture on the trim and top of cap.  Sprinkle on the sanding sugar over a coffee filter.  Let the excess fall onto the filter and use that as a funnel to put back in the bottle.

      Is it snowing where you are?!?  Tell me the fun you are having! I want to hear ALL about it!

      Tuesday, January 11, 2011

      White, yes, WHITE Food Coloring . . . Works for Me Wednesday

      After last week's WFMW post, I realized that I needed to let you in on a little cookie decorating secret.  A secret called....white food coloring.

      White food coloring is one of those things I saw in the bakery supply store for years and thought, "Royal icing is white. Why would I ever need that?" 

      Then, it happened.  My beautiful WHITE outlined cookies turned, well, off-white.  The cookies I spent 5 hours decorating.  The cookies I needed to mail to a friend THAT morning weren't white. *sob*

      I have no idea why royal icing turns off-white sometimes and not others.  All I know is, I'm not risking it any longer. I use it EVERY time I need white icing.  Just use it like you would any other food color.

      Another hint: I put in the amount of AmeriColor Bright White that I think is enough, and then I add a little more.  Trust me, more is more here.

      It's not only for royal icing and cookies, either.  Cheryl used it on her Snowy cupcakes earlier this week....they are so cute!


      Where to get it?
       works for me wednesday at we are that family
      Have YOU ever used WHITE food color?

      Friday, January 7, 2011

      Light(ish) Chocolate Cheesecake Squares

       
      Alright, they're not exactly diet food, but if you have a hankerin' for chocolate cheesecake without too much guilt, you're going to LOVE these babies!

      These bars are really easy to make, but if your boys are like mine, they'll take one bite and think you are a domestic goddess.  I like that.

      Light(ish) Chocolate Cheesecake Squares
      {adapted from Everyday Food magazine, Jan 2004}
      makes 9 squares

      shortening for pan
      8 chocolate wafer cookies
      8 oz  (1/3 less fat, or reduced fat) cream cheese
      1 c. reduced-fat sour cream
      1/3 c. dutch-process cocoa (regular is fine, too)
      1/2 tsp. espresso powder (optional)
      2 TBSP cornstarch
      3/4 c. sugar
      1 egg
      1 egg white
      1/3 c. mini semi-sweet chocolate chips

      Preheat oven 325.  Coat an 8x8" baking pan with shortening.  Line with 2 criss-crossed sheets of parchment, coating the with shortening between sheets.  Coat the top sheet with shortening.

      {Here is one sheet coated.  Lay another sheet in opposite direction on top and coat that one as well.}

      Process wafers in a food processor until finely ground.

      {Chocolate wafers....in my store, they are near the ice cream, not in the cookie section.  You can substitute Oreos.  What you do with the cream filling is your secret.}
       
      Press the crumbs into the bottom of the prepared pan. 

      Without rinsing the processor bowl, process the cream cheese and sour cream until blended.  Scrape down the sides and bottom as needed. Add the cocoa, espresso powder, cornstarch, sugar, egg and egg white; blend until smooth and combined.

      {This is the Hershey dutch-process cocoa. It's labeled as "Special Dark."}

      Pour into the prepared pan.  Sprinkle with chocolate chips.

      Bake 35-40 minutes, just until set.

      Cool completely in the pan set on a wire rack.  Refrigerate at least one hour.

      Lift out of the pan using the parchment.  Cut into squares. (I love using my bench scraper for cutting bars like this.)

      Enjoy!
      (Also...there is a new vlog post over at University of Cookie: how to apply luster dust!) :)