So, what better cookies to help ring in summer than sunflowers?!? You might want to know where the cutter came from. I don't know. If I remember correctly, this is a cutter my neighbor gave me when we lived in Alabama. It was hers and she thought I might be able to put it to good use.
{She probably didn't think it would take 7 years.}

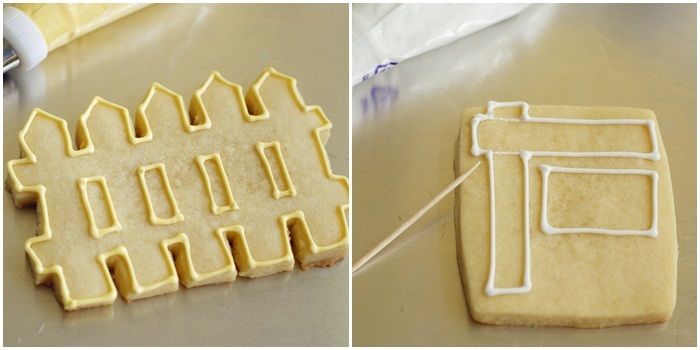
First things first, sometimes it's hard to pipe a good circle. (Actually, it's always hard for me.)


To make the sunflower cookies, you'll need:
- chocolate sunflower sugar cookies (this recipe is good!)
- royal icing, tinted with AmeriColor Chocolate Brown with a smidge of Super Black, Egg Yellow, and Leaf Green
- disposable piping bags
- couplers
- icing tips: #2 (2) and small star
- toothpicks
- squeeze bottles
- meringue powder
- small paintbrush
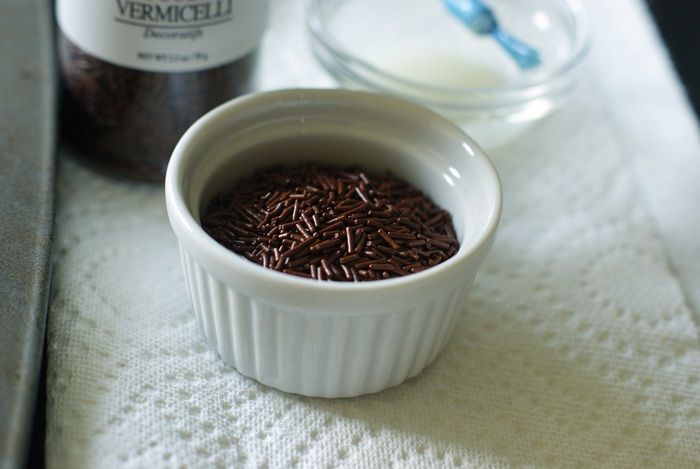
- chocolate sprinkles


Thin the brown and yellow icings with water, a bit at a time, stirring with a silicone spatula, until it is the consistency of a thick syrup. You'll want to drop a "ribbon" of icing back into the bowl and have it disappear in a count of "one thousand one, one thousand two." Four is too thick, one is too thin. Count of 2-3 is good. Cover with a damp dishcloth and let sit for several minutes.
Stir gently with a silicone spatula to pop and large air bubbles that have formed. Pour into squeeze bottles as needed.


Let the cookies dry for at least one hour.

Use a #2 tip to add details to the flower petals.
Let the cookies dry uncovered 6-8 hours or overnight.
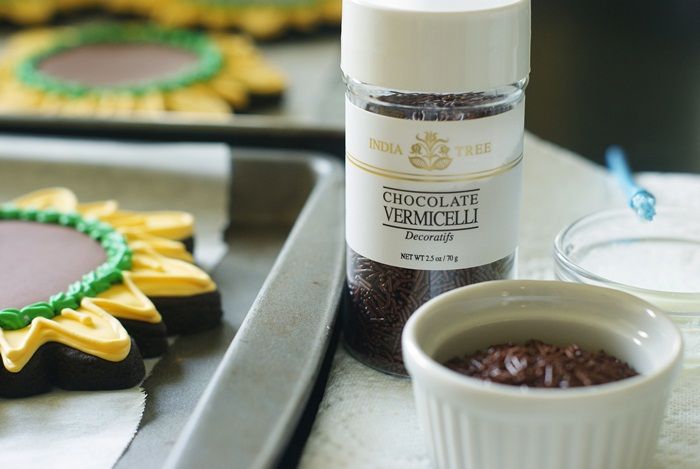
{My original thought was to use chocolate covered sunflower seeds for the centers. Do you know how hard it is to find BROWN chocolate covered sunflower seeds? Well, it's hard. Therefore, Chocolate Vermicelli. I kind of love it, too.}

I hope your summer is filled with sunflowers...the real AND the cookie versions!