Tuesday, May 31, 2011

Learning Something New . . . Works for Me Wednesday

I did not make this cake:


You see, decorating cakes is not my forte.  Exhibit A and B.

But, you're never too old to learn, right? RIGHT?!?

Have you heard of MyCakeSchool.com?  It is a beautiful site filled with videos and tutorials all about making gorgeous cakes.

Melissa, the owner of My Cake School, is a natural teacher. Watching her videos makes me think, "Hey, I can DO that!"  It's like having a personal instructor right in your very own kitchen.  (Even though, I think I'd trade my kitchen for hers.) 

For $30 a year, members have access to 100's of videos (don't take my word for it; here's a list).  Learn everything from a basic crumb coat to gumpaste to buttercream flowers.

The video on scrollwork alone opened up a world of possibilities!
 
(And I can't wait to learn to make a pretty ruffle cake. I've been thinking about Amanda's ruffle cake since December!)

Guess what?  Melissa is offering TWO Bake at 350 readers year-long memberships!  Yay!  Come learn along with me! 

To enter: 

giveaway closed! Congrats to Rachel & Chelsea!!!
  • Leave a comment with a technique you would really like to learn (here's a list with some ideas)

Let's make some pretty cakes together! Works for me!

Sunday, May 29, 2011

DIY Coke Icee


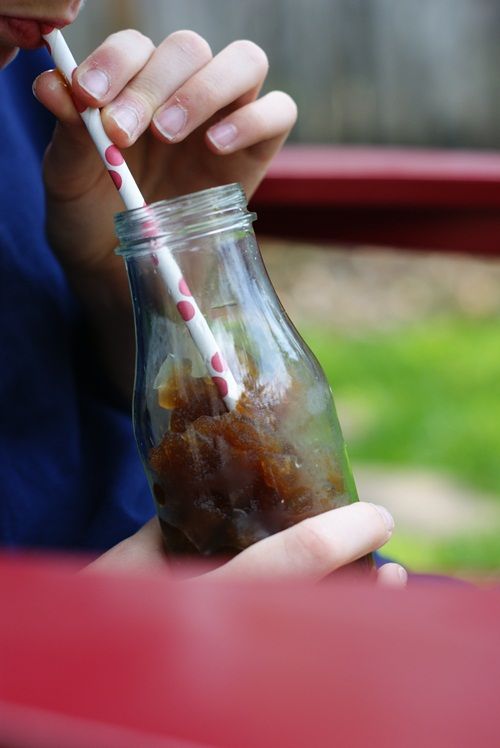
I don't know about you, but when I was a kid, there was only one flavor of Icee for me: the Coke Icee.  No cherry...and don't even get me started on the Blue Raspberry flavor.  It was Coke Icee or nothin'.

So, when I saw this recipe in the little booklet that came with my new ice cream maker, I had to try it.

You'll need: 4 cans of cold Coke and an ice cream maker.

Pour the cold Coke into the frozen bowl and process for about 20 minutes.

Have your glasses and straws ready.

Ta-da!  That's it!

Now, I think they might add a little something else to Icees, because it tastes close, but not exactly like the real thing.  But hey, Icees at home? I'll take it! 

{The little recipe booklet says you can make this with any soda, as long as it's not made with artificial sweeteners.}

So, if you're having people over for Memorial Day (or any day for that matter), give it a try.  I think I'm going to try Ginger Ale Icees next!

Wednesday, May 25, 2011

Triple Chocolate Muffins

 
Muffins = legally sanctioned cake for breakfast.  
{Please don't tell the First Lady.}

These Triple Chocolate Muffins may not be the most gorgeous, but, oh baby....warm from the oven with two kinds of melty chocolate chips?   They are pure decadence.

The day I made them, I ate one for breakfast, one for a mid-morning snack, 1.5 for lunch and one mid-afternoon.  {Muumuus will be all the rage this summer, right?}

Triple Chocolate Muffins

1/2 c. (1 stick) salted butter
1 and 3/4 c. unbleached, all-purpose flour
2/3 c. dutch-process cocoa (such as Hershey's Special Dark)
1 and 1/4 c. sugar
1 tsp. instant espresso powder
1 tsp. baking powder
1 tsp. baking soda
3/4 tsp. Kosher salt
1/2 c. bittersweet chocolate chips
1/2 c. semisweet chocolate chips
2 eggs
1 c. milk
2 tsp. pure vanilla extract
2 tsp. white vinegar

Line a muffin tin with 12 paper cups. Spray lightly with cooking spray. Preheat oven to 425.

Melt the butter; set aside to cool.

In a large bowl, whisk together the flour, cocoa, sugar, espresso powder, baking powder, baking soda, salt and chocolate chips.

In a separate bowl, whisk the eggs, milk, vanilla and vinegar until blended. Stir in the cooled, melted butter.

Add the wet ingredients to the dry ingredients.  Stir with a rubber spatula, just until blended.

Spoon into the prepared muffin liners...the cups will be very full. {Be sure to lick the spoon...this batter is SO yummy!}

Bake for 15-20 minutes until the muffins bounce back when pressed with a finger.  Cool on a wire cooling rack for 5 minutes.


Remove from the pan and let them cool just a bit longer.  Serve warm.

Confession: I have one small white plate. Once we started, kiddo would.not.stop.eating to let me take a picture of the melty insides of his on the pretty white plate.  Note to self: buy more white plates.

Saturday, May 21, 2011

Dosey Doe : Stamped Fondant Cookies

 
There's a little place we like to frequent called Dosey Doe.
It's a coffeehouse/restaurant/bar/music hall with a Texas flair. 

So, one night as I was sipping a Shiner, listening to Two Tons of Steel, my mind went to cookies.  I thought maybe "branded" cookies would be cool....2 D's for Dosey Doe.

It wasn't until I started making them, that I realized they looked like they could be for a place called The Double D Ranch, and that just sounds like a Texas version of Baywatch.

Let me give you the low-down on stamping fondant.  Apparently, rubber stamps are NOT something you want to have come in contact with your food.  Who knew?  So, use a piece of plastic wrap between your fondant and the stamp.

To make "branded" cookies, you'll need:
  1. fondant: homemade or Satin Ice (it's good!)
  2. corn starch
  3. rolling pin
  4. stamps
  5. Americolor Chocolate Brown food coloring
  6. small paintbrush
  7. fan paintbrush
  8. tray
  9. corn syrup
FIRST....don't get so excited over trying a stamp that you FORGET TO TINT YOUR FONDANT. I intended to tint the fondant light brown to look more like wood.

Roll the fondant out thin on a corn starch-coated surface.  Cut with the same cutter as your cookies.

 
Cover the fondant pieces with plastic wrap and stamp.


Place on a parchment-lined cookie sheet.


Paint the letters with brown food coloring with a small paintbrush. 


Using a fan brush, paint the wood grain on the fondant using Renee's technique shown here on University of Cookie.  The only difference being that you use the food coloring straight...no added water.

Let the food coloring dry.  To attach to the cookies, use a pastry brush to apply a thin layer of corn syrup to the back. Place on the cookie to adhere.

There ya go...."branded" cookies.  Yee-haw!

I'm excited to experiment a bit more with stamped cookies!  What would you stamp?

Thursday, May 19, 2011

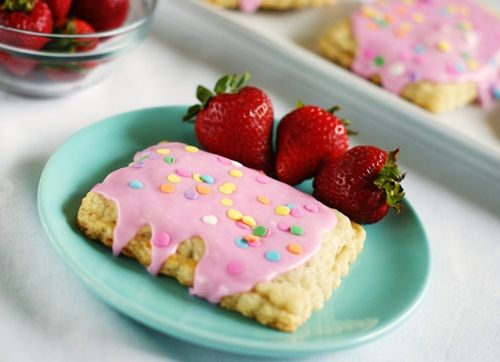
Homemade Strawberry Pop Tarts

 
One reason I like running errands with kiddo is that, well, I just like having him with me. The other is that when I talk to myself in a store, it looks like I'm talking to him.

This is a big problem in a store like Williams-Sonoma.  I find myself "oooing" and "ahhing" and "isn't that cute-ing" all over the place.

When I saw this....
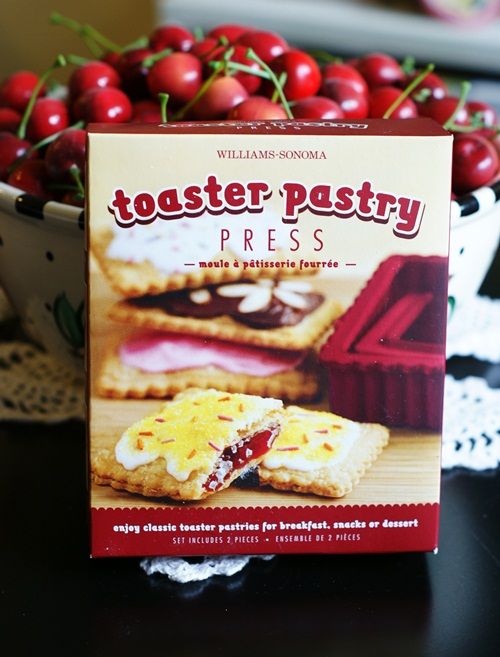
I ooo'd and ahhh'd and isn't that cute'd...and IMMEDIATELY picked up two (one for you, one for me). I think I might have startled the salesclerk working in the area.

These homemade pop tarts are really easy to make...and there is a recipe right on the back of the box.  My only tip for you is...make them the day before you want to serve them. There's a lot of chilling time and waiting time...so plan ahead. You do NOT want to start these when you are trying to get your kids off to school.
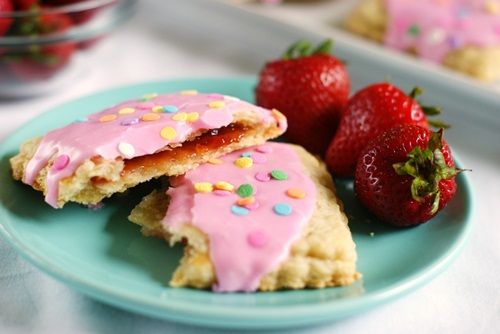
Homemade Toaster Pastries (Pop Tarts)
{adapted from Williams-Sonoma Kitchens}

2 & 1/2 c. flour
3/4 tsp. coarse salt
2 TBSP sugar
2 sticks salted butter, cut into chunks
6-8 TBSP ice water
strawberry preserves or jam
1 egg beaten w/ 1 tsp. water
1 & 1/2 c. powdered sugar
2 TBSP milk
pink food coloring
sprinkles

(If you don't have a food processor, combine these with a pastry blender.)  In a food processor, pulse the flour, salt and sugar a few times, until combined.
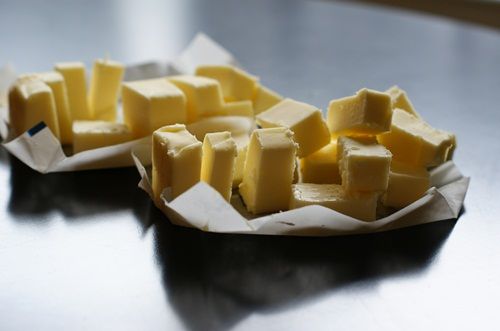
Add the butter, and pulse until the mixture looks like coarse meal.  Add 6 TBSP of ice water and pulse until the mixture holds together when squeezed.  Add more water, a teaspoon at a time, if needed.

Divide the dough in half, wrap in plastic wrap and refrigerate at least 2 hours, or overnight.

On a floured surface, roll the dough to 1/8th thick. Cut pieces with the large cutter (you will have 10-16 overall depending on how thin you roll the dough).  Place half of the cut pieces on cookie sheets that have been lined with parchment.
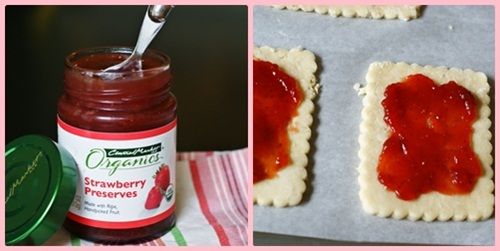
 
Spread 1 TBSP of preserves onto each piece, leaving a 1/2" border.  Brush the egg mixture along the edges.  Top each piece with one of the remaining pieces of dough.  Using the toaster pastry mold, press down with the small mold to seal.

Refrigerate for 30 minutes.  Preheat oven to 350.  Bake for 25 minutes or so, rotating the sheets in the oven halfway through.  Let sit on the sheets 10 minutes, then remove to wore cooling racks to cool completely.

Meanwhile, mix the powdered sugar and milk.  Adjust the thickness with more milk or sugar.  Add the pink food coloring.  Spoon onto cooled pastries and spread with and offset spatula.  Add sprinkles.  Let the icing set before serving.
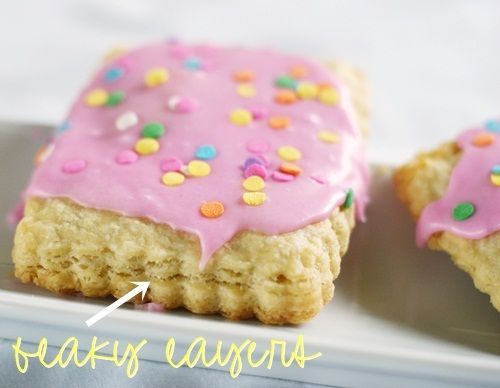

It's like having frosted pie for breakfast.  Just look at those flaky layers.

Do you want one?  I know you do!  How about a $50 Williams-Sonoma gift card to go with it?  

OK....here' s whatcha have to do to enter:
Giveaway closed....congrats to a_manda!!! Look for an email in your inbox!

We're having a BLOGGY SCAVENGER HUNT!

To enter, leave a comment answering the following questions about some fabulous bloggers. (NO PEEKING at the comment above you! The winner will be chosen from the CORRECT entries on Monday, May 23rd at 8pm CST. Be sure to leave a way for me to contact you!!!)
(Giveaway closed....congrats to a_manda!!!)
  1. Teresa from Blooming on Bainbridge has a darling doggy.  What is his name?
  2. Amy from She Wears Many Hats, well, wears many hats.  How many hats is she wearing in her header?
  3. Amanda from i am baker recently made _____________-decorated cookies for the Share Our Strength Bake Sale. (fill in the blank)
Ready....GO!
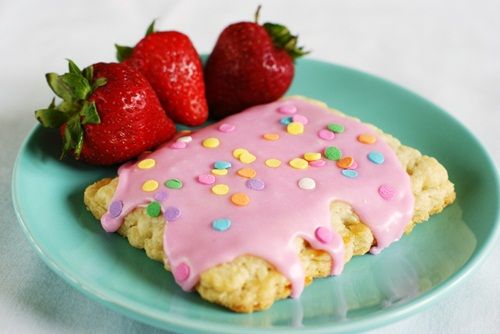
{This giveaway is not associated with Williams-Sonoma...they only know me as the crazy lady who talks to herself in the store.}

Tuesday, May 17, 2011

Cookie Decorating Essentials . . . Works for Me Wednesday

Although I've blogged about all of these things separately, I've never put them all in one post. Duh.

So, thank you to those of you who have emailed to ask for a list of essentials for new cookie decorators.

Here it is, all in one place...click on the links for the original post and more info.

Just the Basics, Ma'am
{cookie decorating essentials}


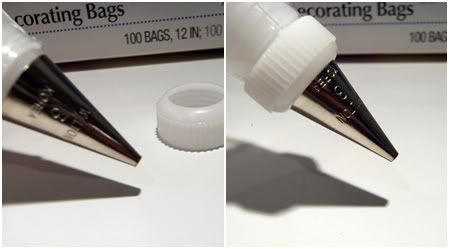
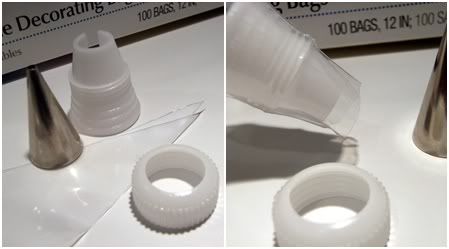
1. disposable icing bags
{photo credit: amazon}


2. icing tips: #1 & #3 tips (2 each), #2 tips (3) 


3. couplers: 5


4. squeeze bottles: 8 ounce (3), 16 ounce (2)


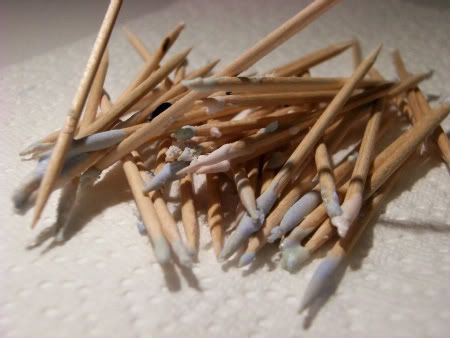
5. toothpicks: lots!


6. twist ties
{photo credit: Layer Cake Shop


7. AmeriColor Gel/Paste food colorings: 
here are my favorites...and don't forget white!


8. meringue powder

That should be enough to get you started! Of course, once you start, you'll want MORE! ;) Don't say I didn't warn you.

Need recipes?  Here ya go:
My go-to sugar cookie for decorating
Royal icing...recipe and FAQs
{printable versions of both recipes}

Alright....who's making cookies this week?

Monday, May 16, 2011

Hey there, little lady(bug)!


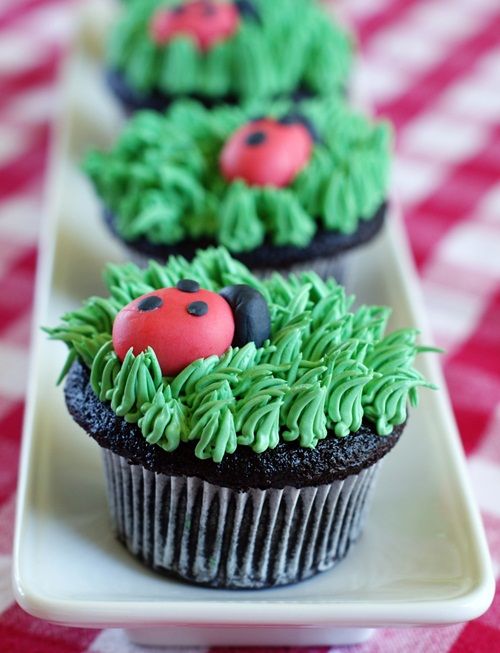
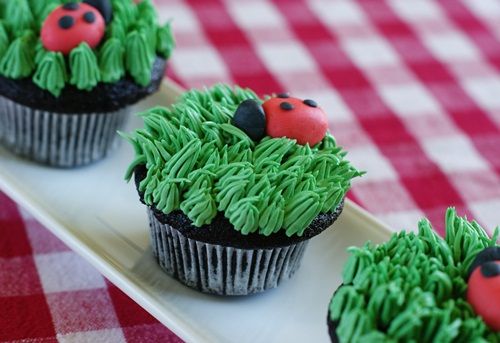
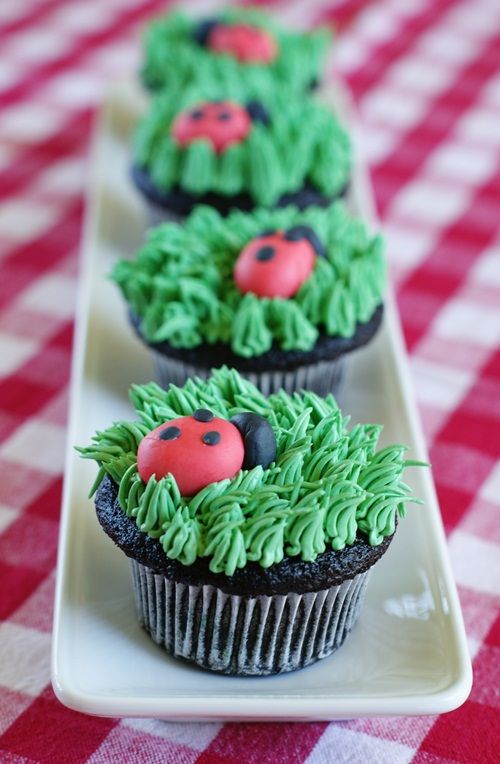
Ever since I bought the Martha Stewart Cupcakes book; I've been dreaming of making these little ladybug cupcakes.

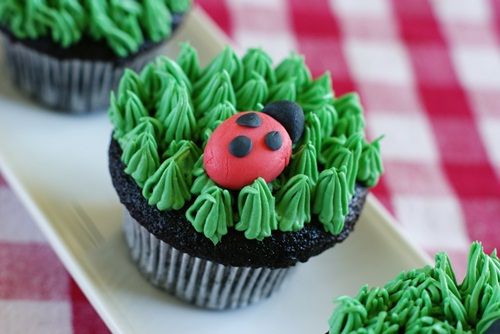
For the cupcakes, I decided to go with chocolate instead of vanilla, though, thinking it looked more like dirt.  Don't we all want our cupcakes to look like dirt? ;)

The recipe for the chocolate cupcakes (below) is so good...the cupcake are moist and light...perfect!


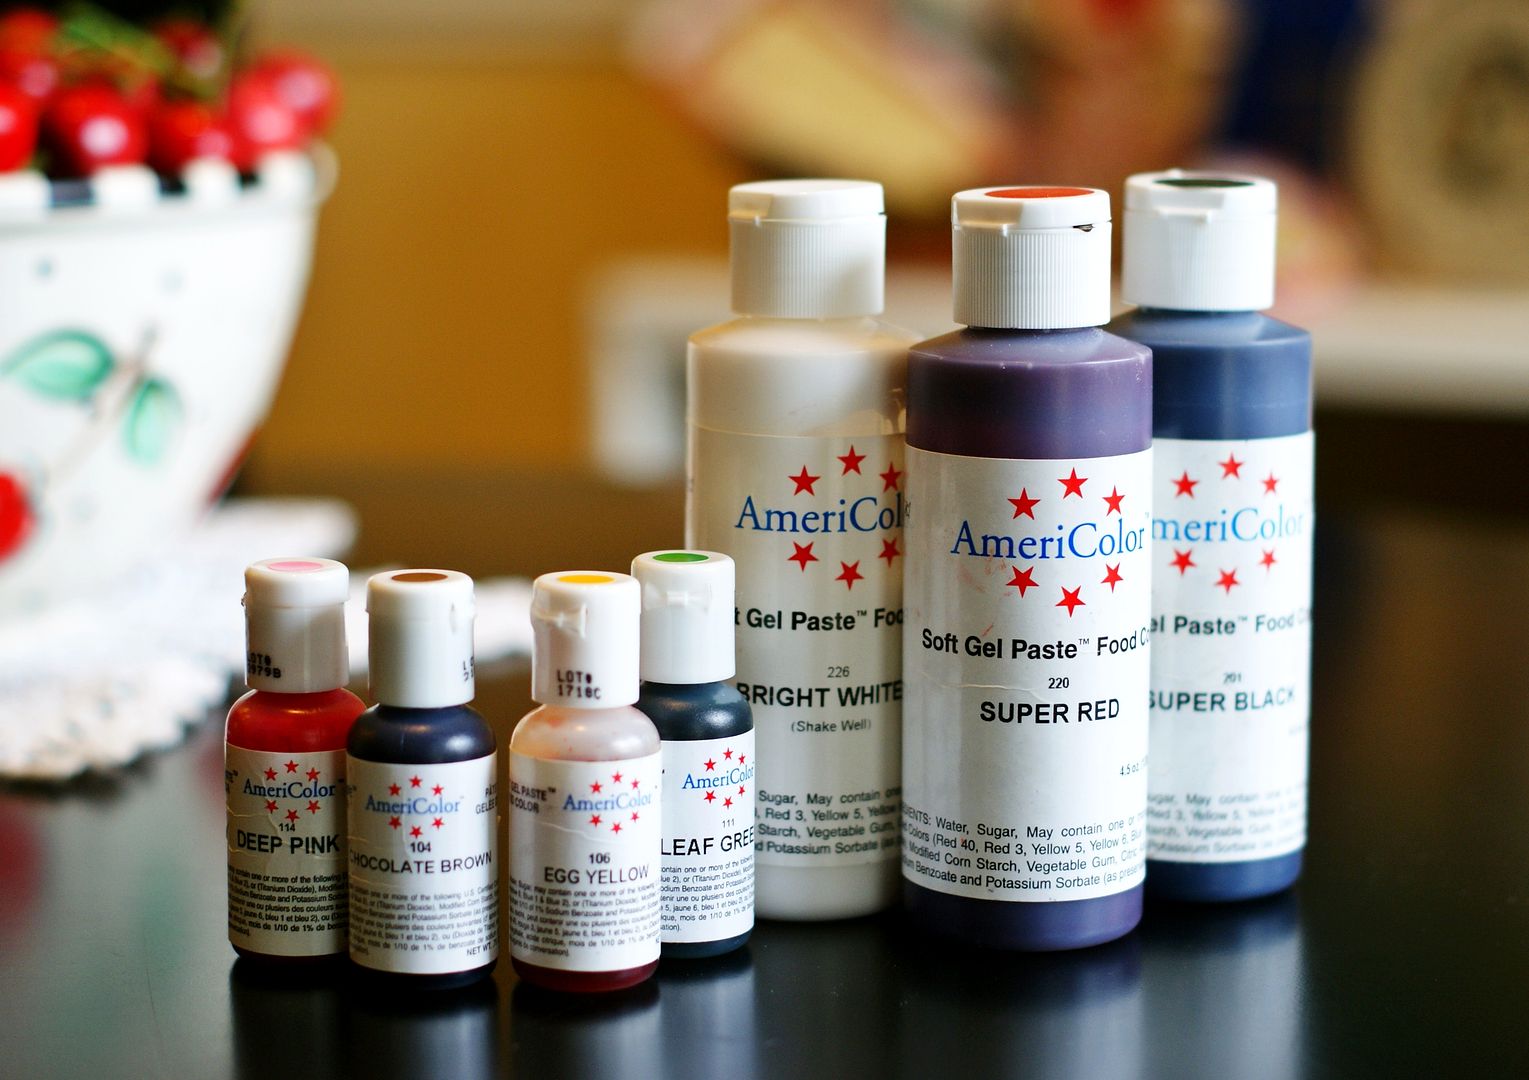
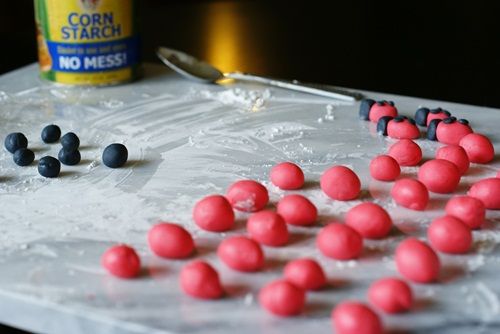
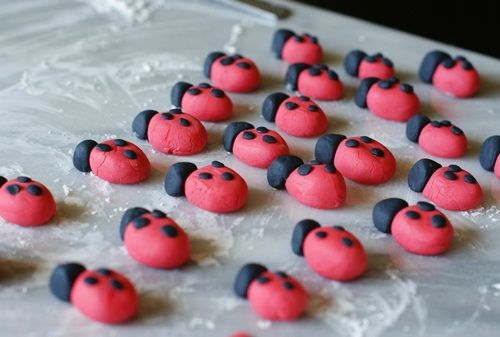
In Martha's book, the ladybugs are made from marzipan.  These I made from fondant that I had on hand.  And, I tried the Satin Ice fondant, although making it at home is easy, too.  The Satin Ice brand tastes great and smells like sugar heaven...it's nice to have on hand for fondant emergencies. ;) I found it at Sur La Table.  Either way you go, you'd use AmeriColor Super Red and Super Black food colorings to tint them.


One-Bowl Chocolate Cupcakes
{adapted from Martha Stewart Cupcakes}

3/4 c. dutch-process cocoa powder, such as Hershey's Special Dark
1 & 1/2 c. all-purpose flour
1 & 1/2 c. sugar
1 & 1/2 tsp. baking soda
3/4 tsp. baking powder
3/4 tsp. coarse salt
2 eggs
3/4 c. warm water
3/4 c. buttermilk
3 TBSP vegetable oil
1 tsp. pure vanilla extract

Preheat oven to 350 degrees. Line 18 muffin tins with cupcake liners; set aside.

With the whisk attachment of an electric mixer, whisk together cocoa powder, flour, sugar, baking soda, baking powder, and salt. Add eggs, warm water, buttermilk, oil, and vanilla, and mix on low speed until smooth, about 3 minutes. Scrape down the sides and bottom of bowl as needed.

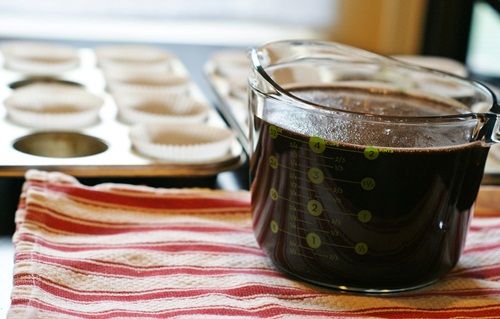
The batter is very wet. Pour into a large glass measuring cup to easily pour into muffin cups.

Fill baking cups 2/3rd full of batter. Bake about 20 minutes until a toothpick inserted in the middle comes out clean and the tops bounce back when lightly pressed. Cool on wire racks 10 minutes, then invert and remove from pans.  Cool completely on the wire racks.

The frosting is swiss meringue buttercream, although you could use any frosting that holds its shape.  For a great post on SMBC (I hear that's what the cool kids call it), visit my friend Gail, over at One Tough Cookie.  Her recipe is delicious and she makes the process look so easy!

The buttercream was tinted green with AmeriColor Leaf and Forest Green food colorings and piped onto the cupcakes with a #233 Wilton tip.

*That grass frosting counts as a serving of "greens," right?*