Tuesday, November 29, 2011

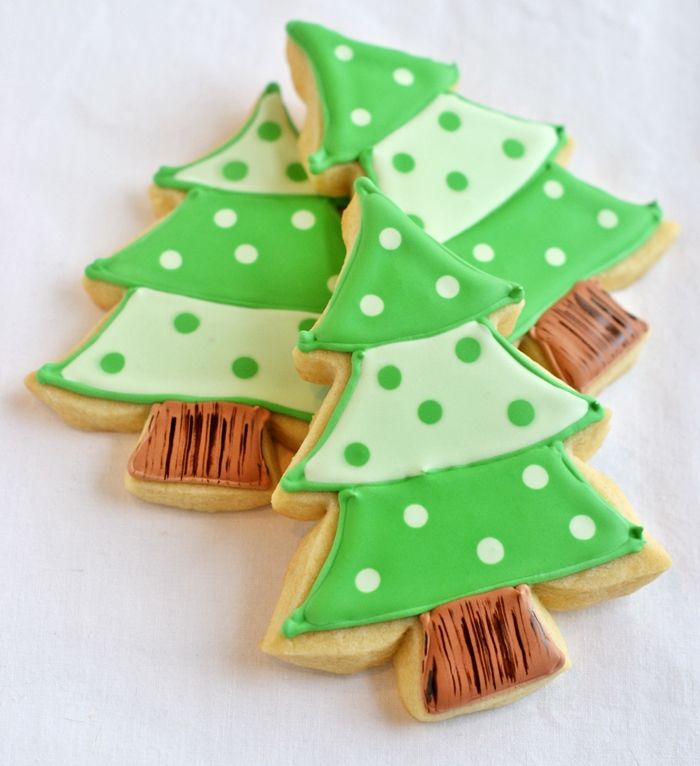
Tips for Christmas Cookie Baking & Giving...Works for Me Wednesday


Making cookies at Christmas used to overwhelm me a bit.  There are so many people I want to make cookies for....and so little time.  I still don't get them made for everyone on my list (the church choir has been on my list now for 2 years and still has not seen one cookie), BUT I've learned how to de-stress the whole process and just have fun with it.  Maybe the choir will get their cookies this year, after all.


First...take a look at your supplies.  You're going to need:

    Order.Them.Now.

    Try Amazon, Sweet Baking Supply, King Arthur Flour, or even your local craft shop.  (Also, try clicking the links in this post.) ;)


    OK....next.  Start early.  Cookie decorating is really more fun if you break it up into chunks.   
    Do one of the following to make life easier:
    • make the dough ahead and freeze (thaw in the fridge overnight)
    • bake the cookies and freeze (thaw at room temperature for a few hours)
    • bake the cookies the day before decorating
    • make the icing a day (or so) before decorating (if you are doing fine detail work, you'll want to make this the same day you are using)

    If you are making hundreds of cookies, you might want to make and decorate a few dozen at a time, THEN freeze...yes, cookies decorated with royal icing can be frozen.  I individually bag the cookies, then place in freezer baggies, then place those in plastic containers to prevent crushing.  Thaw at room temperature in the packaging for several hours.


    Shipping...after all of that hard work, you really want your cookies to arrive intact.  Check this post and this video for info on shipping.

    So, who's decorating cookies this season?
     
    {Or are you waiting until New Year's?}

    These few tips work for me; I hope they work for you, too!  

    Saturday, November 26, 2011

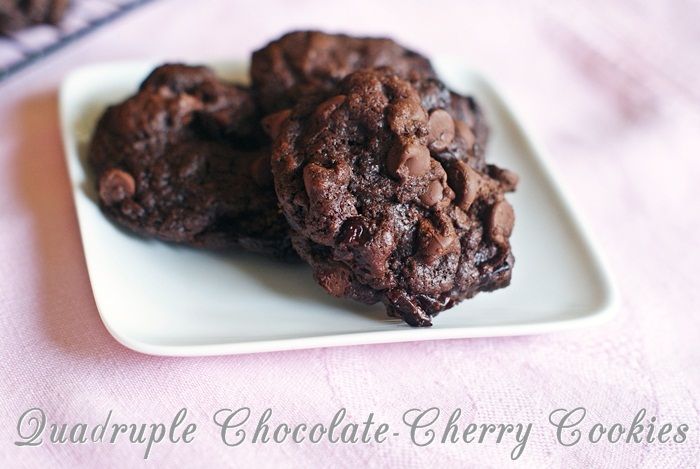
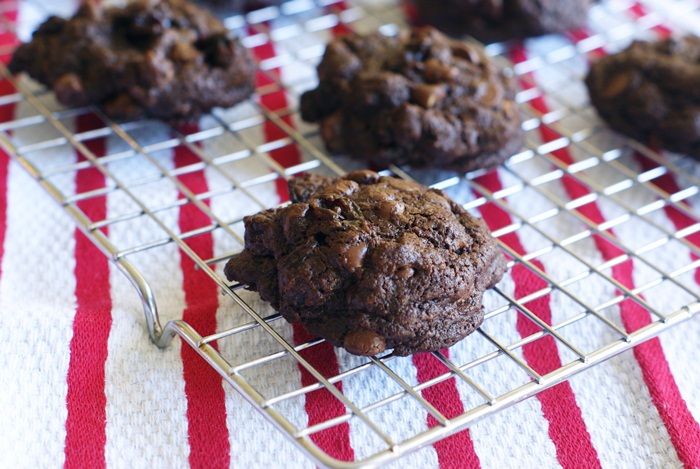
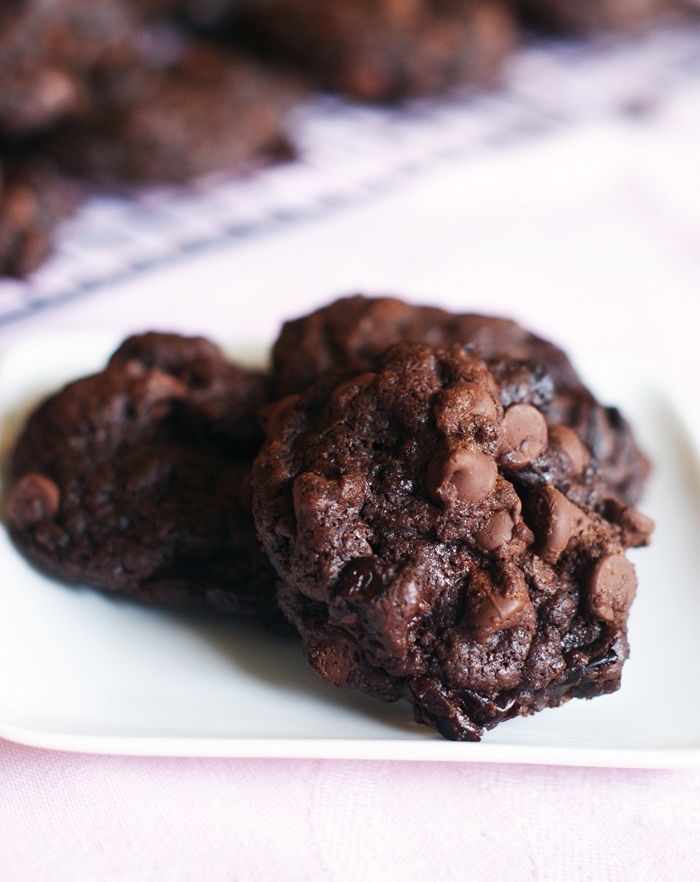
    Quadruple Chocolate-Cherry Cookies

    As much as I love chocolate, I’m not a big fan of “the chocolate cookie.”  I’ll take a regular chocolate chip cookie over a chocolate-chocolate chip cookie any day.
    But, I do love chocolate and cherries…so these cookies kept calling me.  And, I’m so glad they did.

    While we’re on the subject of chocolate and cherries, can we talk about chocolate covered cherries for a minute?  Do you remember the first time you bit into one?  The anticipation…you *knew* it would be delicious.  You took a bite.  And it was filled.with.goo.  A slimy cherry, surrounded by goo.  They should be banned from all boxes of chocolate.

    But, *this* combo of chocolate and cherries is delicious.  {And no goo.}

    Quadruple Chocolate-Cherry Cookies
    {adapted from Everyday Food #18, Black Forest cookies}

    1 cup unbleached, all-purpose flour
    2 TBSP dutch-process cocoa
    1 tsp. baking powder
    1/2 tsp. kosher salt
    4 oz. bittersweet chocolate, chopped
    4 oz. semisweet chocolate, chopped
    1 stick unsalted butter, cut into small chunks
    1/2 cup sugar
    1/2 cup light brown sugar
    2 eggs
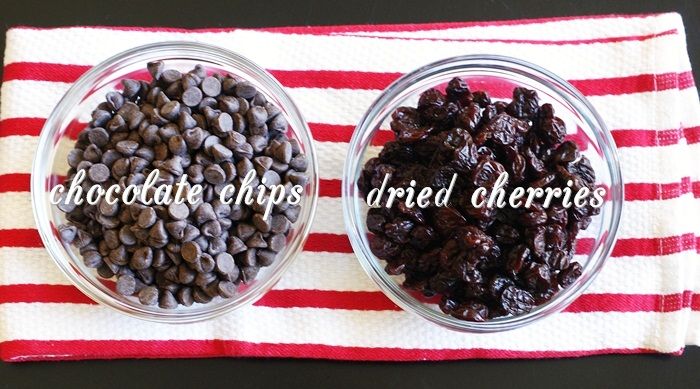
    12 oz. semisweet chocolate chips
    1 and 1/2 cups dried cherries

    In a medium bowl, whisk the the flour, cocoa, baking powder and salt.  Set aside.

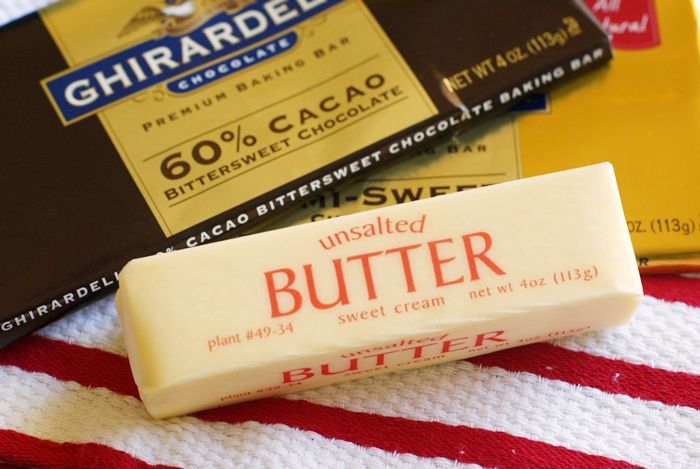
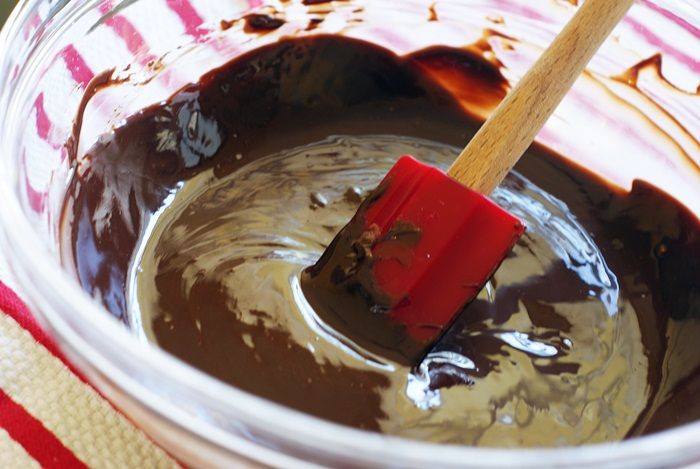
    Melt the chopped chocolate and butter in a heatproof bowl over a pan of simmering water.  Stir until smooth and completely melted.

    {ahh....chocolate & butter.}

    Remove the bowl from the heat.  Whisk in the sugars and then the eggs.

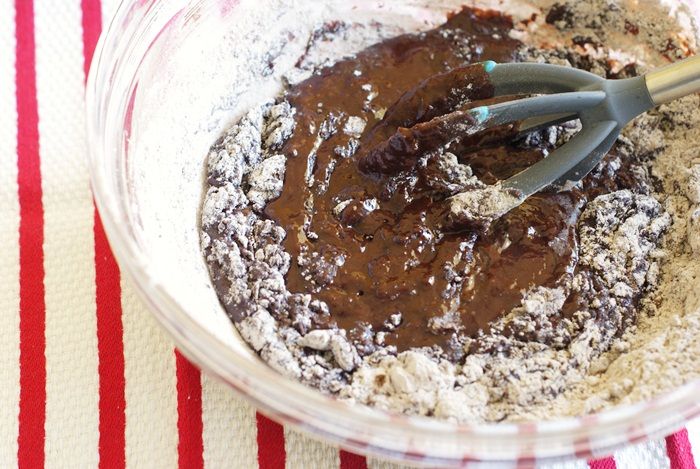
    Whisk in the dry ingredients until combined.

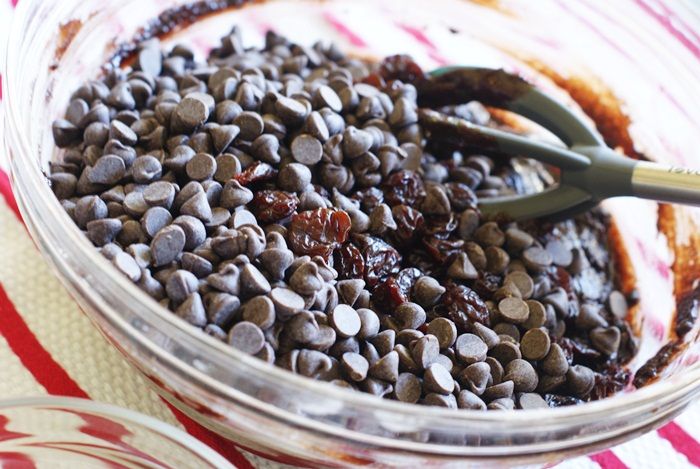
    Fold in the chocolate chips and cherries.
     
    Press plastic wrap right onto the dough, and refrigerate 30 minutes to 1 hour.

    Preheat the oven to 350.  Line 3 cookie sheets with parchment paper.

    Use a 2 tablespoon cookie scoop to scoop out mounds of dough (or use a spoon).  Bake until the edges are set, but the centers still look soft, about 12 minutes.
    Cool on the baking sheet for 1 minute, then transfer to a wire rack until cooled completely.

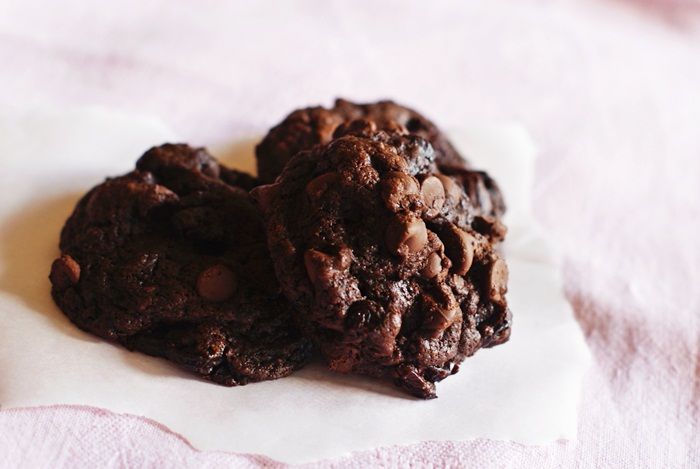
    {BUT...promise me you'll eat one warm.  PROMISE.  Don't make me come over there.}

    Wednesday, November 23, 2011

    Pumpkin Pi

    I just wanted to wish you all a happy Turkey Day.  I brought the Pumpkin Pi.
    {Yes, I went there.}

    These are super, super simple cookies...you can whip them up in a jiffy and surprise your Thanksgiving crew, or favorite math teacher.

    PS...this idea was inspired by an actual Pi carved pumpkin found by my friend Amy on Pinterest. I.Heart.Pinterest.

    To make Pumpkin Pi cookies, you'll need:
    Use a #3 tip to outline the pumpkin and stem in black icing.

    Let the cookies sit at least 30 minutes-1 hour to prevent the black from bleeding.

    Thin the orange icing with water to the consistency of a thick syrup.  Cover with a damp dish towel and let sit several minutes.  Stir gently with a rubber spatula to pop air bubbles that have formed on the surface.  Transfer to a squeeze bottle.

    Flood the pumpkin with the thinned orange icing.  Use a toothpick to guide to edges and pop large air bubbles.

    Use a #2 tip to fill in the stem of the pumpkin in green.  (You could also thin and flood here, but I like the "textured" look of the stem in piped icing.)

    Let the cookies sit at least one hour.

    Use a #5 (or #7) tip to pipe on a pi symbol on the cookies.

    Let dry uncovered 6-8 hours or overnight.

    I hope your Thanksgiving is filled with love and laughter...and lots of pie (or PI!)  I'm thankful from the bottom of my heart for each and every one of you.  Thank you for reading my ramblings, supporting my sugar habit, and going along with my goofiness.

    *mwah*

    Friday, November 18, 2011

    Coffee, Tea, or...

    ...cookies?
    A few months ago, a thought occurred to me.  The thought that I've known my friend Terri for 20 years.  The scary part about this is, we didn't meet on the playground, or even in college.  We met as adults.  How is that even possible?

    I actually remember the day I met Terri.  See, my first job out of college was as a flight attendant for Delta Airlines.  When you are with the airlines, seniority is everything.  So, there I was in the Dallas flight attendant lounge, with all of one month under my belt, when the "new kids" came in.  Terri was one of them.

    Terri is one of those people that everyone just wants to be around.  I mean, look at her...
    She's fun, she's full of joy, and she has the prettiest red hair. 
    {PS...Terri, I kinda stole these pictures off of your Facebook page.}

    She also has an adorable and adoring husband, and two beautiful girls...one of whom will be part of an arranged marriage to kiddo. I'm so not kidding. 

    Terri is a really good friend.  When kiddo was born, 10 weeks early, while I was out-of-town, Terri (7.5 months pregnant herself), jumped on a plane and came to the hospital.  She accompanied my dad & Mr. E to Sears to pick out a robe for me to wear in the hospital.  Then, she went with me down the hall to the NICU to see kiddo.  She couldn't even come in to see him...but she was there.
    Anyhoo...I realized that Terri was celebrating her 20th year with Delta.  And that calls for cookies.

    Remember those Biscoff cut-outs?  Yep...these are those.  Delta-Biscoff...see how it all fits together?!?
    We have the requisite rolling bag...

    ...and the wings.

    Missing from this assortment are the beverage cart and barf bag cookies.  Maybe at 30 years, Terri. 

    Can I share with you one of my favorite airline stories?  Oh goodie.

    On one of my first flights, a passenger rang her flight attendant call button.  I always kind of loved to see what people wanted.  Usually, it was a blanket.  Anyway...this was back in the day of those clunky plastic headsets...remember those with the ear pieces and then the 2 prongs on the other end that fit into the armrest?

    Well, this sweet lady rang her button and told me that her "oxygen wasn't working."  The lady traveling with her nodded along looking quite serious.  Now, I may not be the sharpest knife in the drawer, but I *could* tell she was breathing.

    I asked her what she meant.  She proceeded to take the 2-pronged side of the headset and stick it up her nose. 

    Yes.  I think I blacked out after that, but it is one of my fondest memories of flying...
    ...other than meeting Terri. ♥

    So, my sweet and funny friend...happy, happy anniversary!  Delta is lucky to have you!  And I'm so lucky to have met you 20 years ago! *mwah*

    Wednesday, November 16, 2011

    Sweet Potato Pie

    Sweet Potato Pie is decidedly unsexy.  I think it's the word "potato."

    It may not be sexy, but sweet potato pie is GOOD.  Now, I love my pumpkin...in all kinds of baked goods...but I must say, where pie is concerned, I prefer sweet potato.

    And I have a confession to make...I made the pie yesterday and today at lunch, it was calling me from the fridge.  I kicked off my boots, put on my comfy socks, curled up in the big chair in our bedroom, flicked on my DVR'd Real Housewives of Beverly Hills, and ate PIE for lunch.  It was the best, most decadent lunch EVER. 

    The pie is really pretty simple.  (And I'm begging you to give it a try.)  If you cook the sweet potatoes the day before, you can put this pie together in a jiffy.

    Sweet Potato Pie with Brown Sugar Whipped Cream
    {slightly modified from Everyday Food, issue 7}

    sweet potato puree:
    3 large sweet potatoes
    water to cover

    crust:
    10 graham crackers (the full sheets, rectangles)
    3TBSP sugar
    1/2 tsp. ground ginger
    pinch kosher salt
    5 TBSP unsalted butter, melted

    filling:
    3 eggs
    1/2 c. sugar
    1 and 3/4 c. cooled sweet potato puree
    1/2 c. half and half
    1 TBSP fresh lemon juice
    2 tsp. vanilla
    1 tsp. kosher salt
    1/4 tsp. ground allspice

    whipped cream:
    1 c. heavy cream
    1/2 c. light brown sugar

    Peel the potatoes and cut into chunks of approximately the same size...about 1.5".

    {Do NOT place the peels in your garbage disposal...so say my notes from "The Thanksgiving without a working garbage disposal, 2003."}

    Place in a dutch oven, cover with water and bring to a boil.  Boil for 15 minutes, or until tender with pierced with a paring knife.  Drain in a colander, then transfer to a food processor.  Process until smooth.

    Set aside to cool. (This will make more than you'll need for the pie.)

    Place an oven rack on the lowest shelf and preheat oven to 350. 
    Use a food processor to combine the graham crackers, sugar, ginger and salt until finely ground.  Add the melted butter and pulse until moist crumbs form.

    Dump the mixture into a glass 9" pie pan and press into the bottom and up sides of the pan.  Set aside.

    In a large bowl, whisk the eggs and sugar until blended.  Whisk in the cooled sweet potato puree, half and half, lemon juice, vanilla, salt and allspice until completely smooth.  Pour into the prepared crust and use an offset spatula to smooth the top.

    Place the pie on a cookie sheet and bake 40-50 minutes until set.  The pie filling should not jiggle much at all when shaken. 

    Transefer to a wire rack to cool, about 2 hours.  Refrigerate once cooled. 

    Before serving, make the whipped cream.  Chill the bowl and whisk attachment in the freezer for a few minutes before whipping.  Beat the cream and sugar together until soft peaks form.  Dollop on the pie.

    {Isn't dollop a good word?}

    Promise me you'll make it?  Ok?  After one bite, you might decide sweet potato pie is sexy after all.

    {Cheryl of TidyMom is having her 3rd annual Love the Pie party!  Come see all of the other delicious pies linked up!!!  It's like a pie potluck!}

    Tuesday, November 15, 2011

    Pie Crust Primer...Works for Me Wednesday

    Why is it four ingredients (one of them being ICE WATER) can cause baking anxiety?   Flour, salt, fat and water…you know what I'm talking about: pie crust.

    Don't get me wrong, I have used Pillsbury refrigerated crusts many a time...and it's really pretty yummy.  But, maybe Thanksgiving has you feeling brave.  Maybe you want to feel like a domestic goddess (pie crust from scratch will do that for ya).  Maybe, just maybe, your mother-in-law is coming for dinner and you want her to know that you can make pie crust, too.


    Here were my fears about pie crust...
    • Am I working the dough too much?
    • What fat should I use?
    • Will it get soggy?
    • Will it be flaky and not taste good?
    • Will it be tasty and not flake?
    • Will I send my husband to the store for a box of the refrigerated stuff?

     
    Fear no more!  Let me share my favorite, no-fail recipe along with a few tips for a perfectly flaky, delicious pie crust!


    For a double-piecrust:
    (modified from The King Arthur Flour Baker’s Companion)

    2 & 1/2 c. unbleached, all-purpose flour
    1 tsp kosher salt
    1/2 c. cold shortening (Crisco)
    1 stick unsalted butter
    1/4 to 1/2 c. ice water


    Reserve a few tablespoons of flour, set aside. Whisk together remaining flour and salt. Cut in the shortening until it is crumbly.

    Place the reserved flour on work surface and coat butter in it. Use a rolling pin or your hand to flatten the butter until it is about 1/2 inch thick. Break the flour-coated butter into 1 inch pieces and mix into the dough until it is evenly distributed.

    Sprinkle water over the dough while tossing with a fork just until it is easily squeezed into a ball. Flatten into 2 disks, wrap in plastic wrap and refrigerate 30 minutes.

    On a floured surface, roll each disk into a 12 x 9″ rectangle (approx). Fold into thirds, like a letter, then fold again in thirds to form a square. Wrap both pieces again and refrigerate 30 more minutes.

    After 30 minutes, let rest at room temperature for 5 minutes, then roll out to the size needed for the bottom crust.  Use the second piece for a lattice or decorative top.

    Now, here are a few pie crust secrets:
    1. For a perfectly baked bottom crust, use a glass pie pan and bake the pie on the bottom rack of your oven.
    2. To prevent a soggy bottom crust on a fruit pie, brush on a thin layer of lightly beaten egg white before adding the fruit.
    Psst....Cheryl over at TidyMom is having a Pie PARTY on the 16th.  Go check out the pies and link up your own! 

    Never fail pie crust....works for me! :)


    {Portions of this post first appeared as a guest post on Muthering Heights.}