Saturday, September 29, 2012

I Just Blogged to Say I Love You (Vol. 2)


Hey guys!  Is it fall in your neck of the woods, yet?  It is still HOT here, so I'm *still* wearing my white jeans and sandals.  Totally allowed after Labor Day if it's 90 degrees, right? 

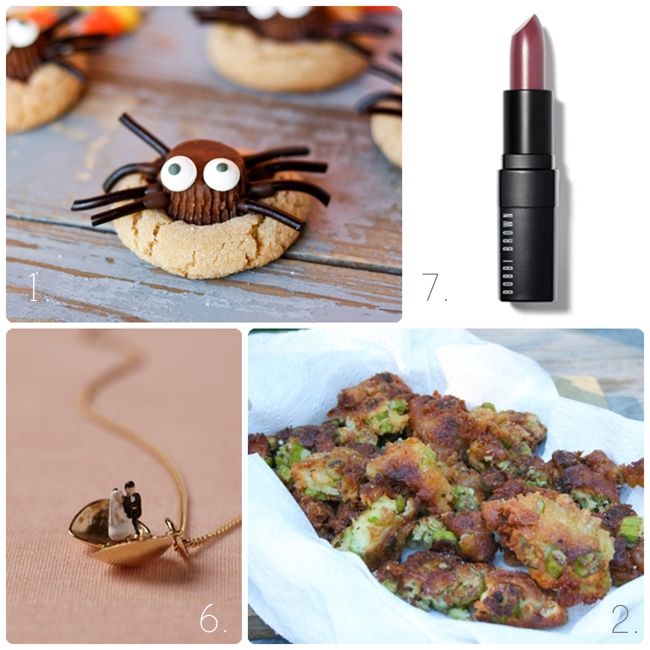
vol 2 collage
1. I love Halloween...and these spider peanut butter blossoms might be the cutest Halloween treats I've ever seen.

2.  Fried Okra Chunks!  CHUNKS!!!  I only want to eat things in chunks from now on.

3. On the importance of a print button.  (This is one of the funniest blog posts of all time.)

4. This dress.  In houndstooth...or dots...or purple, but I think it might be too short.  Do you hesitate to order clothes online like I do?  I'm a clothes-ordering-chicken.

5. I'm on an avocado kick these days.  As in EVERY day for lunch, I mash up an avocado with lemon juice, salt, and pepper and spread it on toasted sourdough.  How do YOU eat it?  I may need some variety.

6. Love this.  (Just want it to be 75% off.)

7. Bobbi Brown.  I'm usually a "drug store" makeup buyer.  Last spring, Mr. E gifted me a Nordstrom gift card, so I had my makeup done at Bobbi Brown.  I wasn't sure what to expect, but I walked away with a gift card balance of $0...and very happy.  Six months later, my eyeshadows and eyeliner are still more than half full.  So, I went back.  This time for foundation, concealer, powder...and of course, lipstick.  Always lipstick.  I think the gel eyeliner is my favorite product, but I love it all.

What have you been loving lately?  Specifically, what makeup do you love?


Wednesday, September 26, 2012

Sunny Day, Sweepin' the Clouds Away...

...on my way, to where the air is sweet...
Can you tell me how to get,
How to get to Sesame Street?

Today, we're getting to Sesame Street via cookies.  I think this guy would approve:
As soon as I saw these Sesame Street cookie cutters at Williams Sonoma, I knew I must have them.

Sesame Street premiered in 1969...the same year I was born. 
Cookie Monster was born; Bridget was born.  Coincidence?   Separated at birth?

Anyhoo...I love Sesame Street.  I hear they're making Cookie eat vegetables these days.  I really don't want to believe that.
There is an Elmo cookie cutter in this set; I didn't make him.  When kiddo was little and I tried to force him to watch Sesame Street ("You'll love it; I promise!"), he would cry whenever Elmo's friend Mr. Noodle and Mr. Noodle's brother would come on the screen.

I would have substituted the Elmo cookie cutter for Grover. Or Count. Or Bert. Or Big Bird. (I'm old.)  Speaking of Grover, please tell me you have this book for your kids.  To this day, it is one of my favorites.

Back to the cookies...the cutters are designed to make an imprint of the design, which is so helpful when making characters.  They're also made to give you the option of making sandwich cookies, just press the imprinting part all the way down and it will cut out the mouth area.  Decorating instructions are included with the set.

***Keep in mind, if you are making these for a party, you might want to stick with 1 or 2 characters.  For these 3 guys, I needed to make 10 different icing colors.***

The cookies here are a new recipe.  Are you ready?
They're CHOCOLATE HAZELNUT CUT-OUTS.  As in, Nutella Cut-Outs.
You can find the recipe here, in the book!!!
{How's that for a teaser? ;)}
Since the cookies are a deep, dark brown, there was no need to use black icing to fill in the mouths on Cookie Monster or Oscar.

And how fun are Oscar's eyebrows?  That's just piping consistency icing "fluffed" up with a toothpick.

How'd you like a set of these for your own?  It seems only appropriate for the week of Jim Henson's birthday. ♥  Kiddo is convinced that "only people with little kids" will enter.  I had to remind him that his 42-year-old mother made a special trip to the mall just to purchase these...for HERSELF. ;)

Simply use the widget below to enter.  US entries only, please.  If you'd just like to leave a comment, use the comment form as usual.
a Rafflecopter giveaway
 
Who is YOUR favorite Sesame Street character?

Monday, September 24, 2012

Kiddo in the Kitchen: Pumpkin Chocolate Chip Bars

{This post is sponsored by NestlĂ©® Toll House® Morsels, the perfect special ingredient for all of your family’s favorite treats!} 

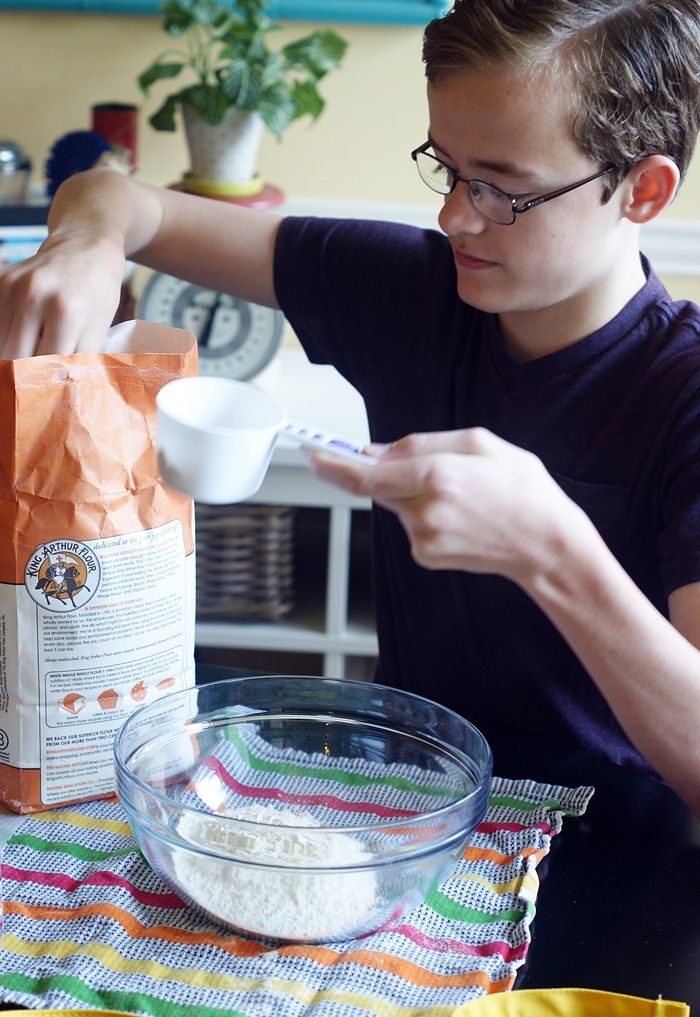
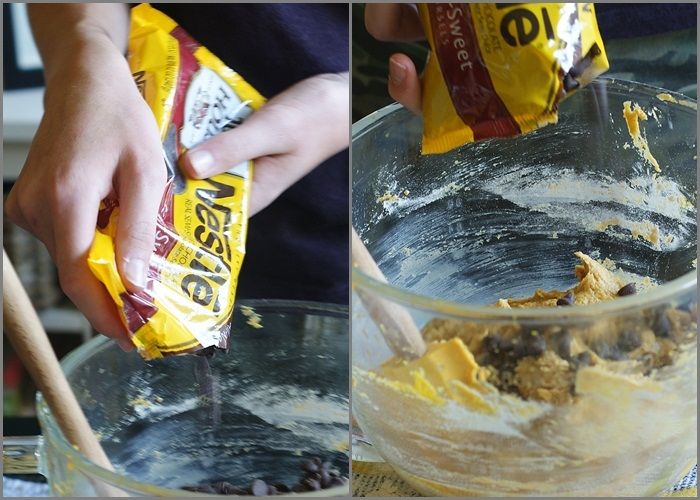
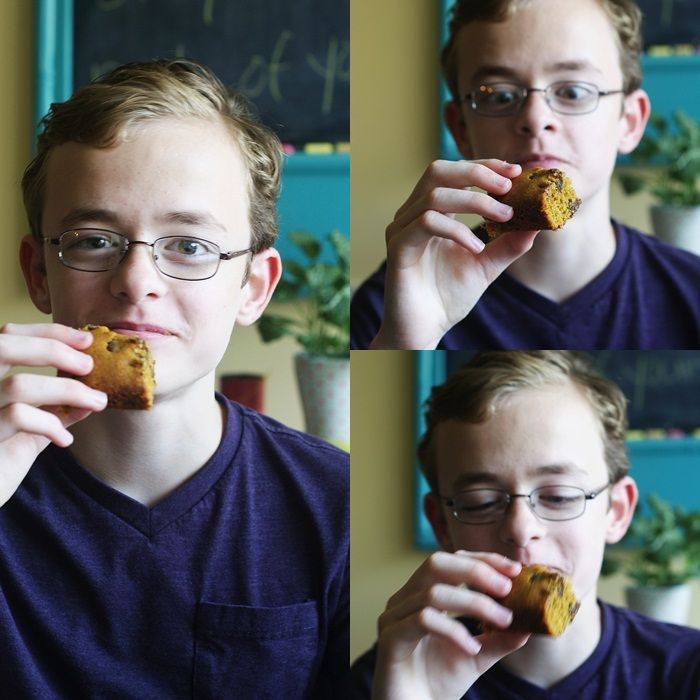
There is no easier way to get your kids to help in the kitchen than to pull out a bag of chocolate chips.  Am I right?  The highlights of childhood baking are as follows: eating chocolate chips straight from the bag and licking the beaters.

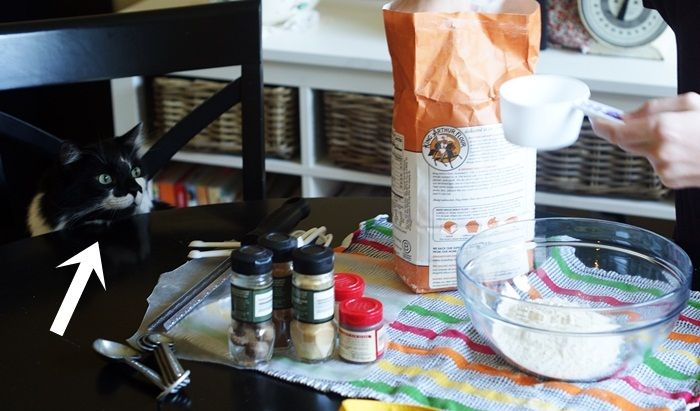
{Your kitty may even try to get in on the action.}

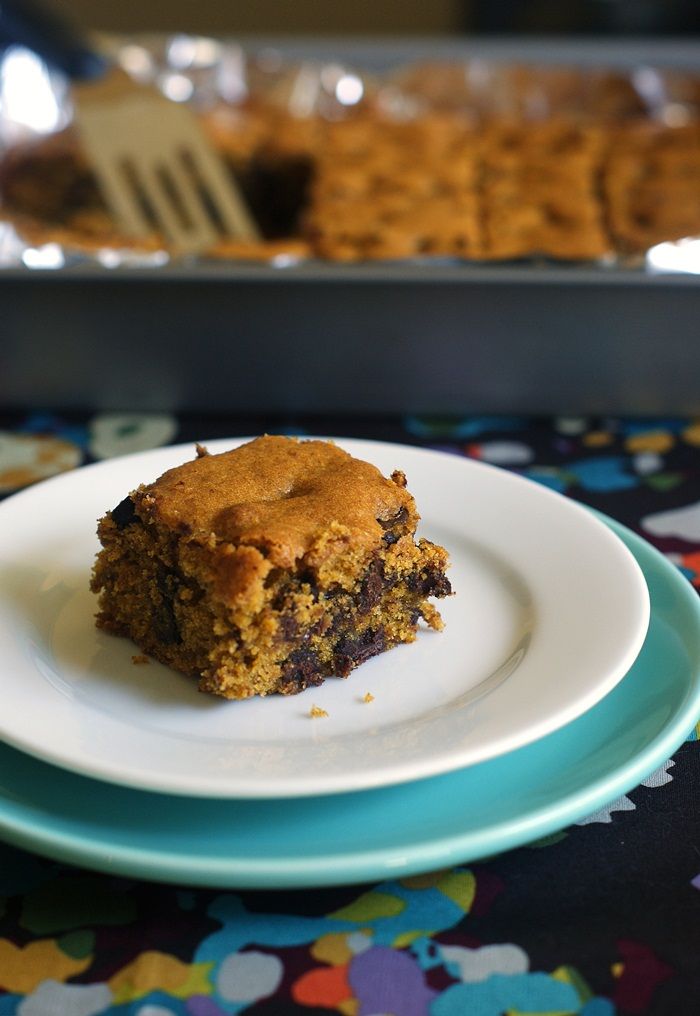
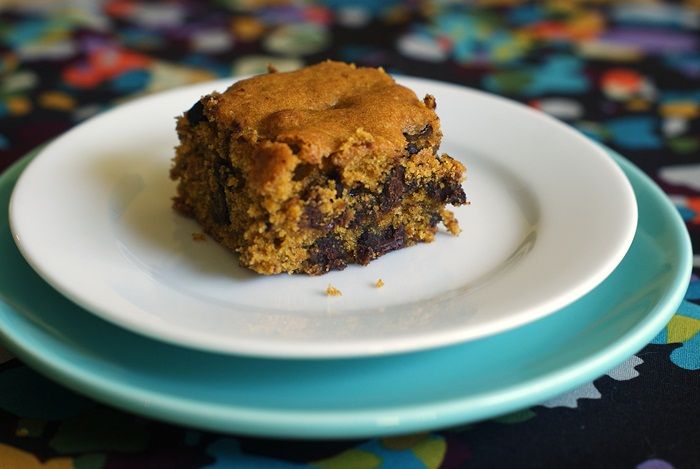
These pumpkin chocolate chip bars have been on the blog before, but they are so incredibly good and so incredibly perfect for fall that they needed a repeat.

The bars are cake-y, spicy, and studded with chocolate chips.  They'll rock your bake sale, lunchbox, picnic...I promise.

 
Pumpkin Chocolate Chip Bars 
{adapted from Everyday Food, Nov. 2004}

2 cups unbleached, all purpose flour (we substituted 1 cup for white whole wheat)
1 & 1/2 teaspoons cinnamon
3/4 teaspoon ginger
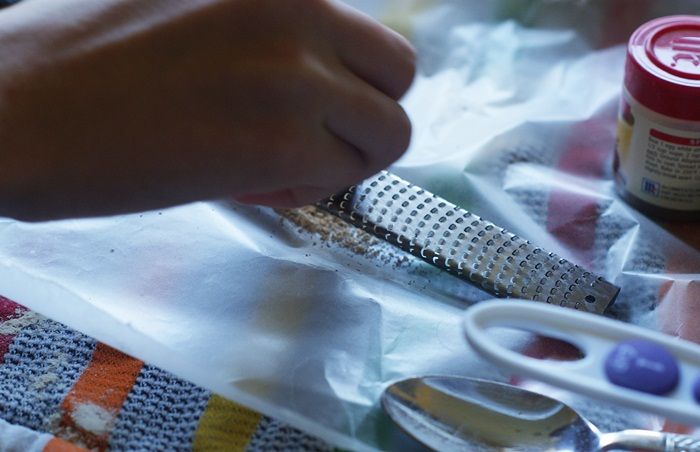
1/2 teaspoon freshly grated nutmeg
1/8 teaspoon allspice
1/8 teaspoon cloves
1 teaspoon baking soda
3/4 teaspoon kosher salt
1 cup (2 sticks) butter
1 & 1/4 cup sugar
1 egg
2 teaspoons vanilla bean paste (or vanilla extract)
1 cup canned pumpkin (not pumpkin pie filling)
12 oz. semisweet chocolate chips

Preheat oven to 350.  Line a 13x 9" pan with foil.


Whisk together the flour, spices, salt and baking soda.  Set aside.

Cream together the butter and sugar until smooth and fluffy.  Add in the egg and vanilla and beat until well combined, scraping down the bowl as needed.  Beat in the pumpkin.

On low speed, add in the flour mixture in two additions, mixing just until combined.


Stir in the chocolate chips.

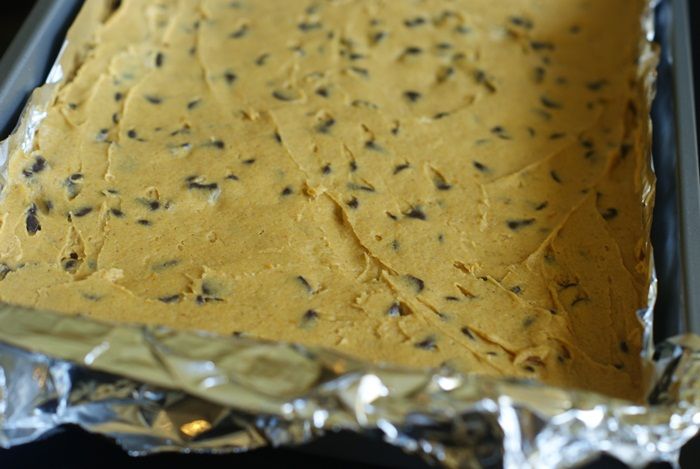
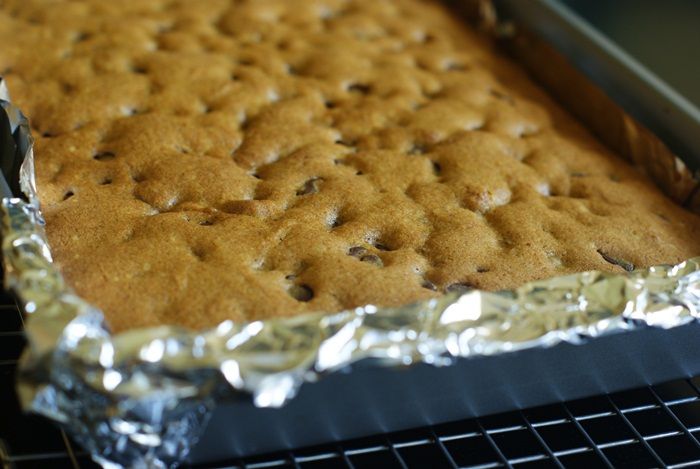
Spread the batter into the prepared pan, an offset spatula is great for this.  Bake for 35 minutes, or until a toothpick inserted in the middle comes out with loose crumbs, but not wet,

Cool completely on a wire rack.  To cut, lift the foil from the pan.  Use a bench scraper to cut into bars.

Yep....they're good. And, with a cup of pumpkin in the mix, they're practically health food.

Make them with your kids, or grandkids (or by yourself), you'll be happy you did!

Thursday, September 20, 2012

Soft Sugar Cookies for a Baby Shower

You may have noticed, but this is "blogger baby season."  No, no...not me.  (My sister is pregnant with her fourth and that's as close as I'm getting.)
I've heard that in some segements of the population, people actually get together IN REAL LIFE and have baby showers in the SAME SPACE, but this is not one of those showers.  This is a virtual baby shower for our friend Jen of My Kitchen Addition, who is having her first baby...a girl.

Jen was one of the very first bloggers I ever met.  She's kind and sweet and supremely talented...and I'm just over-the-moon happy for her.  She's going to be a *wonderful* mom.

Let's talk about the food, shall we?  I'm bringing soft sugar cookies to the shower.  They're almost like those cookies at the grocery store...you know, those ones your kids BEG for?  (Jen...get ready.  You'll be hearing this begging in about 3-4 years.)  Anyway, these are *almost* like those, but BETTER.

Based on a recipe that Shelly shared over at University of Cookie, these cookies are light, soft and pillowy...and topped with a fluffy, sweet frosting.

Nothing fussy or fancy, but oh.so.good.

Oh, and yes, these are made with Crisco. I don't think all butter would give the same result.


Soft Sugar Cookies
{makes 24}

for the cookies:
3 & 1/3 cups unbleached, all-purpose flour
2 teaspoons baking powder
1 teaspoon kosher salt
2/3 cup shortening
2/3 cup salted butter, cut into chunks
1 & 1/2 cups sugar
2 eggs
2 teaspoons vanilla
1/4 teaspoon almond extract

for the frosting:
1/2 cup shortening
1 lb. (4 cups) powdered sugar
pinch sea salt
6 TBSP milk
1 teaspoon vanilla
non-pareils

Preheat oven to 350.  Line two cookie sheets with parchment paper.

Whisk together the flour, baking powder and salt.  Set aside.

In a large bowl of an electric mixer, cream together the shortening, butter and sugar until fluffy.  Beat in the eggs and extracts until well combined.

On low speed, add the flour mixture in three additions, scraping down the sides and bottom of the bowl as needed.

Use a 2 tablespoon cookie scoop to scoop the cookies onto the prepared cookie sheet, 2" apart.  Tuck and stray dough in to prevent crispy, brown edges. (Alternately, measure out the dough in 2 TBSP chunks and roll in a ball.)

Bake for 10-12 minutes, until the cookies look done, but still soft.  Let cool on the cookie sheet for 2 minutes, then remove to a wire rack to cool completely.

Meanwhile, make the frosting:

Beat the shortening, powdered sugar, and salt slowly until the sugar is incorporated, then raise the speed and beat until well combined.  Slowly add in the milk and vanilla; beat until fluffy.

Divide and tint as desired.  (I used AmeriColor Deep Pink & Lemon Yellow.)  Spread on the cooled cookies and top with non-pareils.


Happy baby, Jen!!!  Enjoy those hazy, sleep-deprived days...they go waaaaay to quickly. ♥

You must go get some snacks from the other hostesses of the shower.  Here they are:


Tuesday, September 18, 2012

Comfort Food & White Jacket Required

There are a handful of foods that rank on my "comfort food" list.  No, not mashed potatoes...not meatloaf.

My number one comfort food is toast.  Toast with butter or cinnamon toast, but definitely toast.

Also ranking high on the list: graham crackers with chocolate frosting.  Comfort food when made for you, is a little like a love letter, isn't it?  Maybe that's why it's so comforting to me...I remember my mom making these. I'm sure she made them with leftover frosting, but today I made them using Jenna's recipe from her new book.

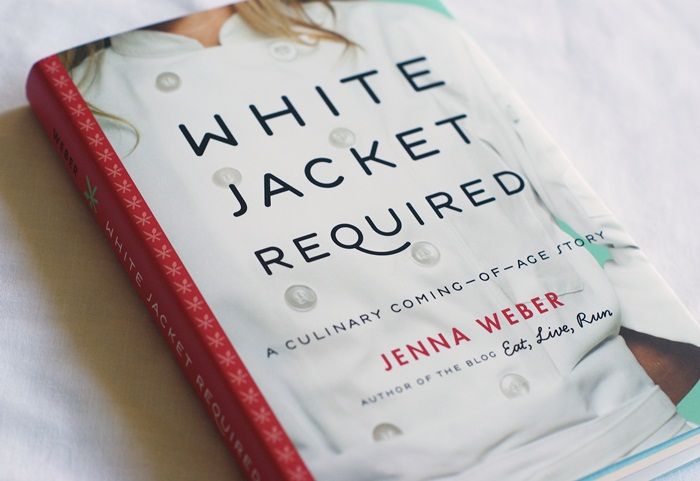
Let me tell you a bit about White Jacket Required by Jenna Weber.  As the subtitle states, the book is "culinary coming-of-age story," taking the reader along on Jenna's journey through culinary school and beyond.  Jenna's book is  not only a love letter to food, but to her family as well...it's heartfelt and touching.

To top it off, each chapter ends with a recipe...or three.  Oh, I love a book with recipes, don't you?  I love thinking about what the author was eating and cooking...and the story behind the food.  There's ALWAYS a story.
Culinary school, family bonds, recipes...can you ask for more, really?

Jenna was kind enough to let me share her recipe for chocolate buttercream here on the blog.  It's light and fluffy, and just perfect for sandwiching between two graham crackers....or for frosting a cake if you're feeling ambitious.
It's comfort food.


Jenna's Chocolate Buttercream
{with permission from White Jacket Required}

1 stick (8 TBSP) unsalted butter, at room temperature
3 cups powdered sugar
Pinch of sea salt
2 teaspoons vanilla
3 TBSP cocoa powder
2 TBSP milk

In the bowl of an electric mixer, cream together the butter, powdered sugar, salt, and vanilla for 5 minutes on high speed.  Add the cocoa powder and milk and keep beating for another 8-10 minutes until very light, thick, and fluffy.

Having met Jenna last month in Oregon, I can attest to the fact that she's as beautiful on the inside as she is on the outside.  I think you'll want to know her, too.

{Also, be sure to visit Jenna's blog: Eat, Live, Run.} 

Sunday, September 16, 2012

I am the Walrus

Coo coo ca choo.

{PS: I've just come to find out that it's actually "goo goo g'joob."  I'm sticking with "coo coo..."}
{PPS: If you are under 35, you may need to do some googling here.}

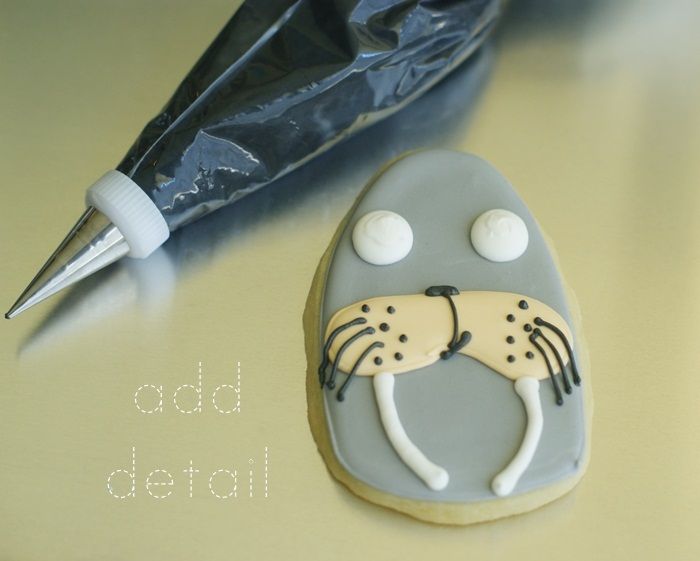
Yes, these cookies are weird.  No, there is no rhyme or reason behind them.  One day while looking through the mini Boden catalog (best kids' catalog ever), I came across a shirt with a walrus on it.  The shirt was screaming, "I want to be a COOKIE!"  So, it is.

Where could you use these cookies?  A Sea World theme birthday party?  Beatles tribute?
I have no idea. 

What I do know is that I went through a HUGE Beatles/Monkees phase in high school.  Even though neither band was still intact and playing, my bedroom was covered in pictures of Paul McCartney & Davy Jones scotch-taped to the wall. (Sorry, Dad.)

"I am the Walrus" was probably one of my least favorite Beatles songs, but you have to admit...you never forget it.

To make the walrus cookies, you'll need:
Use a #2 tip to outline the entire shape in grey icing.

Thin the remaining grey icing with water, a bit at a time, stirring with a silicone spatula, until it is the consistency of a thick syrup.  You'll want to drop a "ribbon" of icing back into the bowl and have it disappear in a count of "one thousand one, one thousand two." Four is too thick, one is too thin.  Count of 2-3 is good.  Cover with a damp dishcloth and let sit for several minutes.

Stir gently with a silicone spatula to pop and large air bubbles that have formed.  Pour into squeeze bottle.  

Fill in the outline with the thinned flood icing, using a toothpick to guide to the edges and to pop large air bubbles.

Let the cookies dry for at least one hour.

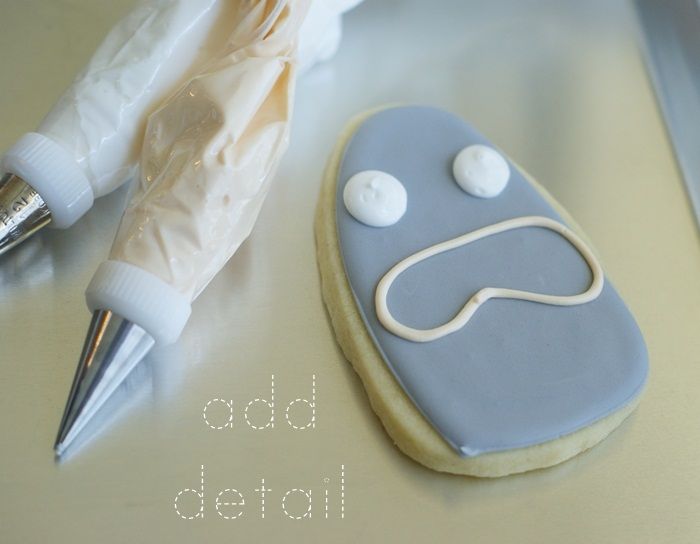
Use a #2 tip to pipe an outline the whisker area in ivory.

With a #7 round tip, add the eyes in white. (You could stop here and these would be really fun for Halloween.)

Thin the remaining ivory icing as described above.  Fill in the outlined area.

Let the cookies dry at least one hour.

Pipe the tusks in white icing using a #3 tip.

Use a #1 tip to pipe the nose, mouth, and whiskers with black icing.

Switch to a #3 tip and add pupils to the eyes.

Let dry completely, uncovered, 6-8 hours or overnight.

Coo coo ca choo, my friends. 

Friday, September 14, 2012

I just blogged to say I love you (Vol. 1)

{We're (ok, I'm) trying a little something new around here...a round-up of good stuff from the internets and beyond.  I'll be posting round-ups every so often because once a week would require me to be organized.} ;)


1. You know when you see something wonderful and it makes you a little teary?  Check out this video of my friend Amy's daughter singing "Hit Me with your Best Shot." Hope and her guitar-playing friend have some major talent.  I'll be first in line for their CD.

2. I've been on an ice cream kick for the last couple of weeks, and seeing THIS ice cream from Jessica did not help.  I seriously MUST have this.

3. These shoes (in red)...can't stop thinking about them. 

4. So, high temperatures are still around 90 in these parts, but I AM ready for fall...and fall flavors.  I've been dreaming of this cake from Jenna.  I predict it will make an appearance in my kitchen next week.  (And then I will devour it...in 24 hours flat.)

5. Man-pleaser Salad...it's a woman-pleaser, too...I think you'll want to try it.  And if you can get your hands on some Rogue Creamery blue cheese, all the better.

6. THESE COOKIES ARE AMAZING!!! (Yada-yada)

7. I dare you to read this post from Robyn and not cry.

8. Finally, I tested a swipe of dark grey polish on my nail at Target last week (yes, I'm that person), and when we got home, I couldn't not stop staring at it.  I told Mr. E, "I feel so goth with this polish."  He immediately replied, "YOU could never be goth."  Sounds kinda like a challenge to me. ;)

What have you been loving this week?

Tuesday, September 11, 2012

How to Apply Disco Dust...Works for Me Wednesday

Disco dust.  Have you tried it?
Disco dust will make your cookies sparkle like nobody's business.
{It also drives me slightly insane, which leads me to why I apply it the way that I do.}

About the size of fine glitter, disco dust tends to spread EVERYWHERE....just like glitter.  If you attempt to sprinkle it just on one area of your cookies, I promise, it will stick to every damp surface of that cookie.  I like to apply it to a DRY cookie.

Just like applying sanding sugar, let your cookies dry overnight.
Then, you'll need this:
  • Mix equal parts meringue powder and water (for small batches, start with just 1/4 teaspoon of each).  
  • Use one paintbrush to apply the mixture onto the cookie where you want the disco dust to stick.  
  • Sprinkle on the disco dust over a basket-style coffee filter.  
  • Shake off the excess and use the filter as a funnel pour back into the container.
  • Use the 2nd (dry) paintbrush to brush off as much excess from the cookie as possible.
 
{Side note: unless you'd like to be WEARING disco dust all over your face and hair, I strongly discourage blowing on the cookie to remove the excess.  Not that I've ever done that or anything.}

Where to buy disco dust?
  1. Amazon
  2. Sweet Baking Supply
  3. Layer Cake Shop 
Disco dust...works for me
 
Now, go get your DISCO on!

Monday, September 10, 2012

Devour that last bite of summer...

We had a cool front yesterday.  The temperatures were in the 60's when we woke up, so I pulled on a long-sleeve shirt and my jeans (and thought about lighting a fire).  It wasn't until I headed to the grocery store several hours later that I remembered the high temperature was supposed to be in the 90's.

The important thing is...I know fall is on the way.  Right?  Right?!?

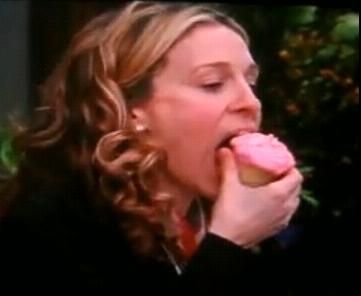
Before we dive into pumpkin and cinnamon and apples, promise me you'll make these, ok?  Seriously, I'm IN LOVE with these cupcakes.  I'm normally one who tears off the bottom of a cupcake, eats it first, then works on the frosting with a little bit of cake.  These...I devoured in about 3 big bites a la Carrie Bradshaw at the Magnolia Bakery.
 
{photo credit: Joonbug.com}

The cupcakes are a combination of my very favorite coconut cake, filled with a rich and tangy lime curd, and topped with cream cheese icing. 
{Let me be upfront here; the cupcakes are made using a cake mix.  I firmly believe there is a time and place for cake mix.  This is one of them.}

The cupcakes themselves are soft and tender and contain two secret ingredients:
  • Cream of Coconut (find it in the "mixers" section of the grocery store
  • sour cream

Speaking of secret ingredients, feel free to use the bottled Key Lime juice for the curd if you can't find Key Limes, or just don't want to juice 75 tiny limes.

Also, you'll want to make the curd the day before the cupcakes so it can set up and get nice and thick.  You'll want to eat it by the spoonful.  Refrain.

Making filled cupcakes are much easier than you might think.  No need for fancy contraptions to pull out the middle.  No need to carve out the cupcakes at all.  Use an icing bag with a medium-sized tip, press into the cooled cupcake, squeeze, and voila!  Filled cupcakes.


Lime-filled Coconut Cupcakes
{makes 28-30} 
 
for the Key Lime curd:
2 eggs
1 egg yolk
2/3 cup sugar
1/4 cup Key Lime juice, fresh or bottled
4 TBSP unsalted butter, at room temperature, cut into chunks

for the coconut cupcakes:
1 box white cake mix
1/4 c. oil
3 eggs
1 (8 oz.) carton sour cream
1 (15.5 oz) can cream of coconut

for the frosting:
8 oz. cream cheese, room temperature
5-6 cups powdered sugar
4 TBSP milk
Angel Flake coconut

Make the Key Lime curd: 
In a small, heavy-bottomed saucepan, whisk together the eggs, egg yolk and sugar for one minute.  Whisk in the Key Lime juice until well combined.

Place the mixture over medium-low heat and whisk constantly until thickened, about 10-12 minutes.  Remove from heat and whisk in the butter, one chunk at a time until melted and incorporated.

Pour the mixture through a fine-mesh sieve into a bowl.  Let cool slightly.  Press a piece of plastic wrap onto the curd and place in the refrigerator overnight.

Make the cupcakes:
Line 28-30 muffin cups with liners.  Preheat oven to 350.

With an electric mixer, mix all of the ingredients on low speed until combined.  Scrape down the sides and bottom of bowl.  Increase speed to medium-high and beat for 2 minutes.

Scoop into cupcake liners and bake 18-20 minutes, or until the cupcakes spring back when touched lightly with a finger. Cool in the pan 10 minutes, then remove and cool completely on wire racks.

Make the frosting:
In a bowl of an electric mixer, beat the cream cheese until softened and fluffy.  Add 5 cups of powdered sugar and the milk.  Beat on low until combined, then on medium until smooth and creamy.  If the frosting is too thin for spreading, add the remaining cup of powdered sugar.  Set aside.


Fit a pastry bag with a medium-size tip, such as a Wilton 4B star, and fill with the lime curd.  Press the tip into the cooled cupcakes and squeeze.  You'll see the cupcakes plump up...that's what you want.  Stop squeezing, remove the tip and repeat for the rest of the cupcakes.
{The lime curd will fill about 16-18 cupcakes; I like to leave some unfilled for people who are afraid of "curd."}

Top each cupcake with a generous amount of frosting and smooth with an offset spatula.

Sprinkle on the coconut.

Serve immediately, or store the cupcakes in the refrigerator and let them sit at room temperature for several minutes before serving.


Wanna see the inside?  I know you do....


Can you see that Key Lime deliciousness peeking through?


The end.

{portions of this post originally published on the Huffington Post