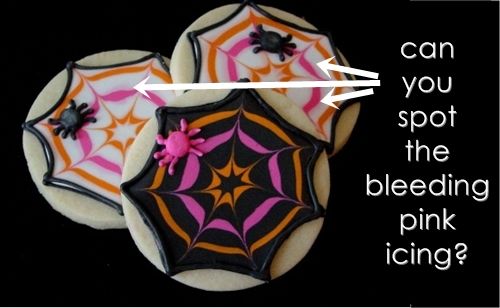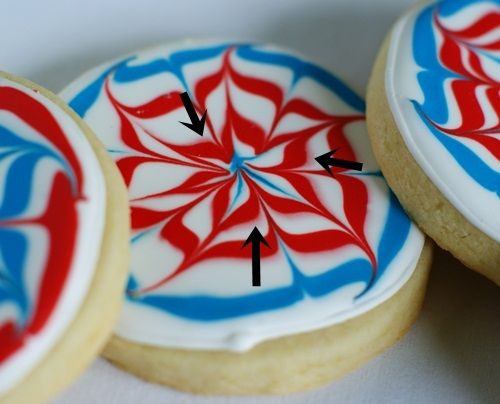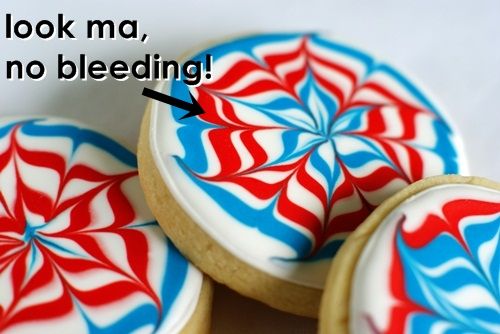
The tips here are not a guarantee against bleeding icing colors, but hopefully they will help.
First, a little general advice:
- Use a high quality gel paste food coloring (I like AmeriColor
). I LOVE their Super Red and Super Black food colorings.
- Use as little food coloring as possible to achieve the right color. Remember that colors, dark colors especially, will deepen over time and as they dry. Over-saturated colors tend to bleed more than others.

For applications, like this one, where you are applying thinned icing on top of wet icing:
- Work several cookies at a time, filling in the base color, then going back to the first cookie filled and applying the second color. This will allow the base coat a few minutes to set before applying the second color.
- Thin the icing colors out to as close to the same consistency as possible.

{Why did one cookie bleed and the other didn't? I'm not sure. It's a cookie mystery.}
For applications involving a dark outline:

- If filling a cookie that has a dark outline, give the outline a little extra time to dry. For a black outline, I let the outline dry 30-60 minutes before filling with a lighter color. Another cookie maker I know (hi, Jen!) waits 3 hours. And her cookies are perfection.
- If adding detail piping in a dark color on top of a light color (like the beer mugs or the white hearts below), give the flood icing at least one hour to dry before adding the detail.

Here's my most important tip for bleeding icing...
don't sweat it!
It's just a cookie; it doesn't have to be perfect.
It's just a cookie; it doesn't have to be perfect.
YOU are probably the only person who notices. (I promise.)
{Plus...once it has been eaten, there will be no evidence!} ;)

No comments:
Post a Comment