Showing posts with label st. patrick's day. Show all posts

Friday, March 16, 2012

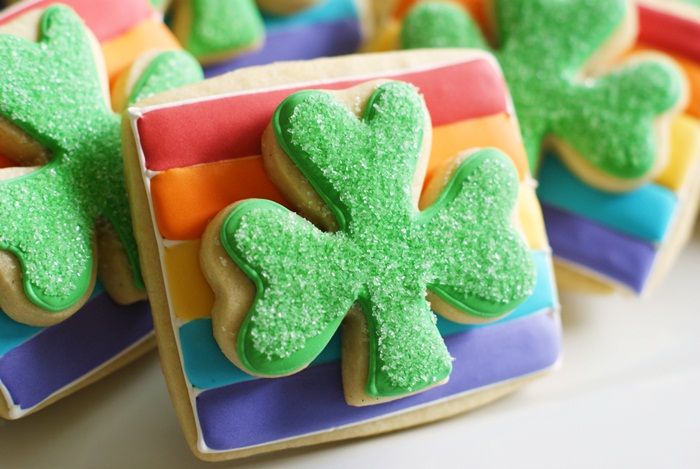
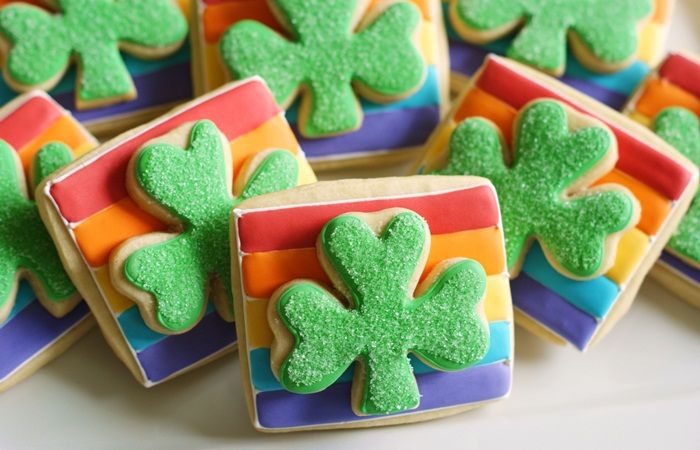
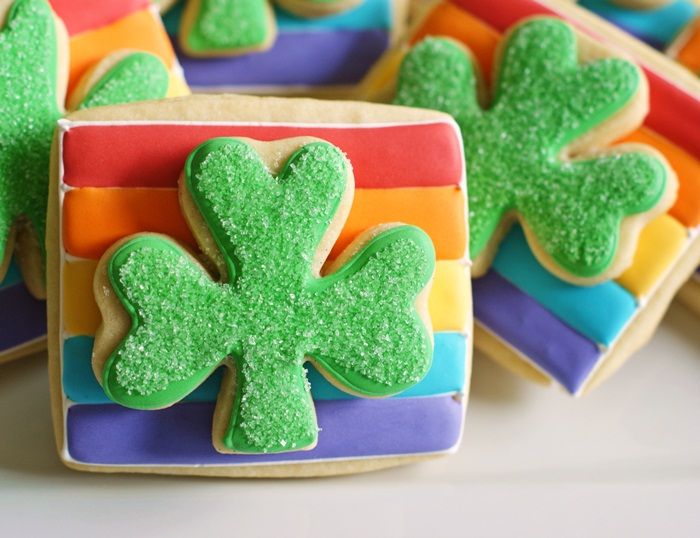
Double-decker Rainbow Shamrock Cookies

You didn't think you'd seen the last of the double-decker cookie, did you?!?  Oh no...I sense a double-decker cookie obsession coming on.
As soon as I started thinking about St. Patrick's Day, I wanted to do a shamrock version of the hearts...but I couldn't decide on a background.  Then, out-of-the-blue, it came to me....rainbow!  Do you know I've NEVER made a rainbow cookie before?!?  Never!  How is that possible?

Of course, you could really put any shape in the middle for your second cookie...heart, cloud, unicorn... ;)

For the double-decker rainbow shamrock cookies, you will need:
  • cookies...rectangle and shamrock
  • royal icing, divided and tinted with AmeriColor leaf green, bright white, super red, orange, egg yellow, sky blue and regal purple
  • disposable icing bags
  • couplers and tips (#2)
  • squeeze bottles
  • meringue powder
  • small paintbrush
  • white sanding sugar
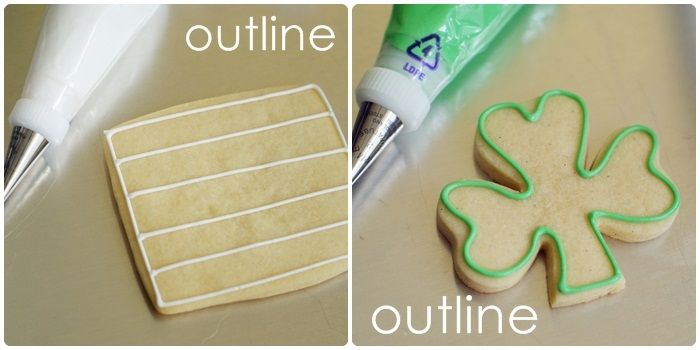
Outline the cookies with a #2 tip.  Use green for the shamrock and white for the rectangle.  Pipe stripes across the rectangle.

Go ahead and save some of this piping consistency green or white icing....it doesn't matter which one. You won't need it until the next day; this will be your "glue" to attach the cookies together. You can just plop the icing bag right in your fridge.

Thin all of the icings (except white) with water, a little at a time, stirring gently with a rubber spatula, until it is the consistency of a thick syrup. (Here is a video I made a few years ago showing how I do it.)  Cover with a damp dish towel and let sit for several minutes.

Stir gently with a rubber spatula to pop any air bubbles that might have formed.  Pour into squeeze bottles as needed.
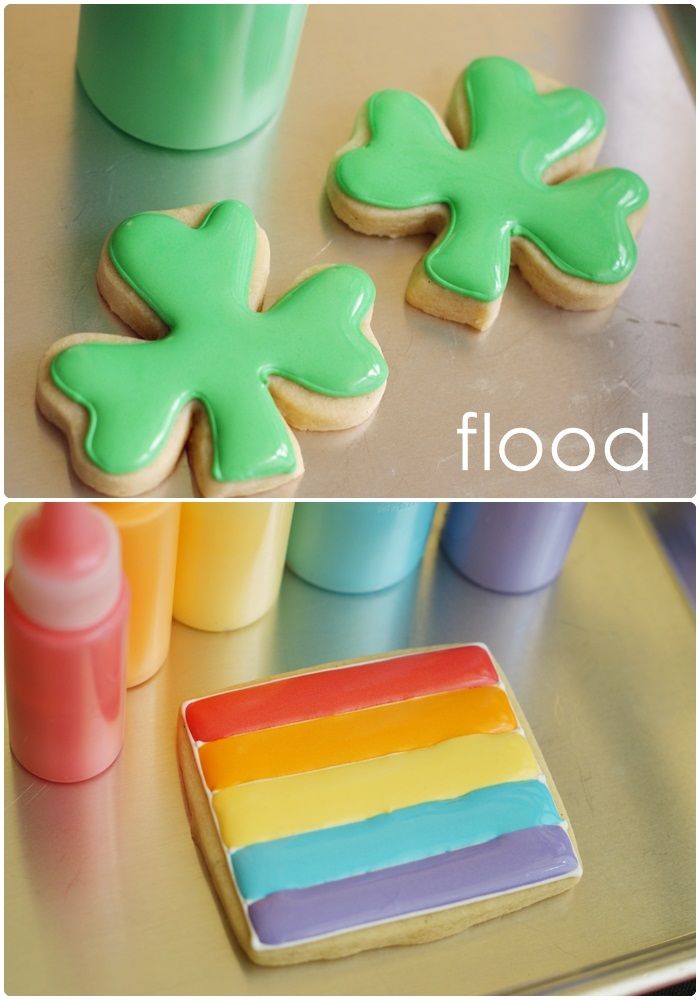
Fill the shamrocks with the green flood icing, using a toothpick to guide to edges and pop large air bubbles.

Fill in the rainbow with the other colors....remember Roy G. Biv?  Follow that, but I just skipped green since we have the shamrock, and indigo, because, well, I just did.

TIP: Small spaces, such as the individual rainbow colors have a tendency to cave in, or crater, while drying. After talking with fellow cookiers, we've decided it's trapped air bubbles that don't have anywhere to go.  So, to help avoid this...
  1. ...don't overfill the area.  Use just as much icing as you need to cover the area well, but you don't want a mound of icing.
  2. ...run a toothpick all the way through the icing (I use an 8-pattern), even if your icing has already spread across the area to me filled.
Let the cookies dry overnight.

The next day, take the reserved icing out of the fridge to warm up a bit.

Combine 1/4 teaspoon water with 1/4 teaspoon of meringue powder.  Brush with mixture onto the shamrock cookies with a small paintbrush.  Sprinkle on the sanding sugar and shake off the excess.
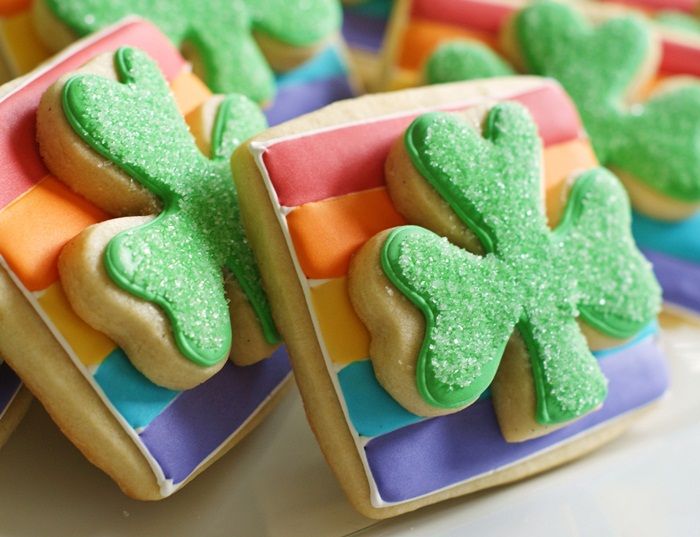
Pipe a small amount of icing onto the back of the shamrock.  Press onto the rectangle cookie to adhere.  Let the cookies dry about 30 minutes before packaging.

Happy St. Patrick's Day!!!

May your troubles be less,
 And your blessings be more
 And nothing but happiness,
 Come through your door  
Thursday, March 8, 2012

Pot 'o Gold Popcorn

 
My dad instilled in me a great love for popcorn.  He'll pass up sweets, cookies, cakes in favor of a big ol' bowl of salty, crunchy popcorn.  Don't even mention microwave popcorn in his presence.  It's just not done.

So, popcorn makes me happy.  Popcorn with GOLD and CHOCOLATE makes me very happy.
{I'm sure dad would prefer his plain, but hey, a girl's gotta do what a girl's gotta do.}

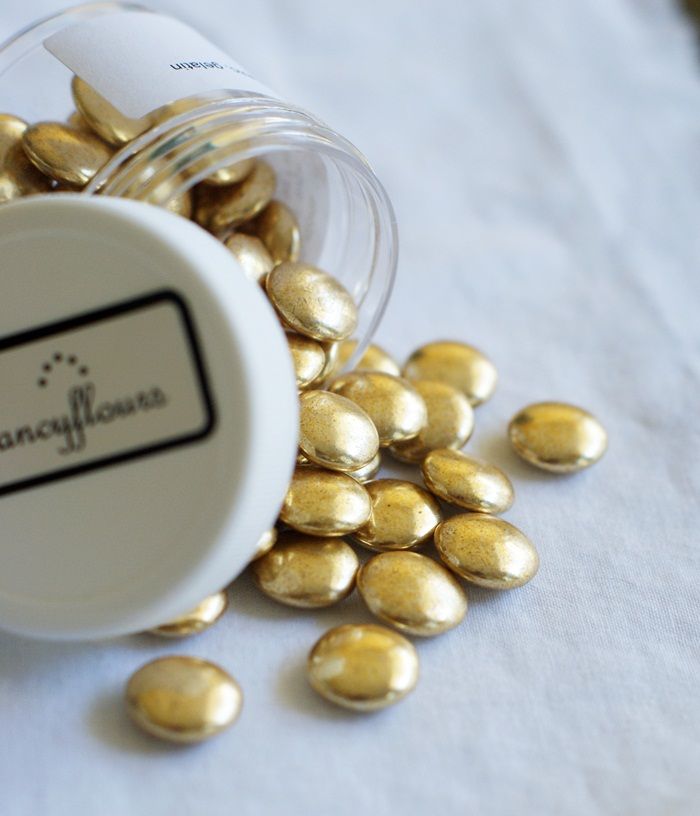
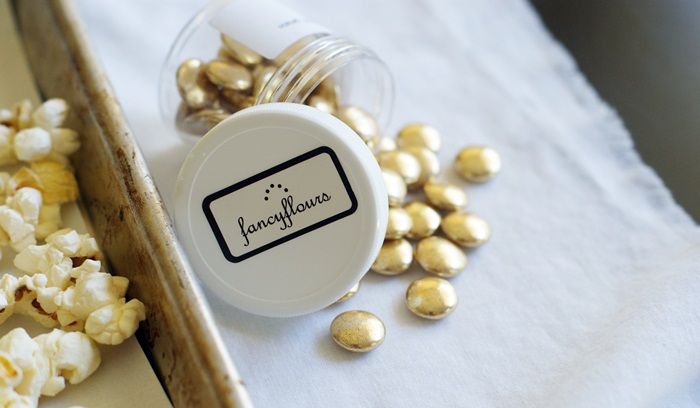
First, you'll need some gold "buttons."  I found mine at Fancy Flours after seeing this beautiful Sprinkle Bakes post.  I needed them.

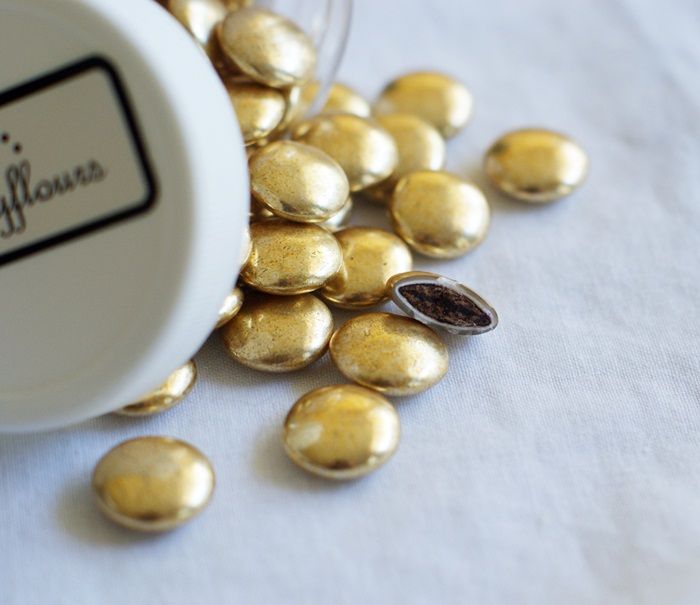
Here's what they look like on the inside:
They're basically a gold m&m.  Very, very fancy.

 {It's so fluffy!!!}

You'll also need popcorn.  FRESHLY POPPED popcorn.  We'll be adding butter and salt, so if you do use microwave popcorn...
    A. don't tell my dad,
    B. omit the butter and salt.

After you pop the popcorn and toss it with the melted butter and salt, you'll lay it out on cookie sheets.

Then you'll drizzle on melted chocolate....sigh.

{I tempered some bittersweet chocolate here (more on that in another post), but feel free to use chocolate candy melts or almond bark.}

Then, you add the gold.
{I know, I know...there are 3 pictures of these buttons...they're just so PRETTY!!!}


Voila!  Pot o' Gold Popcorn!  Perfect for your leprechauns on St. Patrick's Day!!!  
{The popcorn looks really pretty in little bowls or ramekins for a party, and is best served the same day it is made. It can be stored in baggies for 3-4 days; the popcorn will just lose a little of its crunch.}


Pot o' Gold Popcorn

ingredients:

10 cups freshly popped popcorn
2 TBSP salted butter, melted
3/4 tsp. coarse salt
8 oz. bittersweet chocolate (candy melts or almond bark)
2 oz. gold buttons (or yellow M&Ms)

instructions:

Toss the popcorn with the melted butter and salt.  Spread onto 2 cookie sheets.

Melt or temper the chocolate (I used tempered chocolate here).

Drizzle the chocolate over the popcorn.  Sprinkle on the gold buttons.

Let the popcorn sit until the chocolate has set.  Gently break into chunks and pieces.


Wednesday, February 29, 2012

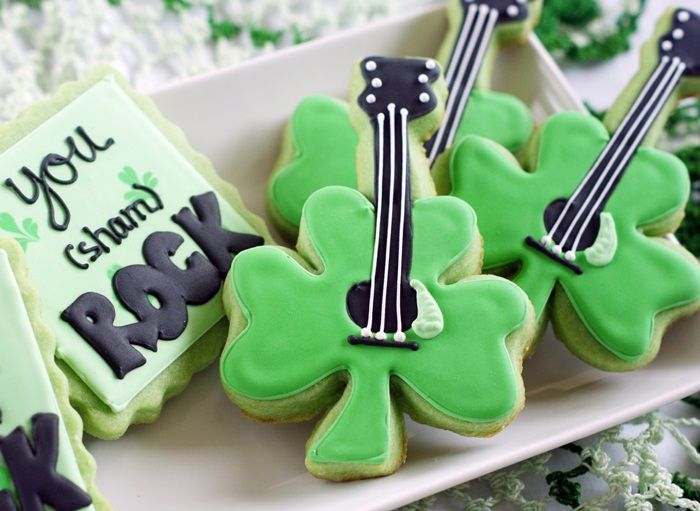
You (sham) ROCK!

Again with the cheesiness.  I know, I know...I can't help myself.
You DO (sham) rock, though, you know.


A couple of notes about these cookies...
ONE. The dough was tinted green just to make it a little more festive for St. Patrick's Day.  To do this, you make your dough, then just knead in the color, kind of like you would do for fondant.  Easy.

TWO. The little shamrock guitars are parts of two shapes put together.  A shamrock (you knew that), and since I don't seem to have a guitar cutter, a cut off broom handle.

THREE. I'll show you the tutorial for the guitars below.  For the other cookies, I had this "great" idea to make shamrocks from dots.  In reality, they look more like flat leaf parsley or cilantro.  On the bright side, if you ever need to make cilantro cookies, you'll know how.

To make the Shamrock Guitars, you will need:
  • sugar cookies put together to make a shamrock guitar, such as a shamrock and a broom handle,
  • royal icing tinted with AmeriColor Super Black, dark & light green using Leaf Green, and Bright White,
  • couplers and icing tips (#2 & #1)
  • disposable icing bags
  • squeeze bottles
  • toothpicks
With a #2 tip, outline the guitar center and neck in black icing.  Reserve a bit of black piping consistency icing.

With another #2 tip,  outline the shamrock shape in the darker green icing.

Thin the black and green icings with water a bit at a time, stirring gently with a silicone spatula, until it is the consistency of a thick syrup.  Cover with a  damp dish towel and let sit for several minutes.

Stir the icings gently with a silicone spatula, popping any large air bubbles that may have formed on the surface.  Transfer to squeeze bottles.

Fill in (or flood) the black outline with the thinned icing, using a toothpick to guide to edges and pop large air bubbles.

Fill in the green outline with the thinned green icing.

Let the cookies dry for at least 1 hour.

With a #2 tip, add the bar below the center of the guitar in black.

With a #1 tip, add the strings and detail in white.  If you find your strings are "breaking" as you pipe them, squeeze all of the icing out of the bag and into a bowl, stir in 1-2 DROPS of water, then put back in the pastry bag.

With a #2 tip, add the detailing to the guitar in light green. 

(sham)ROCK ON!

Saturday, March 12, 2011

Vintage St. Patrick's Day Postcard Cookies

Speaking of edible images....

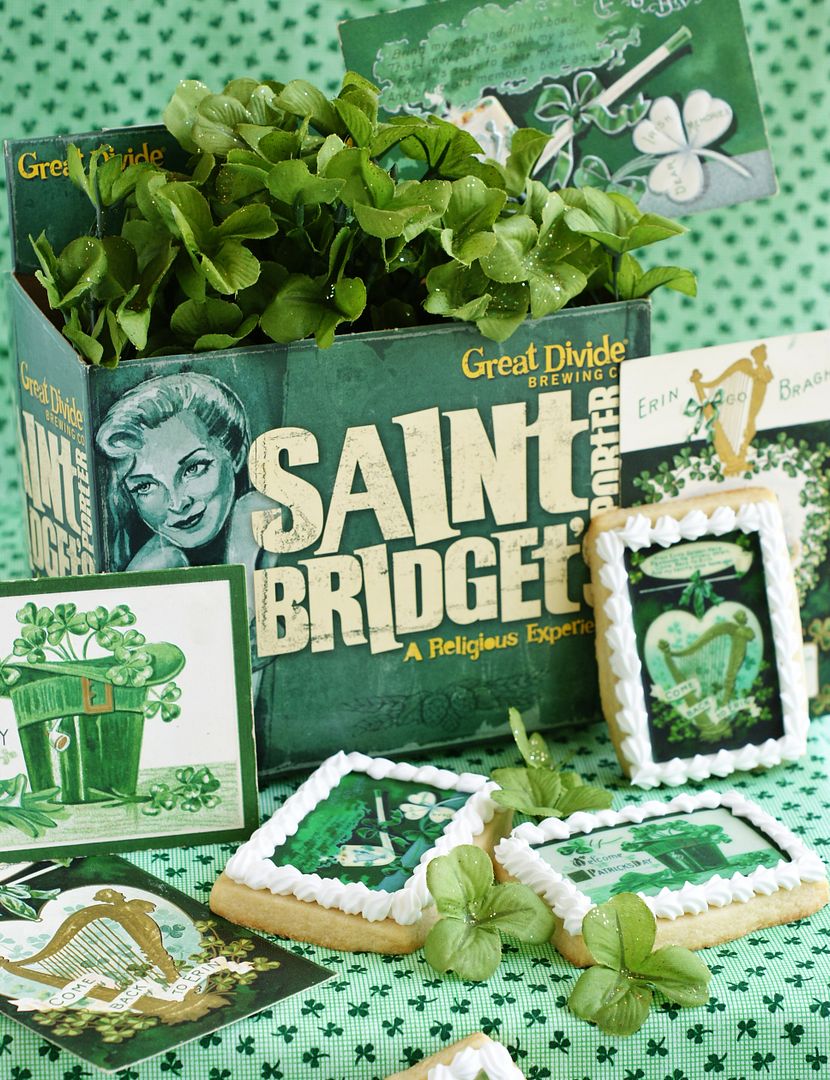
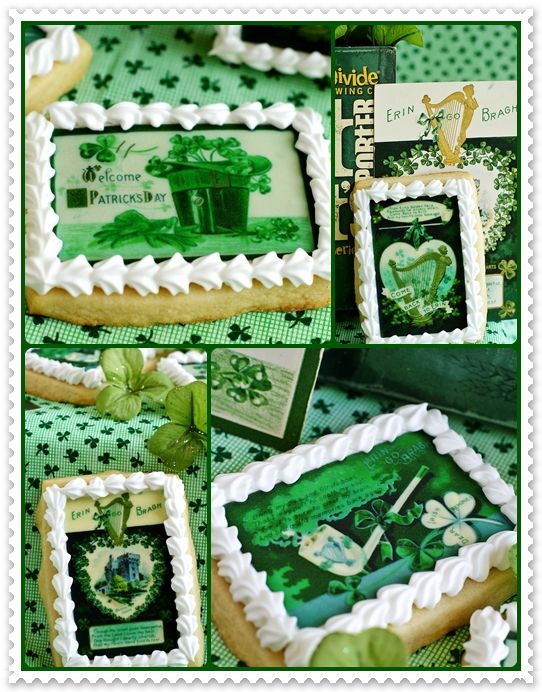
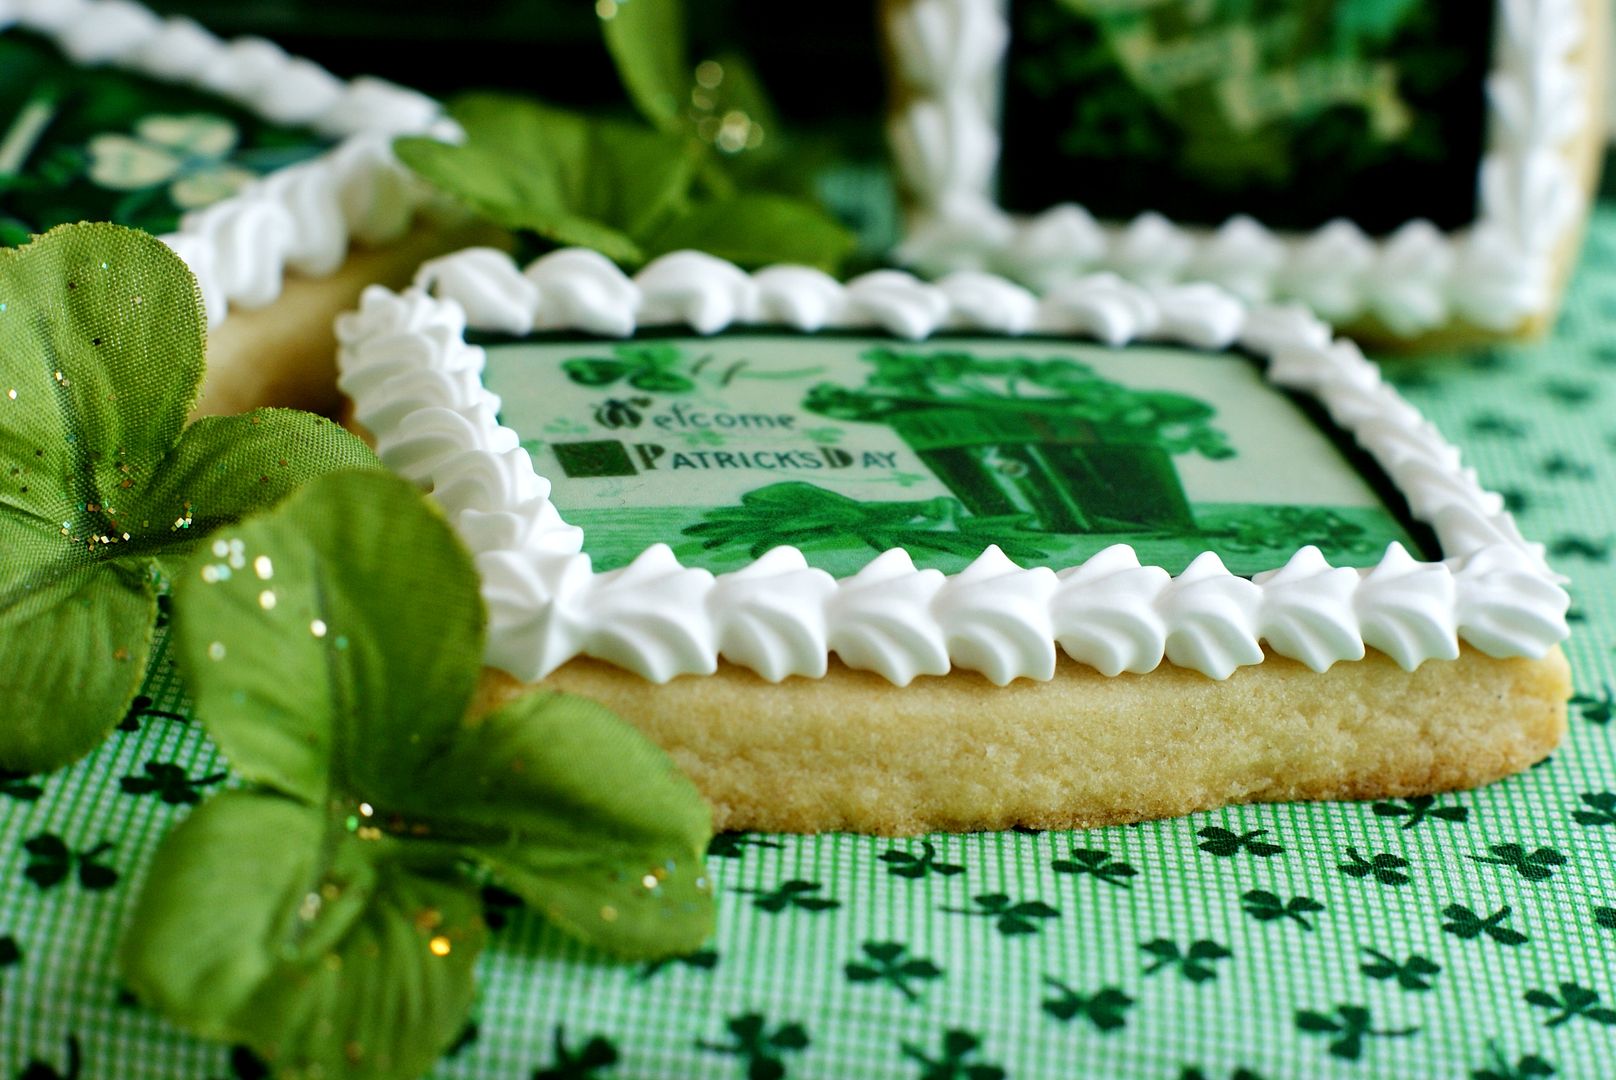
Printing vintage images and pictures is my favorite way to use the icing printer.  I LOVE vintage postcards....the artwork, the verses....they are so sweet!  So I scanned some old St. Patrick's Day postcards and printed them on frosting sheets.

Curious to try themI uploaded the images to Scribd just for you!  Download the document and crop and resize until you get them the size that you would like.  Then, follow the tips for printing, either at home, or at a shop with an icing printer.

The images were just placed on wet royal icing.  I used a #16 star tip and stiff royal icing (piping consistency) for the edges.

Have fun!  And may the luck of the Irish be with you....and your icing printer! ;)

Saturday, March 5, 2011

I'm Irish . . . eat your heart out.

St. Patrick's Day has always been a *BIG DEAL* in our family.  Growing up, my sister & I would come downstairs for breakfast and there was always a little green "happy" sitting at our places.  {One year, I got a green bikini. ;)}

{And, I wore this pin on St. Patrick's Day EVERY YEAR from high school through college....and maybe a few years beyond that.  Yes, I am a total dork.}


I wanted to make something a little girlie for St. Patrick's Day.  So, I went with dresses.  Every Irish girl wants to look their best on St. Paddy's Day, right?


{"Kiss Me, I'm Irish!"  Yes, I also had that pin, but went for subtlety. ;)}

The dresses were made using edible image sheets.
  •  I bought digital scrapbook paper and printed an entire sheet. 
  • Using my cookie cutter as a guide, I traced the shape onto the paper using a thin food coloring pen.
  • Then, I cut the shapes out, and...
  • ...because I didn't want icing to show around the edges of the dresses, I applied  a thin coating of royal icing, that had been loosened with just a few drops of water, to the back.
  • I attached these to the cookies.
{Now, I took some pictures of this whole process WITHOUT THE SD CARD in my camera.  Please pretend you see those pictures now. Thank you.}

Note: Next time, I would make a regular sugar cookie, not chocolate. With the thin coating of icing on the back, the chocolate does show through in places.

{But, here is a great chocolate cookie recipe to try!}
 
So, how about you?  Do you celebrate St. Patrick's Day? What do you do?

Monday, March 15, 2010

I-rish I had time to make some St. Patrick's Day cookies


{Keep scrolling down for some oldies but goodies in the St. Patrick's Day Cookies department.}

Please tell me it happens to you, too. You have a million, ok...three, ideas for cute holiday goodies to make and you just run.out.of.time.

It's happened to me. I have pickle & ice cream cookies drying in the kitchen and not one little shamrock to be found.

{Oh, I did I ever scare some people on twitter today when I tweeted that I was making Pickle & Ice Cream cookies! I got a few "you're making WHAT?" tweets back. That was fun. Shaped, not flavored cookies! }

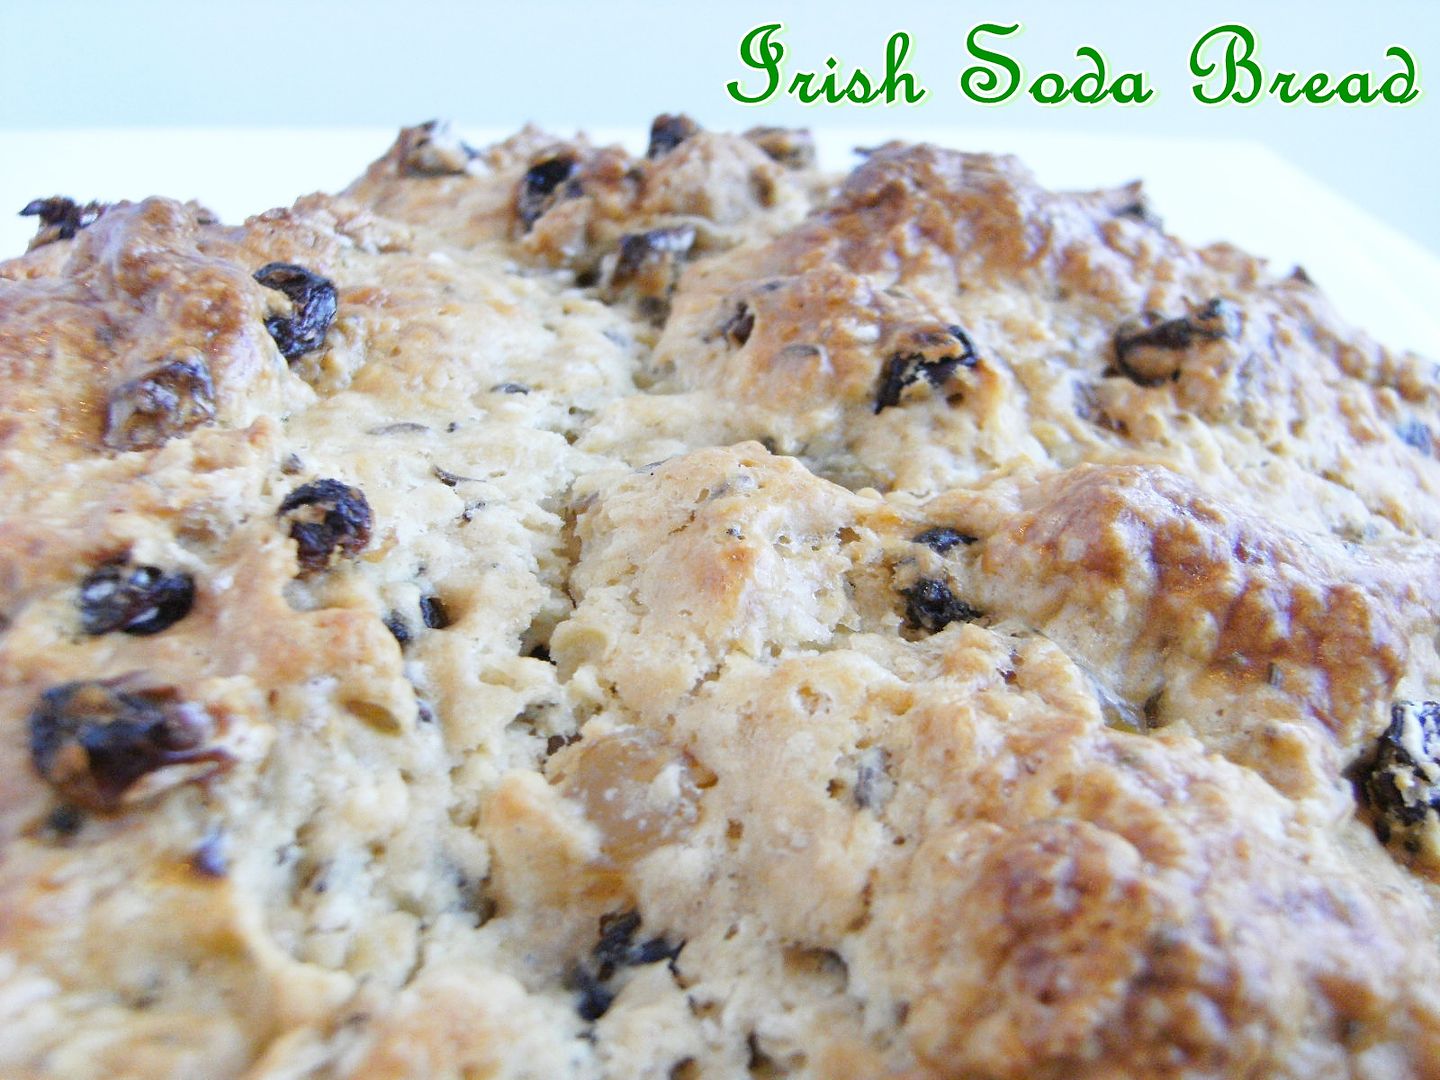
So...here's an Irish Soda Bread recipe that you can whip up in less than 2 hours, start to finish. No rise time, no kneading....mix it and bake it. I make it every St. Patrick's Day.


Irish Soda Bread
{modified from The Martha Stewart Living Cookbook}

4 c. unbleached, all-purpose flour
1/4 c. sugar
1 tsp coarse salt
2 tsp baking powder
2 TBSP caraway seeds
4 TBSP unsalted butter, cold
1 c. dark raisins
1 c. golden raisins
1 & 1/2 c. buttermilk
1 egg
1 tsp baking soda
1 egg yolk
1 TBSP milk or cream

Preheat oven to 350. Line a baking sheet with parchment paper.


In a large bowl, whisk the flour, sugar, salt, baking powder, and caraway seeds.


Cut the butter into about 8 pieces. Using a pasty cutter, cut the butter into the flour mixture until it resembles coarse meal.


Stir in the raisins.
{Let me add....I am not a raisin lover, but I love this bread!}

In another bowl, whisk the buttermilk, egg and baking soda until well combined. Pour the buttermilk mixture into the flour and stir with a fork until all the liquid is absorbed and the dough holds together.


On the prepared pan, press the dough into a dome-shaped loaf of about 8 inches.


With a fork, whisk together the egg yolk and milk or cream. Brush onto the dough with a pastry brush. With a sharp knife, make an x-shaped slash in the top of the bread.

Bake about 70 minutes, tenting with foil after about 50 minutes if necessary. Cool on a wire rack.


Alright...ready for some St. Patrick's Day cookie ideas?

From last year....sparkly shamrocks and pots o' gold:


{This is the post where I go on and on about how I wasn't to add a Mc to our last name. I'm not closer to that dream this year....but I'm not.giving.up.}

Next, Beer cookies:

{How can there be a St. Paddy's Day celebration without beer? Even if it is in the form of decorated cookies?}

And, Shamrocks with heart:

{Actually, these were for a friend's anniversary. Hi Terri & Pat! They had a St. Patrick's wedding.♥ I took the picture years ago when I thought one picture was enough and I then cropped & resized the heck out of it. I'm over that now.}

Happy St. Patrick's Day!!!