*I* know where he is! At MY house!!!

{My nephews have an elf...my sister reminded me this week that the oldest one named him Pedro...and that just gives me the giggles. Pedro is such an elf-y name.}
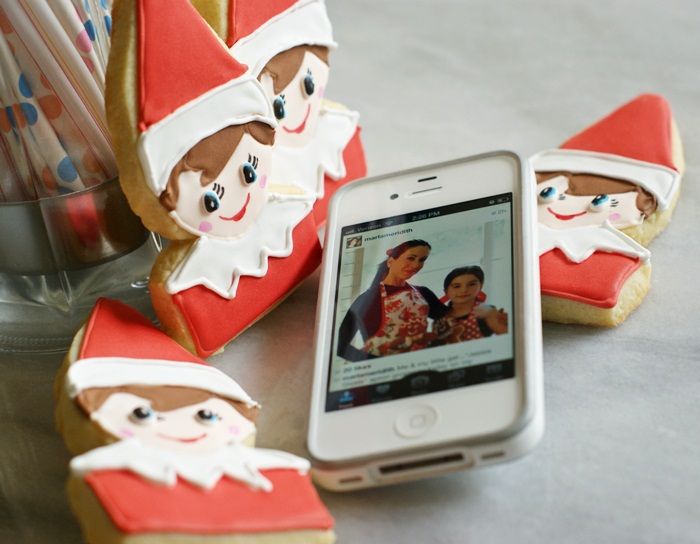
So, what do you know...I found a bunch of COOKIE elves all around my kitchen!
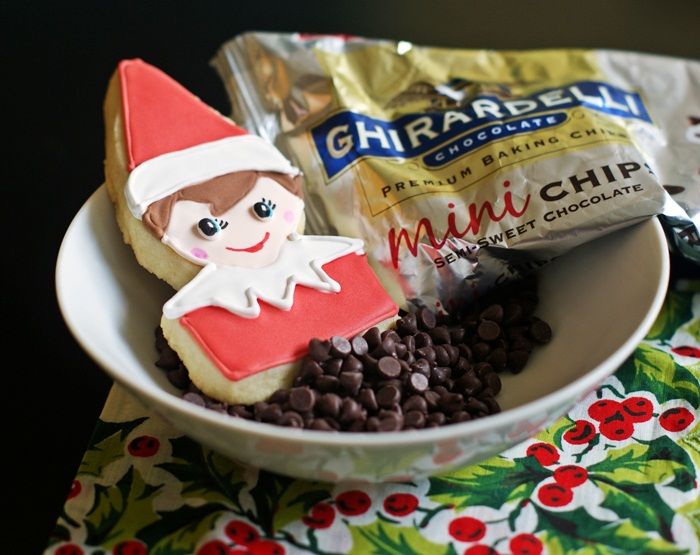
First, I found one in the chocolate chips...
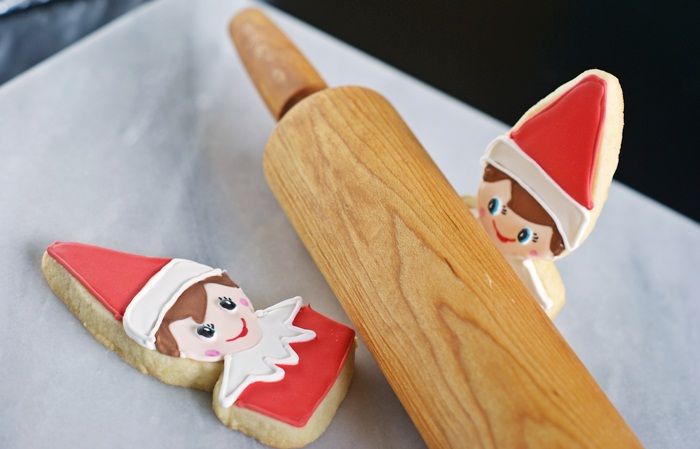
Then, a bunch tried to mix things up in the KitchenAid...
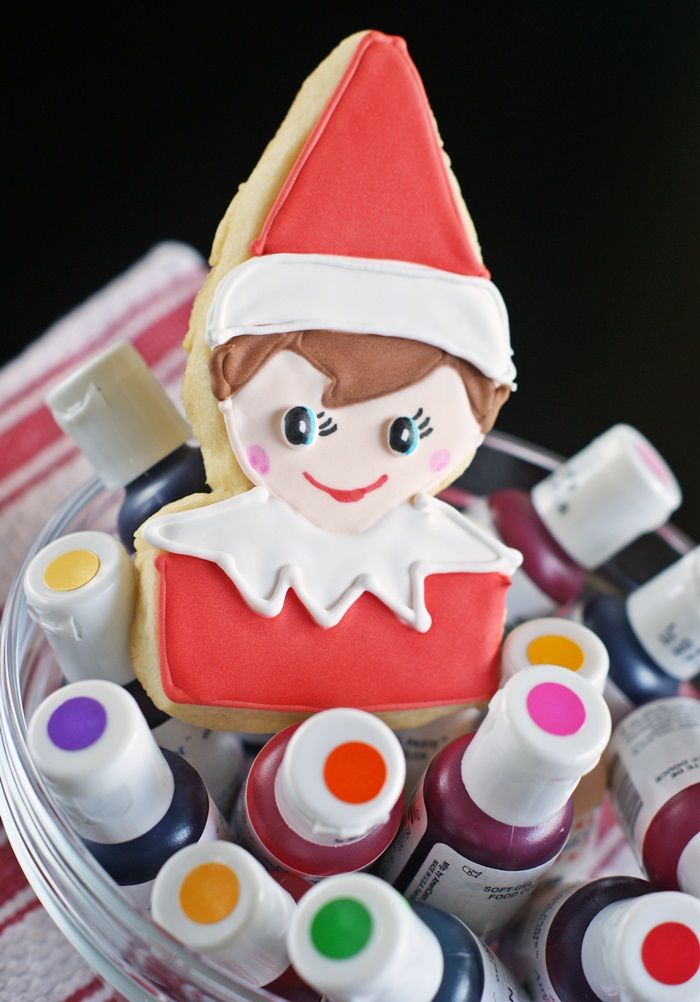
Now, this one jumped into a bowl of food colors...
I'm a little concerned with this one. He's trying to roll over his fellow elf and he sure seems to have an evil glint in his eye.
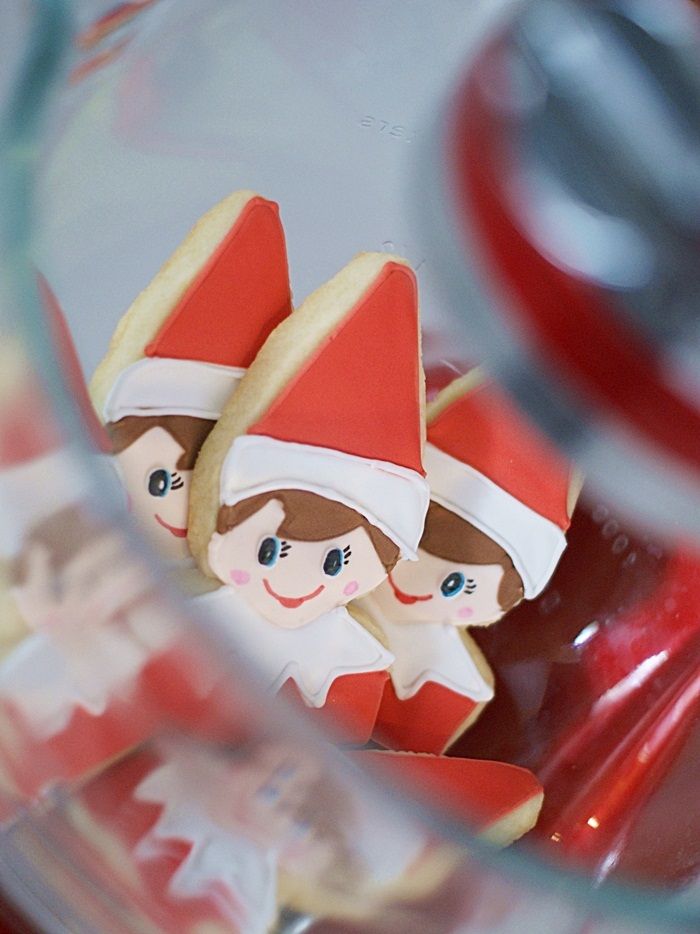
Then, I found them all...gathered around checking out pictures of cute cookie makers on instagram.
Want to make some Elf on the Shelf cookies of your very own? Here's how:
Supplies:
- cut-out cookies made with the template
- royal icing, tinted with AmeriColor Bright White, Chocolate Brown, Copper, and Super Red
- disposable icing bags
- couplers and #2 tips
- squeeze bottles
- toothpicks
- food coloring pens (black, pink, red and blue)


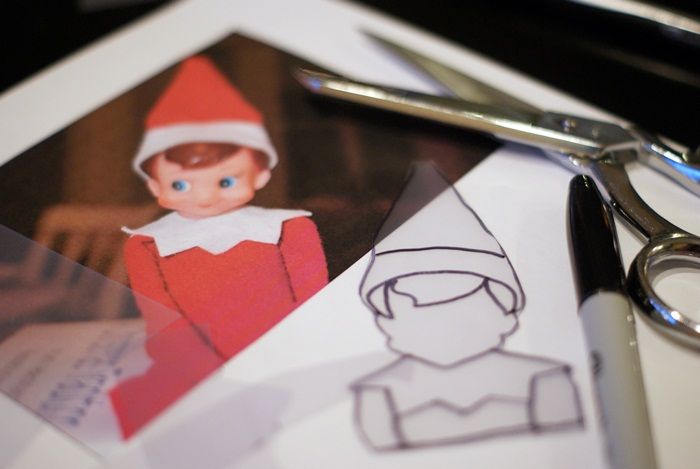
{This is where I stared getting nervous...it really doesn't look like it's going to work, does it?}


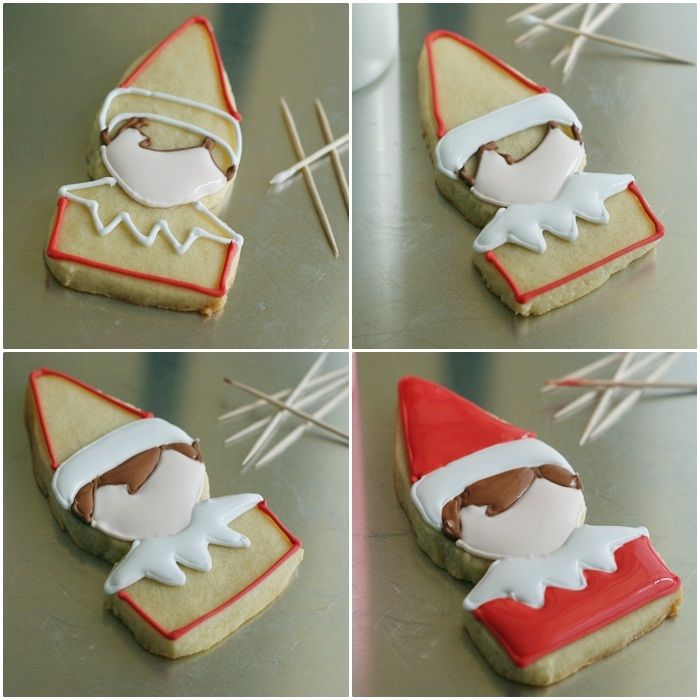
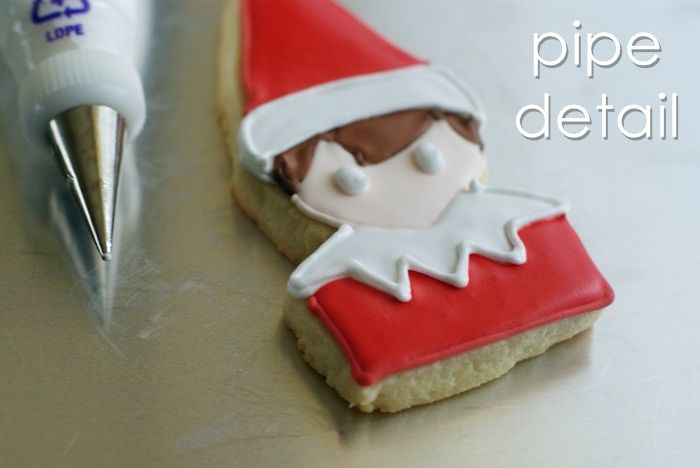
Go back to the white and add a collar. (Reserve some of this white piping consistency icing for later.)

Thin the all of the icings with water, a bit at a time, until it is the consistency of thick syrup. Cover with a damp dish towel and let sit several minutes.
Stir gently with a rubber spatula and transfer icings to squeeze bottles.
Let sit at least one hour.

Let your zombie elves dry uncovered overnight.
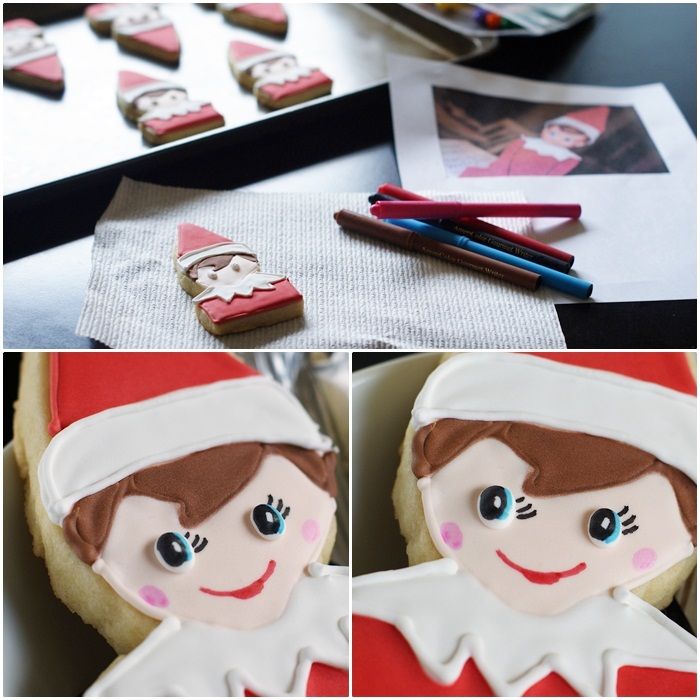
(I used a picture of Elf on the Shelf as a guide.)

Now, really....do you know where your Elf on the Shelf is?!?
No comments:
Post a Comment